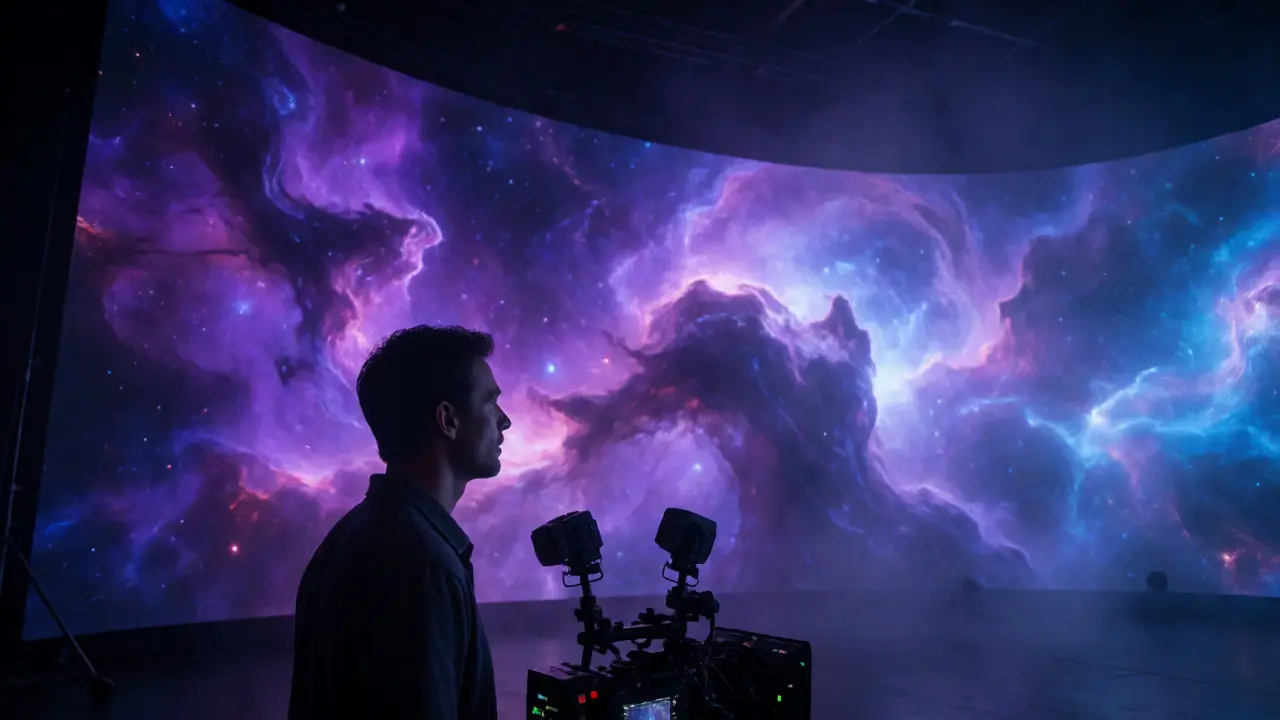
You’ve seen the shots. A character stands on a spaceship bridge, but the background isn’t a green screen-it’s a living, breathing nebula swirling behind them. The light hitting their face matches the glow of that digital star perfectly. How does that happen? It’s not magic; it’s virtual production lighting, a technique where physical lights are synchronized with digital environments to create seamless visual continuity. If you’re trying to master this, you’re probably struggling with the same thing everyone else is: making sure the real world doesn’t look fake when placed next to the digital one.
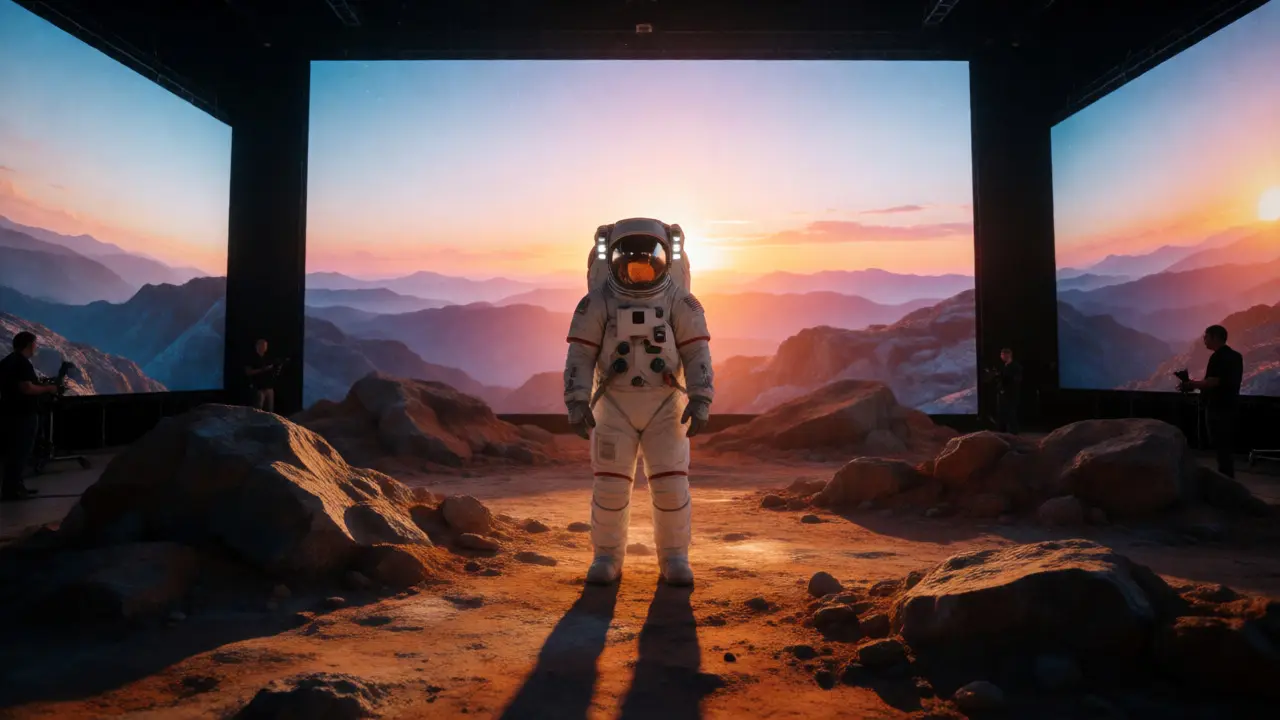
This isn’t just about putting an actor in front of an LED volume, a large curved wall of high-resolution LED screens used for virtual sets. It’s about understanding how light behaves, how cameras see, and how software renders. Get it wrong, and your scene looks like a bad video game cutscene. Get it right, and no one knows where the pixels end and the plastic begins. Here’s how you actually make it work.
The Core Problem: Why Light Mismatch Kills Immersion
Human eyes are incredibly sensitive to inconsistencies. If a digital sun is setting from the left, but your practical key light is coming from the right, your brain flags it as "fake" instantly. In traditional VFX, we fix this in post-production. In virtual production, you have to get it right on set. Why? Because the LED walls provide ambient light. They aren’t just backgrounds; they are light sources.
When you shoot against an LED volume, the screen emits actual photons. These bounce off actors’ faces, costumes, and props. If the digital environment says "it’s noon," but your physical lights say "it’s dusk," the shadows won’t match the reflections in the actors' eyes. This disconnect breaks immersion faster than any bad CGI model ever could. You need the physical and digital worlds to agree on physics.
Understanding the Tech Stack: Unreal Engine and nDisplay
To sync these worlds, you need a pipeline that talks between the camera and the computer. Most productions use Unreal Engine, a real-time 3D creation tool developed by Epic Games, widely used for virtual production. But Unreal alone isn’t enough. You need nDisplay, a plugin for Unreal Engine that allows for multi-GPU rendering across multiple LED panels.
Here’s the workflow in plain English:
- Camera Tracking: Sensors on your cinema camera (like an ARRI Alexa or Sony Venice) send position data to the engine.
- Frustum Rendering: The engine calculates exactly what part of the digital scene is visible through the camera lens at that exact moment.
- Content Projection: Only that specific section is rendered and displayed on the LED wall.
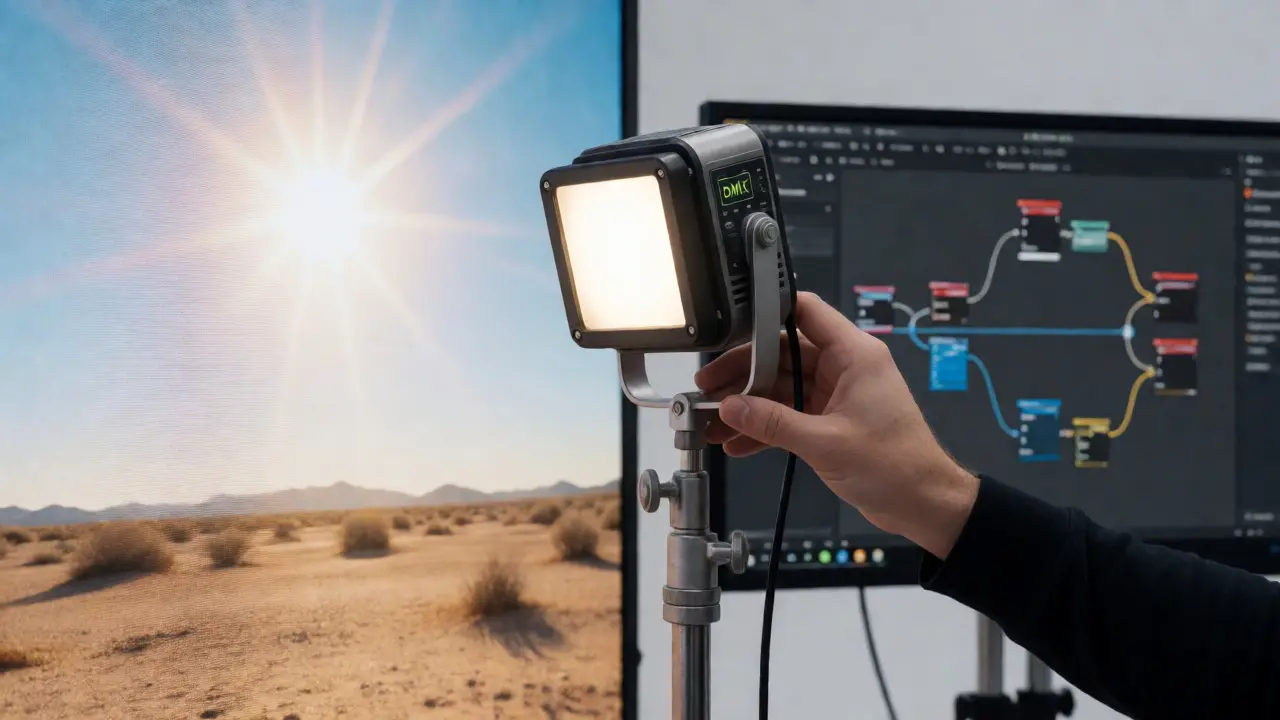
- Lighting Sync: DMX controllers adjust physical lights based on cues triggered by the digital timeline.
If your tracking is off by even a few inches, the perspective shifts, and the illusion collapses. This is why calibration is non-negotiable.
Color Management: The Invisible Glue
Color is where most beginners fail. Your camera sees color differently than your monitor, and your LED wall displays color differently than both. To fix this, you need a unified color space. Most pros stick to ACES (Academy Color Encoding System). It acts as a neutral hub. You map your camera logs, your LUTs, and your LED wall profiles all into ACES.
| Color Space | Primary Use | Pros | Cons |
|---|---|---|---|
| ACEScg | Working space in Unreal | Huge gamut, linear workflow | Requires careful conversion on export |
| Rec.709 | SDR Display/Monitoring | Standard for broadcast | Limited dynamic range |
| DCI-P3 | Cinema Projection | Wider gamut than Rec.709 | Not standard for home viewing |
| BT.2020 | HDR Mastering | Extremely wide gamut | Hard to calibrate on older LEDs |
Don’t just guess your white point. Measure it. Use a spectrophotometer to profile your LED panels. Each panel might drift slightly over time. If Panel A is 5600K and Panel B is 5800K, you’ll see a vertical seam of color difference right down the middle of your shot. Calibration tools like CalMAN or dedicated LED processors handle this, but you must run them regularly.
Practical Lighting Strategies: Key, Fill, and Ambient
Now that the tech is synced, let’s talk about art. You can’t rely solely on the LED wall for lighting. LED panels have limitations. They can’t produce the deep, directional shadows of a hard source without losing resolution or causing moiré. So, you blend.
The Key Light: Always use a physical key light. It gives you control over the subject’s shape and texture. Match its color temperature to the dominant light source in the digital environment. If the digital sun is warm (3200K), gel your physical key to 3200K. If it’s cool moonlight (5600K+), adjust accordingly.
The Fill Light: This is tricky. Often, the LED wall itself provides the fill. The ambient glow from the background fills in the shadows on the actor’s face. If you add too much physical fill, you flatten the image and lose the connection to the environment. Test this by turning off your physical fill and seeing if the LED glow is sufficient. Usually, it is.
Rim and Back Lights: These are critical for separation. Since the background is often bright and detailed, your subject can get lost. Use strong rim lights to carve them out. Make sure these lights don’t spill onto the LED wall, which can wash out the digital content.
Moiré and Aliasing: The Technical Pitfalls
Moiré is the enemy. It happens when the grid pattern of the LED pixels interferes with the sensor grid of your camera. You’ll see weird wavy lines dancing across the background. There are three main ways to kill moiré:
- Distance: Keep the subject far enough from the wall. The further away, the less the pixel grid resolves on the sensor.
- Focal Length: Avoid ultra-wide lenses close to the wall. Longer focal lengths compress the view and reduce interference patterns.
- Shutter Angle: Adjust your shutter angle. Sometimes moving from 180 degrees to 172.8 or 185 degrees can break the resonance frequency causing the moiré.
Aliasing is different. It’s jagged edges on fine details in the digital background. This usually means your render resolution is too low for the screen size. Ensure your Unreal Engine render target resolution matches the native resolution of your LED processor output. Upscaling helps, but native is best.
Real-Time vs. Post-Production: Where to Fix What
A common misconception is that virtual production eliminates VFX. It doesn’t. It reduces it. You still need cleanup. Reflections in sunglasses might show the crew. The edge of the LED volume might be visible. You might need to extend the floor digitally.
However, the heavy lifting-background plates, sky replacement, complex reflections-is done live. This saves massive amounts of time in post. But don’t neglect the "invisible" fixes. Have a VFX supervisor on set. Their job is to spot things the director misses because they’re looking at the monitor, not the raw feed. They ensure the digital assets are optimized for real-time performance while maintaining visual fidelity.
Case Study: Learning from The Mandalorian
Think about the desert scenes in The Mandalorian. The sand dust kicking up around the characters? That was practical. The mountains in the distance? Digital. The lighting on the armor? A mix of LED bounce and physical rigs. The success wasn’t just the technology; it was the discipline. The gaffer worked hand-in-hand with the virtual art department. They pre-lit the digital scenes in Unreal before shooting began. They knew exactly where the sun would be at every hour of the day in the virtual world, so they knew exactly where to place their physical rigs.
This level of planning is essential. You can’t wing it. Pre-vis is mandatory. Build your virtual set, light it in the engine, and then replicate those lighting ratios on stage.
Tools of the Trade: What You Need
If you’re starting out, here’s a quick checklist of entities you need to understand:
- DMX512: A standard communication protocol for controlling lighting devices. This connects your physical lights to the show control system.
- SMPTE Timecode: A standard for synchronizing audio and video equipment. Ensures your camera and LED playback are locked together.
- Genlock: A synchronization signal used to lock multiple video sources together. Prevents tearing and rolling bars on the LED screens.
- ICVFX: In-Camera Visual Effects, the broader category encompassing virtual production techniques. Understand the ecosystem, not just the lights.
Mastering these standards ensures your rig plays nice with others. Compatibility issues are the biggest headache on set. Check your frame rates. If your camera shoots at 24fps, your LED refresh rate needs to be compatible to avoid flicker.
Troubleshooting Common Issues
Things will go wrong. Here’s how to fix the big ones fast:
- Flicker: Caused by mismatched refresh rates. Adjust the LED processor’s refresh rate to match your shutter speed.
- Color Cast: If the whole image looks green or magenta, check your LUTs. Are you applying a display transform twice? Or not at all?
- Latency: If the background lags behind the camera movement, your GPU might be overloaded. Reduce shadow quality or ray tracing settings in Unreal.
- Moiré Persistence: If changing shutter angle doesn’t help, try tilting the camera slightly. Breaking the parallel alignment between sensor and LED grids can disrupt the pattern.
Final Thoughts on Artistry
Technology serves the story. Don’t let the complexity of the rig distract you from the performance. The best virtual production setups are invisible. The audience shouldn’t care about the polygon count or the refresh rate. They should only care about the emotion on the actor’s face, lit beautifully by a sun that doesn’t exist.
Start small. Try a single LED panel. Learn how it interacts with a single light source. Then scale up. The principles remain the same: consistency, calibration, and collaboration. If you respect the physics of light, the digital and real worlds will merge seamlessly.
Do I need a huge budget for virtual production?
Not necessarily. While major studios use massive volumes, indie filmmakers can start with smaller LED panels or even projection mapping. The core concept of matching light works regardless of scale. Software like Unreal Engine is free to download, reducing initial costs significantly.
Can I use green screen instead of LED volumes?
Yes, but you lose the interactive lighting benefits. With green screen, you must simulate all lighting in post-production. With LED volumes, the light is captured in-camera, providing more accurate reflections and ambience. Green screen is cheaper but requires more extensive VFX work later.
What camera settings matter most for LED walls?
Shutter angle and frame rate are critical. They must align with the LED wall's refresh rate to prevent flickering. Additionally, using a global shutter camera can help reduce rolling shutter artifacts when panning quickly across the LED surface.
How do I handle reflections on shiny surfaces?
This is where LED volumes shine. Because the wall emits real light, reflections on cars, jewelry, or wet streets appear naturally in-camera. You simply ensure the digital environment includes those reflective elements. No post-production compositing is needed for basic reflections.
Is Unreal Engine the only option for virtual production?
No. Unity is another popular choice, especially for projects requiring strong cross-platform support or mobile integration. However, Unreal Engine currently dominates high-end film production due to its advanced lighting capabilities like Nanite and Lumen.



Comments(8)