There’s a persistent myth that if you want your movie to look like it belongs in the Marvel Cinematic Universe, you need a billion-dollar budget. But walk through any recent indie festival circuit and you’ll see something different. Directors are pulling off atmospheric sci-fi backdrops, subtle creature enhancements, and seamless environment extensions with teams of three or fewer VFX artists. The secret isn’t magic; it’s strategy. Indie Film VFX is a specialized approach to visual effects production that prioritizes creative problem-solving, practical integration, and efficient digital workflows over raw computational power. It relies on smart planning rather than expensive software licenses or massive render farms. The goal here isn’t to replace Hollywood pipelines. It’s to help you get 80% of the way there for 10% of the cost. Whether you’re shooting a horror short in a basement or a sci-fi feature in a suburban neighborhood, understanding how to blend practical sets with digital enhancements is the single biggest lever you have. Let’s break down exactly how to make those big-budget looks feel real without breaking the bank.
The Practical-First Philosophy
Before you open After Effects or Nuke, you need to ask yourself: do we actually need VFX? This question saves more money than any discount code ever will. In professional post-production, the rule of thumb is that practical effects are always cheaper than their digital counterparts. If you can build a prop, paint a wall, or use a smoke machine, do it. Digital compositing is time-consuming, and time is money. When an editor has to track a moving object against a complex background, that’s hours of work. If you just put the object there physically, it’s free. However, "practical-first" doesn't mean "no VFX." It means using VFX to fix what physical limitations can’t handle. For example, if you need a character to jump across a gap that doesn’t exist, you need a green screen. But if you just need to make a window look like it’s overlooking a city instead of a brick wall, you might only need a matte painting or a simple projection mapping technique during the shoot. By limiting your digital scope to specific, manageable tasks, you reduce the risk of technical failures that can derail a schedule. Consider the case of *The Babadook*, which used minimal VFX to create its eerie atmosphere. Most of the scare factor came from lighting, sound design, and practical set dressing. The few digital shots were used sparingly to extend corridors or hide crew members. This restraint made the VFX invisible, which is the ultimate goal. If the audience notices the effect, you’ve failed. If they forget it was there, you’ve succeeded.Mastering the Green Screen on a Shoestring
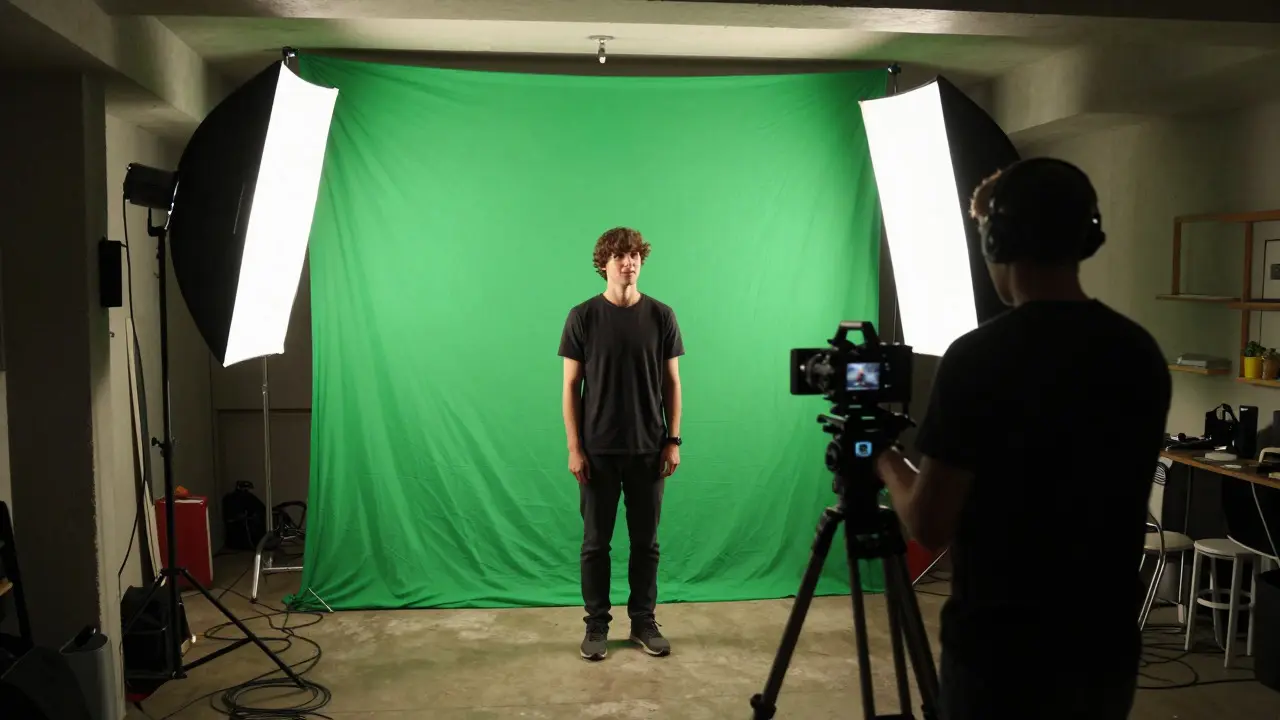
Green screen (or chroma key) is the bread and butter of low-budget VFX, but it’s also where most indie films go wrong. Bad lighting, uneven color, or poor tracking can ruin a shot in post. To avoid this, you need to treat the green screen like a separate entity from your subject. Chroma Key Compositing is a visual effects technique that isolates a specific color range (usually green or blue) from a video frame to replace it with a different background image or video. The quality of this process depends entirely on the consistency of the source material. Here is a checklist for getting clean keys:- Lighting Uniformity: Use two large soft lights on either side of the screen at 45-degree angles. This minimizes shadows and ensures the green is consistent across the entire frame. Avoid direct spotlights on the screen itself.
- Distance Matters: Keep your actor at least 3-4 feet away from the green screen. This reduces the "spill" of green light onto their costume and skin, which is much harder to remove in post than fixing the lighting on set.
- Color Management: Shoot in Log profile if your camera supports it. Log footage captures more dynamic range, making it easier to balance the exposure between the bright green screen and the darker subject. If you must shoot in Rec.709, ensure the green is saturated but not clipped.
Choosing Your Software Stack Wisely
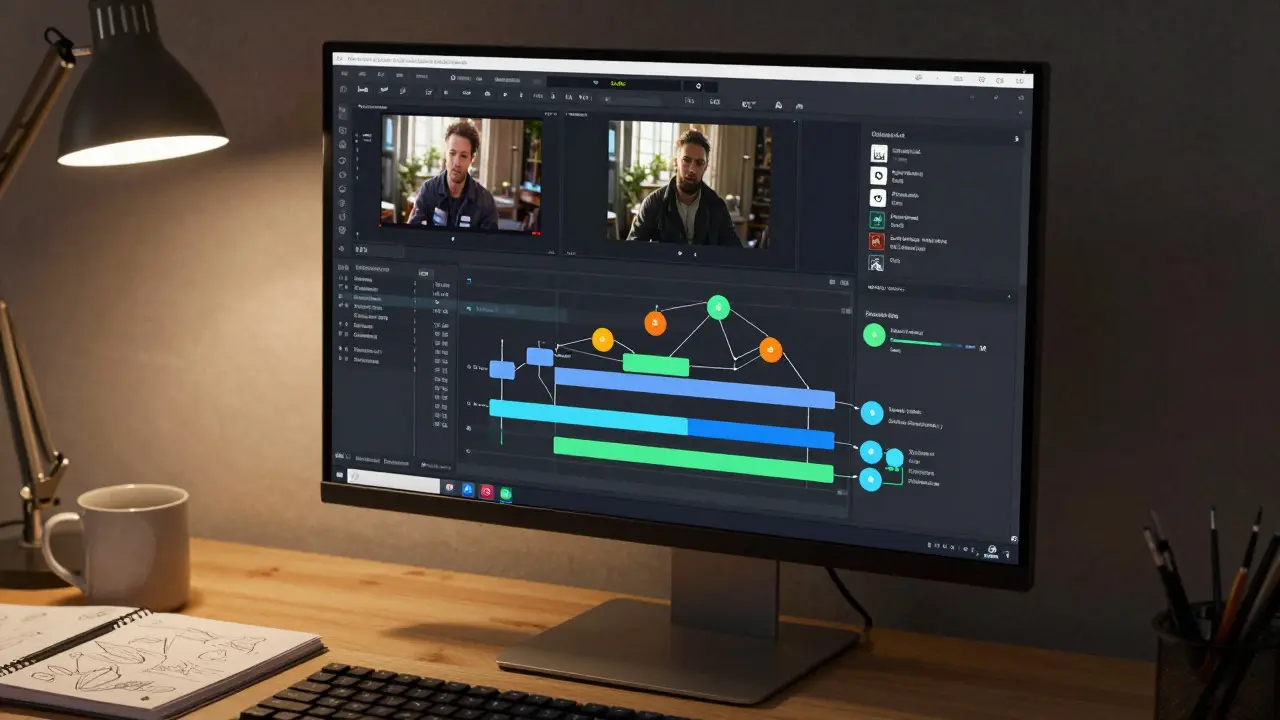
You don’t need a $20,000 workstation to do good VFX. You need the right tools for the job. The industry standard for high-end features is Nuke, but for indie films, the landscape is different. You need a stack that balances capability with accessibility and cost.| Software | Primary Use Case | Cost Model | Learning Curve | Best For |
|---|---|---|---|---|
| Adobe After Effects | Compositing, Motion Graphics, Rotoscoping | Subscription (~$20/month) | Moderate | Quick fixes, text overlays, basic composites |
| DaVinci Resolve (Fusion) | Node-based Compositing, Color Grading | Free / One-time Purchase ($295) | Steep | Integrated workflow, complex node graphs, color-corrected VFX |
| Nuke | High-End Compositing, Large Scale Projects | License ($1,500+/year) | Very Steep | Professional pipeline, heavy particle simulation |
| Blender | 3D Modeling, Animation, Rendering | Free (Open Source) | Steep | Simple 3D assets, environmental extensions, motion graphics |
Asset Reuse and Stock Footage Strategy
One of the biggest time-sinks in VFX is creating assets from scratch. Did you know that up to 60% of a typical VFX shot involves asset preparation rather than actual compositing? You can drastically cut this time by leveraging stock assets and pre-made libraries. Stock footage sites now offer high-quality HD and 4K clips of cities, crowds, weather, and abstract backgrounds. For an indie film, buying a $50 clip of a rainy street in Tokyo is infinitely cheaper than building a 3D cityscape. Similarly, 3D marketplaces like TurboSquid or CGTrader sell ready-to-use models of cars, props, and characters. Yes, they might look slightly generic, but with good lighting and compositing, they blend in seamlessly. The key is curation. Don’t just drop a stock asset into your scene. Adjust its texture, change its scale, and match its lighting to your live-action plate. If you use a stock crowd, mask out the faces that are too close to the camera and replace them with a few custom-drawn or photographed faces. This hybrid approach maintains realism while saving hundreds of hours of modeling time. Also, consider using "matte paintings" for distant backgrounds. You don’t need a photorealistic 3D model of a mountain range if it’s only visible in the far distance. A high-resolution photo of a mountain, slightly blurred and color-graded to match your scene, will fool the audience completely. This technique, known as "painting out," has been used since the silent film era and remains one of the most effective low-budget tricks in the book.Workflow Efficiency: Planning Before Shooting
The difference between a smooth VFX pipeline and a chaotic nightmare usually happens before the cameras roll. Many indie directors treat VFX as an afterthought, realizing in post-production that they didn’t capture the necessary reference material. This leads to expensive reshoots or compromised shots. To prevent this, implement a strict VFX supervisor role, even if it’s just you wearing a different hat. During pre-production, identify every shot that requires digital enhancement. Create a "VFX Shot List" that includes:- Shot Description: What is happening in the frame?
- VFX Element: What needs to be added, removed, or changed?
- Reference Needs: Do you need still photos of the location? Video of the action from multiple angles? Clean plates (shots without actors)?
- Camera Data: Lens focal length, shutter speed, and ISO settings. This data is crucial for matching the digital elements to the live-action footage.
Common Pitfalls and How to Avoid Them
Even with the best plan, things go wrong. Here are the three most common mistakes indie filmmakers make with VFX, and how to dodge them. Pitfall 1: Over-Processing. Sometimes, less is more. If you add glowing eyes, energy beams, and particle effects to every shot, the film feels cheap. Reserve your flashy effects for key moments. Use subtle enhancements-like cleaning up a background or extending a horizon-for the rest. The audience’s brain fills in gaps easily. If you try to show everything explicitly, you overwhelm them. Pitfall 2: Ignoring Lighting Continuity. A digital object that doesn’t match the lighting of the live-action scene will stand out immediately. If your live-action shot is lit by warm sunset light, your digital car shouldn’t have cool blue reflections. Always study the light sources in your plate before rendering your digital assets. Match the direction, intensity, and color temperature of the light. This step takes ten minutes but saves hours of re-rendering. Pitfall 3: Scope Creep. This is the enemy of deadlines. You start with a simple idea: "Let's just add a little fog." Then it becomes: "Can we add rain? And lightning? And a monster in the background?" Every additional element multiplies the workload exponentially. Lock your VFX requirements early. Once the shot list is approved, stick to it. If you need to change something, weigh the cost of the change against the benefit. Usually, the answer is no.Building a Sustainable Indie VFX Pipeline
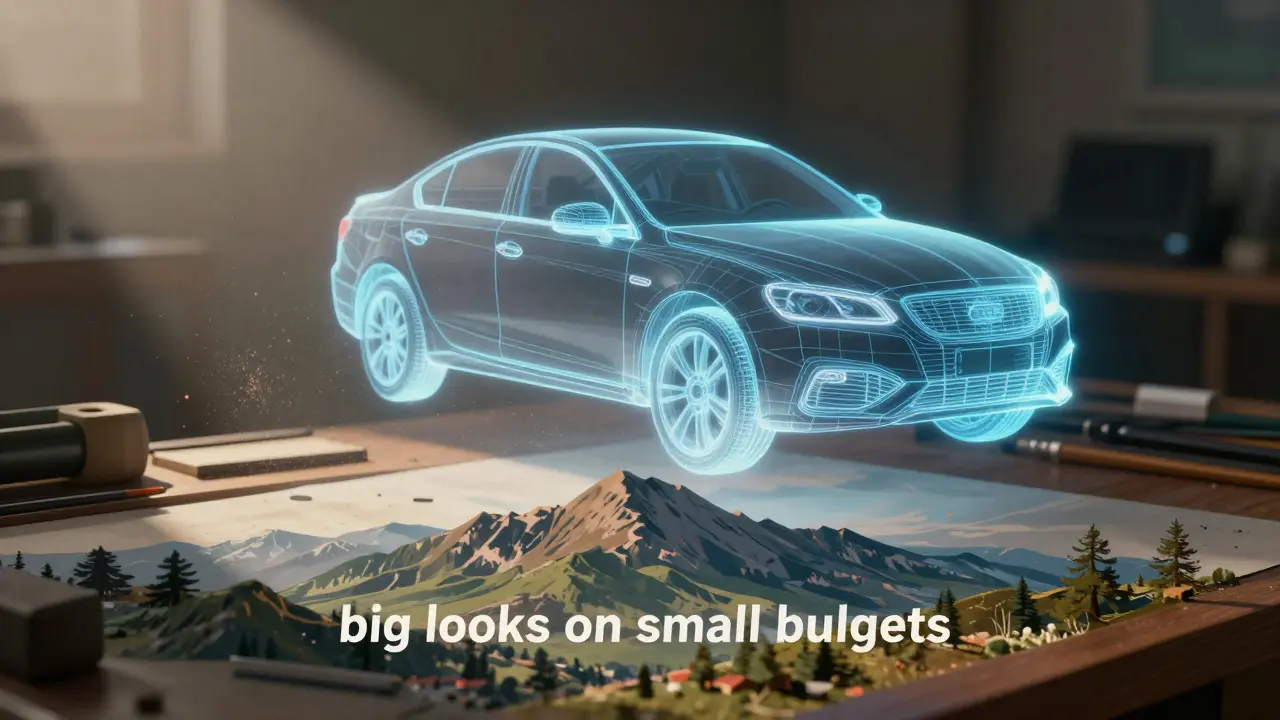
Achieving big looks on small budgets isn’t about working harder; it’s about working smarter. It requires a mindset shift from "creating everything digitally" to "integrating digital elements seamlessly." By respecting the power of practical effects, choosing the right software stack, leveraging stock assets, and planning meticulously, you can produce visuals that rival major studio productions. Start small. Pick one shot from your next project and apply these principles. Learn from the process. Iterate. The indie film community thrives on shared knowledge. Share your breakdowns, your mistakes, and your wins. As technology continues to advance, with AI-assisted rotoscoping and real-time rendering becoming more accessible, the barrier to entry for high-quality VFX will only lower. But the core principles-planning, lighting, and restraint-will never change. Master those, and your budget won’t limit your vision.What is the cheapest software for professional-looking VFX?
DaVinci Resolve is widely considered the best value option because it offers a free version with powerful compositing capabilities via Fusion. For 3D work, Blender is free and open-source. Combining these two covers 90% of indie VFX needs without any subscription fees.
How much should I budget for VFX in an indie film?
There is no fixed percentage, but a common heuristic is to allocate 5-10% of your total production budget to post-production, including VFX. However, this varies wildly based on genre. A horror film might spend 2% on VFX, while a sci-fi film might spend 20%. The key is to define your essential shots and price those specifically, rather than guessing a blanket amount.
Is green screen better than blue screen for indie films?
Green screen is generally preferred because human skin tones rarely contain green hues, making keying easier. Blue screen is useful if your costumes or props are predominantly green. Choose the color that contrasts most strongly with your subject's wardrobe.
Do I need a high-end computer to render VFX?
Not necessarily. For 2D compositing, a mid-range laptop with a decent GPU is sufficient. For heavy 3D rendering, you may need a stronger CPU and more RAM. However, you can also use cloud rendering services to offload the processing power, allowing you to work on a standard machine and render remotely.
How do I match the grain and noise of my VFX to the live-action footage?
Digital elements often look too clean compared to live-action film. To fix this, add a layer of film grain or sensor noise to your final composite. Most compositing software has built-in grain generators. Match the grain size and intensity to the original footage so the digital elements feel like they belong in the same world.


Comments(7)