Ever watched a movie where a character’s coffee cup is full in one shot and empty in the next? It happens more often than you’d think. For viewers, it’s a minor distraction. For the crew, it’s a failure of set continuity. This isn’t just about remembering where props are; it’s the invisible glue that holds a film together visually. If the background changes between cuts, or a wall color shifts slightly, the illusion of reality breaks. Tracking these details requires a systematic approach that blends technology with human observation.
Continuity isn't just a post-production problem. It starts on set. When a director calls "action," every element in the frame-from the texture of the sofa to the angle of the window light-must remain consistent unless the story demands a change. This guide breaks down how professionals track these elements, the tools they use, and the common pitfalls that can ruin a shoot day.
The Core Pillars of Visual Consistency
Before diving into software or checklists, you need to understand what actually needs tracking. Set continuity falls into three main buckets: static elements, dynamic elements, and lighting conditions. Static elements are things that don’t move, like furniture, walls, and decorations. Dynamic elements include actors, props being used, and vehicles. Lighting is the tricky one because it changes based on time of day and camera angle.
Consider a simple scene: two people talking at a kitchen table. The static elements are the table, the chairs, and the cabinets behind them. The dynamic elements are the actors’ positions and any items they pick up. If the actor on the left moves from the head of the table to the side chair, the camera angle must adjust to keep their eye line consistent. If the cabinet door was open in Scene 12A and closed in Scene 12B without anyone opening or closing it, that’s a continuity error. These distinctions help you prioritize what to photograph and document first.
Building Your Continuity Bible
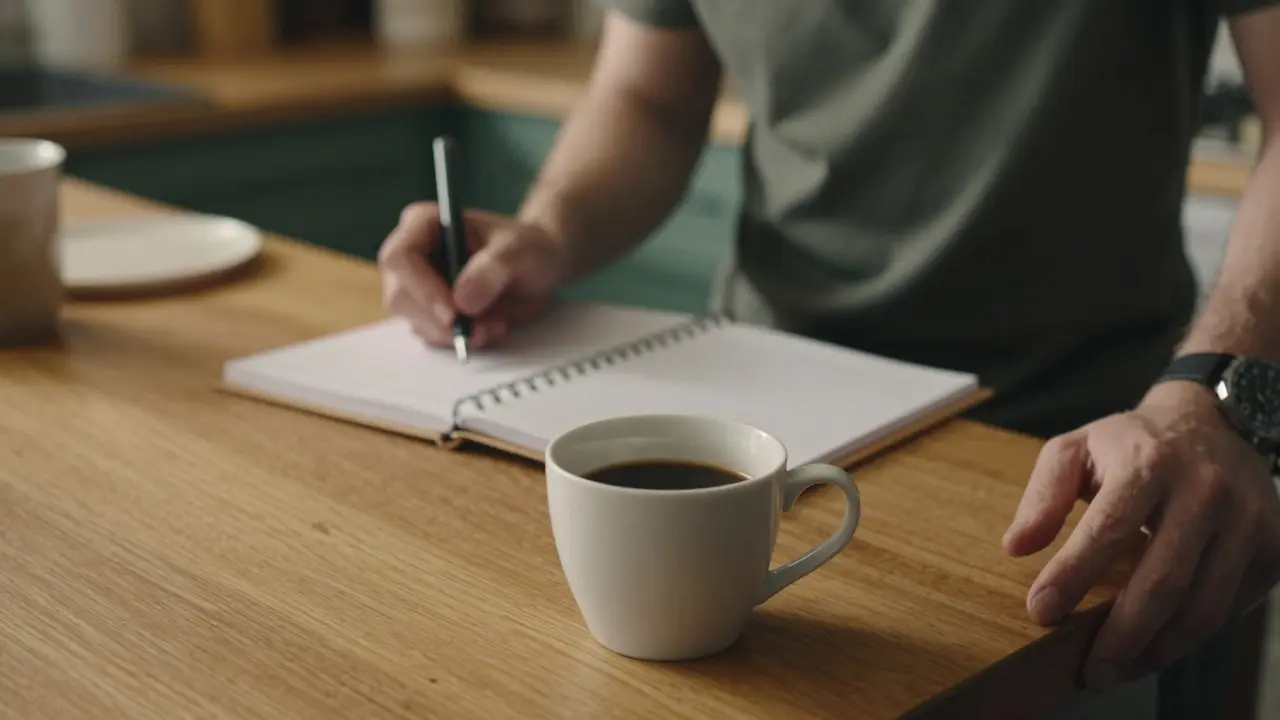
The traditional method for tracking details is the continuity bible, also known as the script supervisor’s logbook. While digital tools have evolved, the physical log remains a reliable backup. In this book, you record specific data points for every setup. This includes camera height, lens focal length, actor positions, and prop states.
- Camera Settings: Record the exact focal length (e.g., 50mm), aperture, and ISO. Even a slight change in focal length can make objects appear closer or farther apart, breaking spatial relationships.
- Actor Blocking: Note where each actor stands relative to fixed points in the room. Use tape marks on the floor if necessary. If an actor turns their head 15 degrees to the left, note it. In the next shot, they must turn the same amount to maintain eye contact.
- Prop States: Is the glass half-full? Is the book open to page 42? Photograph the prop before and after the take. This visual reference is crucial when reshooting days later.
This manual process ensures that even if your digital files get corrupted, you have a hard copy of the truth. It also serves as a communication tool between the director, cinematographer, and art department.
Digital Tools for Modern Tracking
Relying solely on paper is no longer efficient for large-scale productions. Today, most crews use specialized software to manage continuity. Apps like Shot Lister, StudioBinder, and Movie Magic Scheduling integrate directly with your shooting schedule. They allow you to upload photos of setups and link them to specific scenes and takes.
One powerful feature in these platforms is the "continuity photo" library. You take high-resolution photos of the set from multiple angles. Later, when the director wants to see how a previous scene looked, you can pull up the exact image. Some advanced systems use AI to detect mismatches. For example, if a bottle is on the left side of the table in the last shot but on the right in the current setup, the software flags it. While not perfect, these tools reduce human error significantly.
| Method | Best For | Limitations |
|---|---|---|
| Manual Logbook | Small indie films, quick reference | Slow to update, prone to handwriting errors |
| Photo Library + Notes | Medium-sized productions | Requires discipline to upload photos immediately |
| AI-Assisted Software | Large scale, complex sets | High cost, learning curve, occasional false positives |
Common Pitfalls and How to Avoid Them
Even experienced crews make mistakes. Here are the most frequent continuity errors and how to prevent them.
- Background Changes: A poster gets knocked off the wall, or a piece of trash appears in the background. Solution: Assign a dedicated continuity assistant to monitor the background during takes. Keep spare copies of key posters or decorations on hand for quick resets.
- Clothing Wrinkles and Dirt: Actors sit down, stand up, and walk around. Their clothes get wrinkled, stained, or disheveled. Solution: Have wardrobe on standby between takes. Do a quick "reset" check before rolling the camera again.
- Lighting Shifts: Clouds pass over the sun, changing the shadow direction. Solution: Use diffusion panels or artificial lights to control natural light. If using natural light, shoot all related shots within a short time window (the "golden hour" rule).
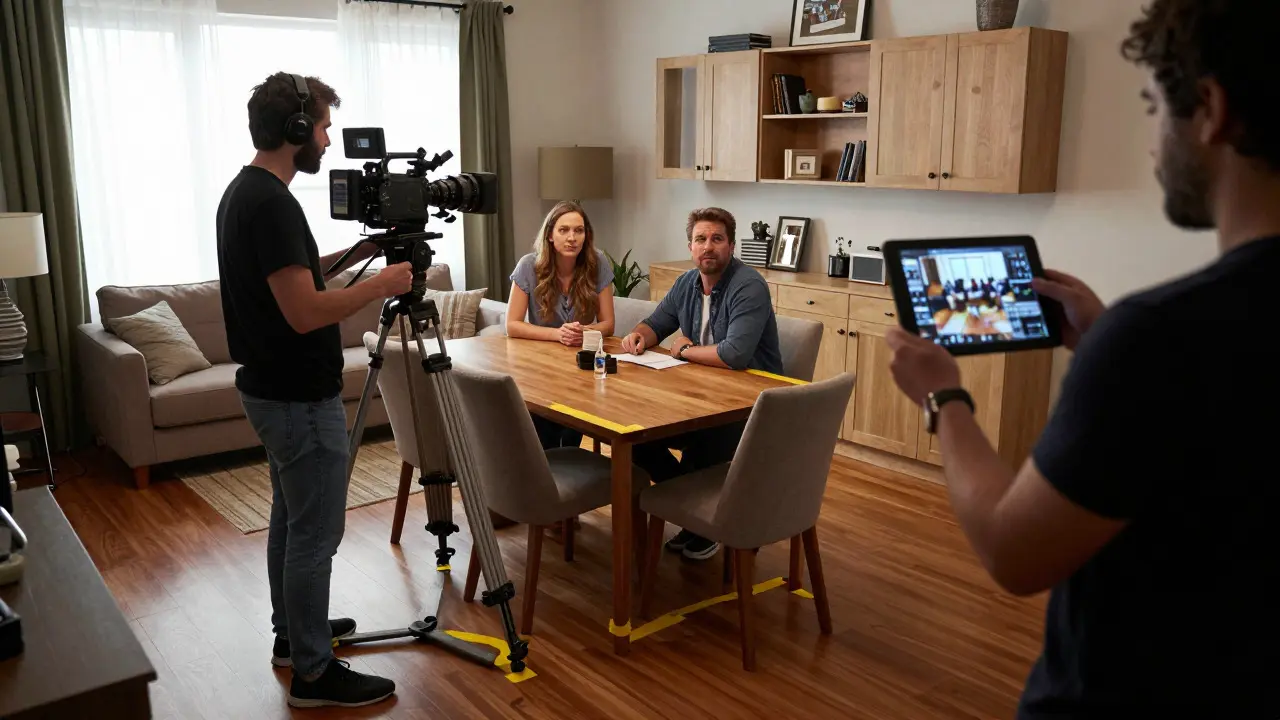
- Prop Movement: An actor bumps a lamp, moving it two inches to the left. Solution: Use gaffer tape to mark prop positions on the floor. Check the tape before every take.
The Role of Production Design in Continuity
Continuity doesn't exist in a vacuum. It relies heavily on Production Design is the overall visual concept of a film, encompassing set design, color palette, and prop selection. A well-designed set makes continuity easier. If the set is cluttered with too many small, movable items, tracking becomes a nightmare. Conversely, a minimalist set with few distinct elements is much easier to manage.
During the pre-production phase, the production designer works with the continuity team to identify potential problem areas. For example, if a scene involves a lot of movement through a doorway, the production designer might ensure that the door frame is robust and that the view through the door remains consistent regardless of which side of the door the camera is on. This collaboration saves hours of reshoots later.

Practical Workflow for a Single Scene
Let’s walk through a practical example. Imagine you’re shooting a conversation in a living room. Here is the step-by-step workflow to maintain set continuity:
- Pre-Setup Photos: Before any actors enter, photograph the entire room from all planned camera angles. Label these photos with the scene number and take number.
- Mark Positions: Place tape marks for actors and key props. Verify that the marks align with the pre-setup photos.
- First Take: Roll the camera. After the take, compare the resulting footage with the pre-setup photos. Note any discrepancies in the continuity log.
- Reset: If the director wants another take, reset the set to match the first take exactly. Move props back to their original spots. Smooth out clothing wrinkles.
- Post-Take Verification: Take a new photo of the set after the take. Compare it with the previous photos to ensure nothing shifted during the performance.
This routine takes only a few minutes per setup but prevents costly errors. Over a long shoot day, these small checks add up to significant time savings.
FAQ
What is the difference between screen direction and set continuity?
Screen direction refers to the way characters move across the frame (left to right, right to left). Set continuity refers to the consistency of physical objects and environments. They are related but distinct. You can have correct screen direction but poor set continuity if a prop moves unexpectedly. Both must be managed simultaneously.
How do I handle continuity when shooting out of sequence?
This is the biggest challenge. Always rely on your continuity bible and photo logs. When setting up a scene that happens later in the story, check the notes from earlier scenes to ensure props and costumes match the timeline. For example, if a character breaks a vase in Scene 10, the vase must be broken in Scene 15, even if Scene 15 is shot first.
Is continuity more important for documentaries or narrative films?
Narrative films require strict continuity because they create a fictional world that must feel real. Documentaries have more flexibility since they capture real events. However, even documentaries benefit from basic continuity practices, such as maintaining consistent audio levels and avoiding distracting background movements.
What should I do if a continuity error is discovered in post-production?
Sometimes errors slip through. In post-production, you can fix minor issues using visual effects (VFX) to remove or replace objects. For major errors, you may need to reshoot the scene. To minimize this risk, always review dailies (raw footage) with the continuity supervisor to catch errors early.
Do independent filmmakers need professional continuity software?
Not necessarily. Many indie filmmakers use free or low-cost apps like Shot Lister or even simple spreadsheet templates. The key is consistency, not the price of the tool. A well-maintained spreadsheet with clear columns for scene, take, and notes can be just as effective as expensive software for smaller projects.