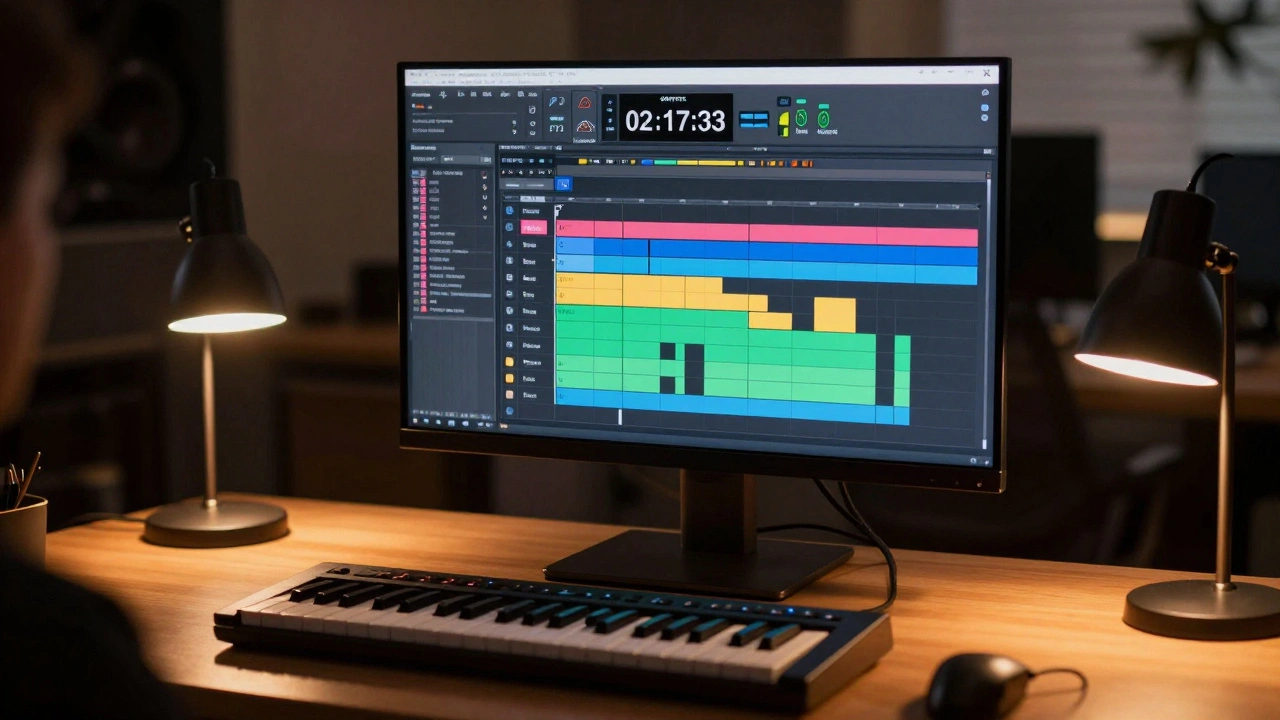
When you’re scoring to picture, every second counts. Not just because the music has to hit the right emotional beat, but because the editor’s cut won’t budge. A gunshot at 02:17:03? The cello swell has to land exactly there. No room for guesswork. Modern DAWs like Pro Tools, Logic Pro, and Cubase have turned film scoring from a paper-and-pen ritual into a precision machine-but only if you know how to use it.
Start with the right project setup
Before you touch a single note, your DAW needs to match the film’s frame rate and timecode. Most films use 24 fps, but TV shows often run at 29.97 fps. If your DAW is set to 48 kHz and 24 fps but the video is 29.97, your music will drift out of sync after just a few minutes. That’s not a minor issue-it’s a career-killer on a tight deadline.Open your DAW and import the video file directly. Don’t export audio separately and try to sync it later. Most DAWs now support embedded video playback. In Pro Tools, use File > Import > Video. In Logic, drag the MP4 or MOV file into the timeline. The software will auto-detect the frame rate and lock the timeline to it. Confirm the timecode settings in the project settings. You’ll see SMPTE timecode running in the transport bar-00:01:23:18, not minutes and seconds. That’s your new clock.
Lock the tempo to picture, not the other way around
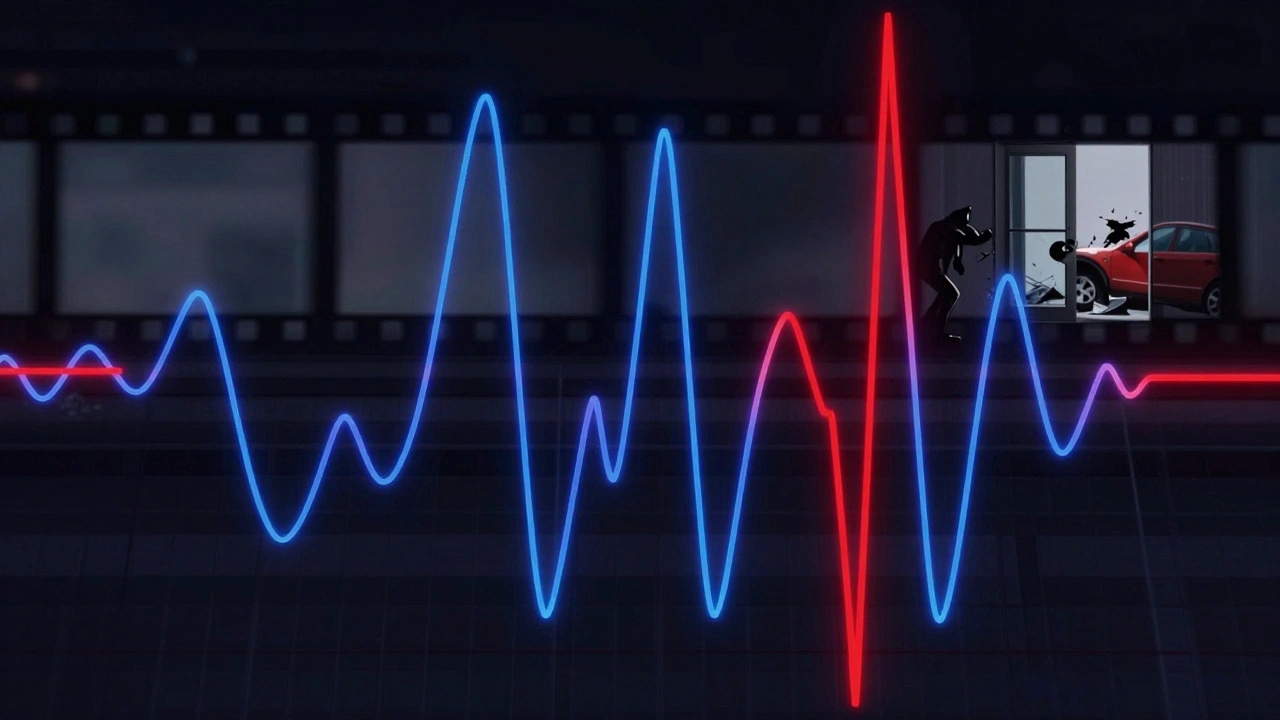
New composers often try to write a theme first, then force the picture to fit. That’s backwards. Picture drives the tempo, not the other way around.Watch the scene. Find the first major action cue-a door slams, a car crashes, a character turns. Note the exact timecode. Now, tap that beat into your DAW’s tap tempo function. Most DAWs let you tap the spacebar or a MIDI controller in real time while the video plays. Logic Pro’s tap tempo even shows you the BPM in real time as you tap. Once you’ve locked in the tempo, turn on the grid and snap everything to it.
But here’s the trick: not every scene has a steady beat. A tense dialogue scene might have no rhythm at all. That’s where tempo maps come in. Use your DAW’s tempo track to create a custom tempo curve. Add tempo changes at key emotional moments. Slow it down as the character looks out the window. Speed it up as the clock ticks down. Pro Tools lets you draw tempo changes with a pencil tool. Cubase has a dedicated tempo track with bezier curves. You’re not just matching the picture-you’re breathing with it.
Use markers for sync points, not just cues
Markers aren’t just for labeling “Chase Scene” or “Love Theme.” They’re your roadmap. Create a marker for every moment the music needs to hit: a sting, a swell, a cut, a fade. Use consistent naming: Sync: Gunshot - 02:17:03, Swell: Reveal - 03:45:12. Color-code them. Red for stings, green for swells, blue for transitions.Some composers skip this and rely on memory. That works for a 90-second short. It fails on a 2-hour feature with 87 cues. One composer I worked with lost three days on a Netflix series because he missed a sync point on cue #42. He thought the violin swell started at 1:15:00. It actually started at 1:14:58. The editor had cut the frame early. He had to re-record 12 instruments. All because he didn’t use markers.
Use your DAW’s marker list to jump instantly between cues. In Pro Tools, press Ctrl+M to open the marker window. In Logic, use the Marker List in the Global Tracks area. Click one, and the playhead jumps. No scrolling. No guessing.
Track organization is non-negotiable
You’re not writing a pop song. You’re building a sonic architecture with 15+ instrument groups. Organize your tracks like a film editor organizes footage.Group by section: Strings, Woodwinds, Brass, Percussion, Choir, Synths, FX. Then, create subgroups: Strings - Violins, Strings - Cellos, Brass - Horns. Use track colors. Red for strings, blue for brass, yellow for percussion. Freeze tracks that are rendered. Mute unused tracks. Label every track clearly: Violin 1 - Main Theme - Take 3.
Why? Because when the director says, “Make the brass louder in the third act,” you don’t want to hunt through 80 tracks. You want to click one folder and adjust the whole section. Use track folders in Logic, track stacks in Pro Tools, or channel groups in Cubase. And never, ever name a track “Untitled 1.”
Use MIDI expression for realism, not just volume
A sampled string section that just plays louder isn’t emotional-it’s robotic. Real musicians don’t just play notes. They breathe. They push. They pull. Your DAW lets you replicate that.Use MIDI CCs: CC1 for modulation (vibrato depth), CC11 for expression (dynamic shaping), CC7 for volume. Don’t just draw a straight line. Draw curves. Let the note swell slowly over two seconds before hitting full volume. Add slight pitch bends on long notes to mimic a real player’s vibrato. Use automation lanes to fine-tune each instrument’s dynamics independently.
One trick: copy a real violinist’s bowing pattern. Watch a video of a soloist playing a dramatic passage. Notice how the bow pressure changes on long notes. Now, recreate that in your MIDI editor. You’ll be surprised how much more human it sounds-even with sample libraries.
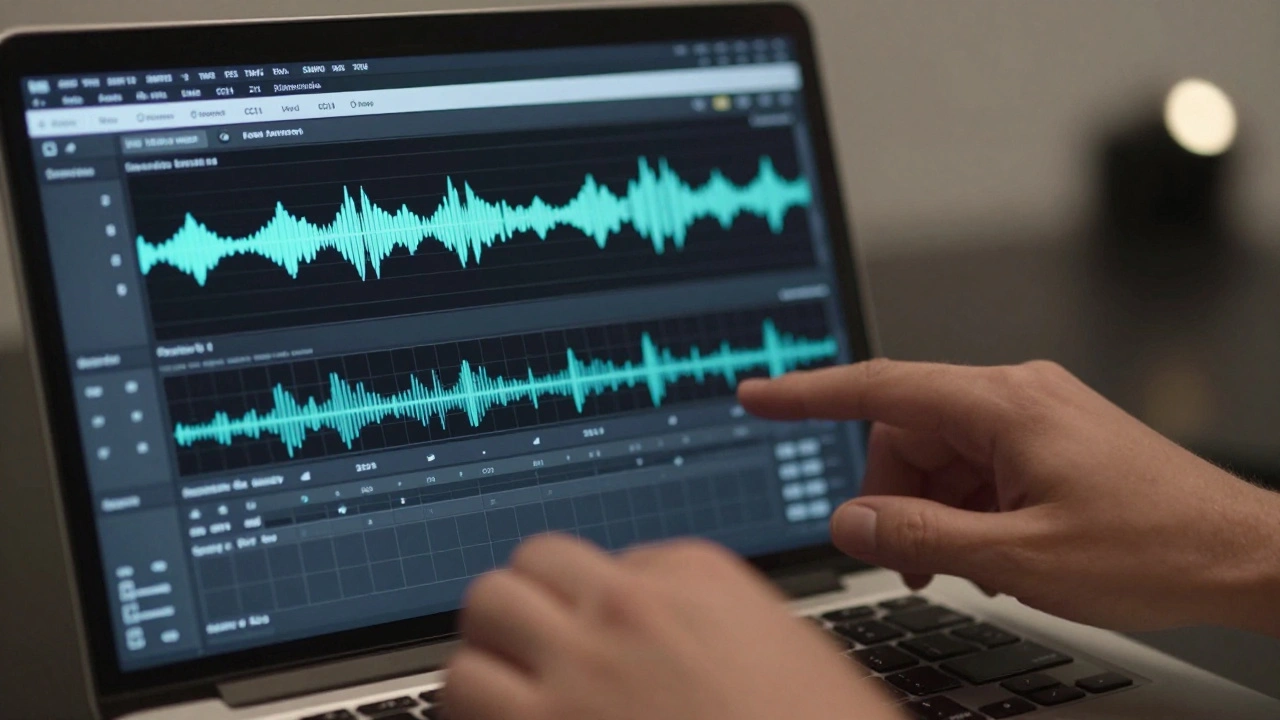
Sync audio to picture with timecode, not ears
You might think you can sync a swell by ear. You can’t. Not reliably. Human ears are terrible at detecting 1/30th of a second delays. That’s why professional composers use timecode generators and audio sync tools.Export a reference audio track from your DAW with a tone at the start of every cue. Import that into the picture editor’s session. They’ll use it to align your music with the final cut. Some studios use PluralEyes or even manual SMPTE timecode overlays. If your DAW supports it, export a timecode embedded WAV file. That way, when the editor makes a 2-frame adjustment, your music stays locked.
And always export your stems with timecode burned in. Don’t just send a stereo mix. Send individual stems (strings, brass, percussion) with SMPTE timecode embedded in the audio file. That way, if the picture changes, the re-sync is fast.
Test on multiple systems
Your studio monitors sound perfect. But the director watches the film on a laptop. The audience hears it on a phone. Your music has to survive that.Export your cue and listen on three systems: your studio monitors, your car stereo, and your phone. If the low end disappears on the phone, cut the sub-bass. If the brass gets muddy on the laptop, reduce the midrange. Use a spectrum analyzer to check frequency balance. Don’t assume what sounds good in your room will translate.
One composer sent a cue that sounded epic on his Neumann monitors. On the director’s iPad, the timpani vanished. He had to re-mix the entire percussion section. Never skip this step.
Final export: deliver what they need
Don’t just hand over a stereo WAV. Ask for the delivery specs. Most studios want:- Stems: individual instrument groups (strings, brass, etc.) as 24-bit WAV files
- Master mix: stereo 24-bit WAV, 48 kHz
- Timecode: embedded in every file
- Metadata: cue name, scene number, composer, date
Use your DAW’s batch export function. In Pro Tools, use File > Bounce > Bounce to Disk and select multiple tracks. In Logic, use File > Export > All Tracks as Audio Files. Name files clearly: MovieTitle_Cue04_Strings_24bit.wav. Include a text file with cue times and notes.
And always deliver a locked version. Once the picture is finalized, no more edits. If the director wants changes, they’ll have to re-cut the scene. Your job is to make the music fit the picture-not the other way around.
What DAW is best for scoring to picture?
Pro Tools is the industry standard in film studios because of its rock-solid timecode sync and industry-wide compatibility. Logic Pro is popular among indie composers for its intuitive MIDI editing and built-in orchestral libraries. Cubase offers deep tempo mapping and video handling, making it a favorite for complex scores. The best DAW is the one you know inside out-switching mid-project is riskier than using a familiar tool well.
Can I score to picture without a MIDI controller?
Yes, but it’s harder. You can draw in MIDI notes with your mouse, use your computer keyboard for basic input, or record audio directly. But a MIDI keyboard lets you play expressively in real time, which is critical for capturing emotion. Even a cheap 25-key controller like the Akai MPK Mini makes a huge difference in workflow speed and performance feel.
How do I handle picture edits after I’ve scored a cue?
If the picture changes by a few frames, your DAW’s time-stretching tools can adjust the audio without changing pitch. Use Elastic Audio in Pro Tools or Flex Time in Logic. For longer edits, you’ll need to re-score. Always keep your MIDI files and automation separate from rendered audio. That way, you can re-render quickly. Never delete your original project files.
Do I need to record live musicians for film scores?
Not always. Many modern scores use high-end sample libraries like Spitfire Audio, EastWest, or Orchestral Tools. But live players add irreplaceable human detail-especially for solo instruments like cello or violin. Budget often decides this. Big studio films use live orchestras. Indie films and TV often rely on samples. The key is to make samples sound real, not just play them back.
How long does it take to score a feature film?
Typically 6 to 12 weeks for a 90-minute film, depending on complexity. That includes spotting sessions, writing, recording, mixing, and delivery. Some composers work faster, but rushing leads to mistakes. The average professional composer writes 3-5 minutes of music per day. A 120-minute film with 80 cues means roughly 4-5 cues per week. Pace yourself.
Scoring to picture isn’t about being the best musician. It’s about being the most organized one. The best score in the world won’t matter if it’s out of sync, poorly labeled, or delivered late. Master the workflow, and your music will do more than accompany the film-it’ll become part of its heartbeat.


Comments(7)