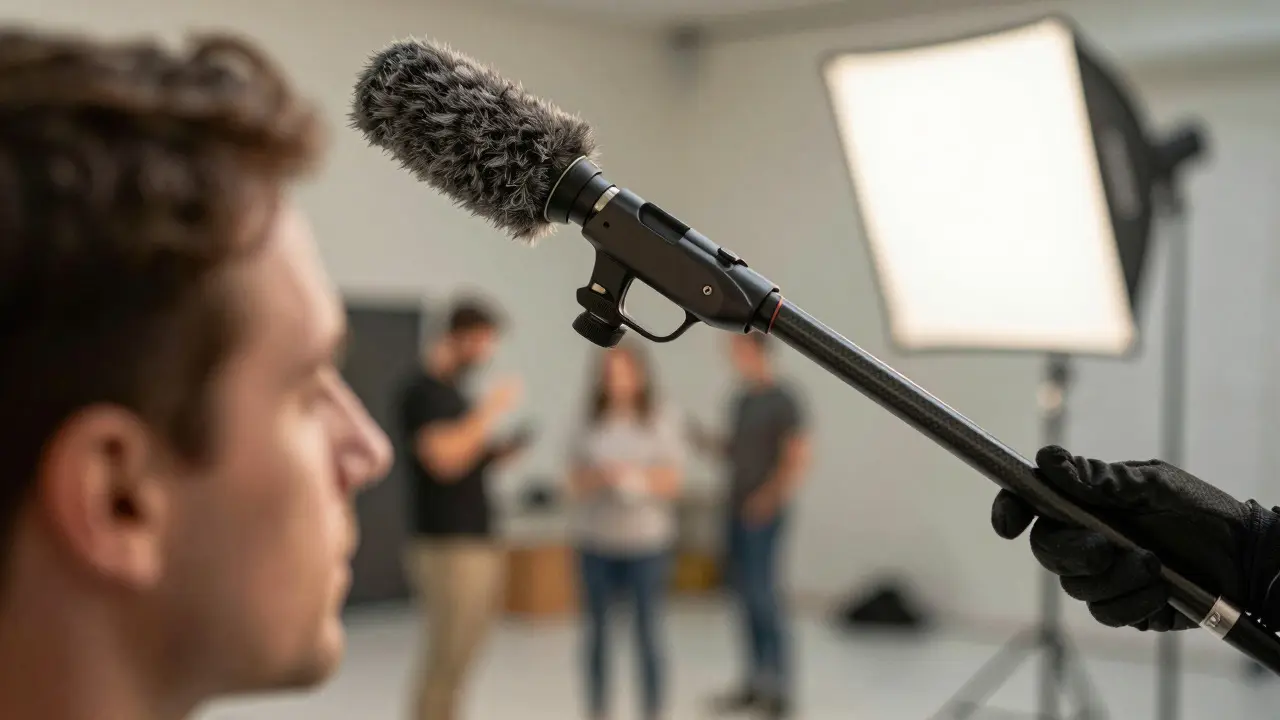
Nothing ruins a perfect take faster than wind noise or a car horn blaring in the background. You can fix lighting in post, you can color grade a flat image, but bad film dialogue is a nightmare to clean up. If the actor’s lips don’t match the words because of echo, or if there’s a hum from the air conditioning unit, editors spend hours trying to make it usable. Sometimes, they just give up and schedule ADR (Automated Dialogue Replacement), which costs money and time.
The goal of production sound is simple: get the best possible raw audio so that post-production doesn’t have to do heavy lifting. It’s about capturing the performance exactly as it happened, with clarity and consistency. This isn’t just about plugging in a microphone; it’s about managing an environment, understanding physics, and communicating effectively with the director and actors.
Why Raw Audio Quality Matters More Than You Think
Many people assume that software like Adobe Audition or Pro Tools can fix anything. While modern tools are powerful, they have limits. Noise reduction algorithms often strip away the natural breathiness and emotion from a voice, making it sound robotic. Reverb removal can leave the voice sounding dry and unnatural, like it was recorded in a closet.
Clean production sound preserves the emotional intent of the scene. When an actor whispers a secret, you want to hear the tension in their breath, not the hiss of a noisy microphone. When a character shouts in anger, you want the full dynamic range without clipping. Capturing this correctly on set saves weeks of work in the edit bay. It also gives the sound mixer more options during the final mix, allowing them to balance dialogue against music and effects without fighting against poor source material.
The Essential Gear: Boom Mics and Lavaliers
Your primary tool is the shotgun microphone, usually mounted on a long pole called a boom. The most common choice for film is the Sennheiser MKH 416 or the DPA 4017. These microphones are highly directional, meaning they pick up sound from one specific direction while rejecting sounds from the sides and rear. This allows the boom operator to position the mic close to the actor’s face without it appearing in the frame.
However, boom mics aren’t always enough. In wide shots, or when the camera angle prevents getting the boom close, you need lavalier microphones. Lavs are small mics clipped to the actor’s clothing, usually under a shirt or jacket. They provide a consistent level regardless of how far the actor moves from the camera. The downside? Lavs are prone to handling noise-rustling clothes, zippers, and skin friction. That’s why professionals use both: the boom for quality, and the lav as a safety net.
| Mic Type | Best Use Case | Main Advantage | Main Risk |
|---|---|---|---|
| Shotgun (Boom) | Close-ups, medium shots | High fidelity, rejects side noise | Must stay out of frame, limited reach |
| Lavalier | Wide shots, action scenes | Consistent volume, hidden | Clothing rustle, zipper noise |
| Handheld | Interviews, documentary style | Simple setup, direct control | Visible in frame, less professional look |
Mastering the Environment: Wind, Hum, and Reflections
Sound travels through the air, and everything in between the source and the microphone affects the result. Wind is the biggest enemy of outdoor shoots. Even a light breeze creates low-frequency rumble that destroys high-frequency detail. To fight this, you wrap the microphone in a "dead cat" (a furry windscreen) and add a foam layer underneath. For really windy days, you might need a double layer of protection.
Indoor environments bring different problems. Air conditioning units create a constant hum at 50Hz or 60Hz, depending on your country’s power grid frequency. This hum is incredibly hard to remove in post because it sits right in the range where bass frequencies live. Before rolling, turn off AC units if possible, or find a way to dampen the vibration. Also, watch out for reflections. Hard surfaces like concrete walls, glass windows, and metal doors bounce sound back into the mic, creating slap-back echo. Using blankets or acoustic panels near reflective surfaces can help absorb these bounces.
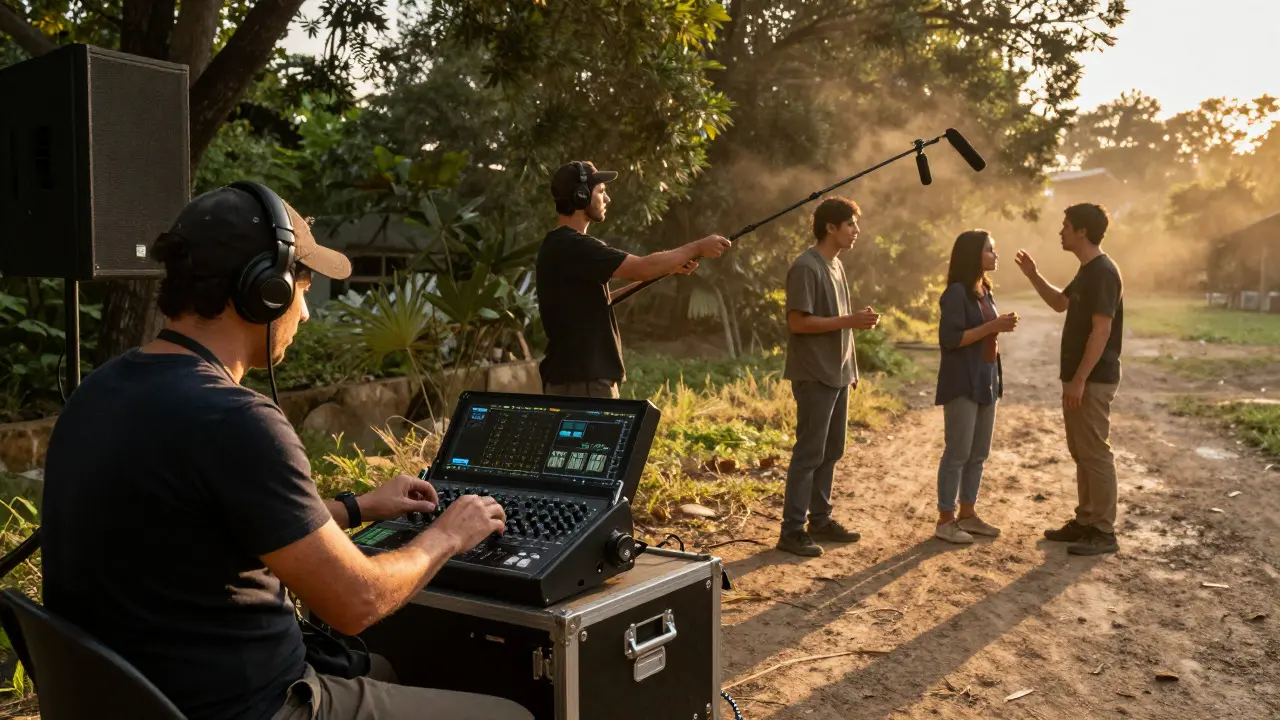
The Role of the Boom Operator and Sound Mixer
Production sound is a team effort. The sound mixer operates the recorder, monitors levels, and manages the overall audio strategy. The boom operator holds the microphone, positioning it carefully to capture the best angle without entering the camera frame. This requires immense skill. The boom op has to anticipate the actor’s movements, keep the mic steady despite walking, and maintain a consistent distance.
Communication is key. The sound mixer needs to know when the camera is rolling, when the director calls "action," and when they need a pause. The boom op needs to know the camera’s focal length and movement plan. If the camera pans left, the boom op must move right to stay in position. Miscommunication here leads to missed lines or visible mic shadows in the footage. A good sound department works silently and efficiently, becoming invisible to the audience while ensuring every word is captured clearly.
Pre-Production: Scouting and Planning
Don’t wait until you’re on set to figure out your audio strategy. During pre-production, visit the location with a portable recorder and a test microphone. Walk through the scene. Identify potential noise sources: traffic, trains, planes, construction, or local wildlife. Note down times when noise is lowest. If you’re shooting in a city, midday might be worse than early morning due to rush hour traffic patterns.
Create a shot list with audio notes. For each scene, note whether you’ll use boom, lav, or both. Flag any tricky angles where the boom might interfere with the framing. Discuss these challenges with the director and cinematographer early. It’s much easier to adjust the camera angle to accommodate the boom than to try and hide a noisy lav under a thick coat. Planning ahead reduces stress on set and ensures smoother operations.

Common Pitfalls and How to Avoid Them
- Clipping: If the actor shouts, the signal can exceed the maximum level the recorder can handle, causing distortion. Always monitor peak levels and leave some headroom. If you see red lights on the meter, lower the gain immediately.
- Level Inconsistency: If the actor moves closer or farther from the mic, the volume changes dramatically. Try to maintain a consistent distance, or use automatic gain control (AGC) cautiously. Manual adjustment is usually better for professional results.
- Ignoring Background Noise: Sometimes the dialogue is clear, but the background is too loud. This makes it hard to isolate the voice in post. Consider using a tighter polar pattern mic or adding a second track with a different setting.
- Battery Failure: Nothing stops a shoot faster than a dead battery. Check batteries before every take. Keep spares charged and ready. Label your cables and batteries to avoid confusion in the dark.
When to Accept Imperfection
Sometimes, no matter what you do, the audio won’t be perfect. Maybe a plane flew over, or the actor stumbled over their lines. Don’t let perfectionism paralyze the shoot. Get the take. If the performance is great, the editor can work with it. Sometimes, a slightly imperfect take with a strong emotional delivery is better than a technically perfect take with a flat performance. Trust your instincts and the vision of the director. Production sound is about serving the story, not just achieving technical specs.
Remember, the goal is to give the post-production team the best possible starting point. With careful planning, the right gear, and skilled execution, you can capture clean film dialogue that stands up to scrutiny. And when you do, everyone from the editor to the final viewer benefits.
What is the best microphone for filming dialogue?
For most film productions, a shotgun microphone like the Sennheiser MKH 416 or DPA 4017 is the standard. These mics are highly directional, allowing them to focus on the actor's voice while rejecting background noise. They are typically used on a boom pole for close-ups and medium shots.
How far should a boom mic be from the actor?
Ideally, keep the mic within 6 to 12 inches from the actor's mouth, pointing slightly above their head toward their face. This minimizes room reflections and maximizes signal-to-noise ratio. However, the exact distance depends on the camera angle and framing requirements.
Do I need a lavalier microphone if I have a boom?
Yes, it’s highly recommended. Lavaliers serve as a backup track. If the boom gets blocked by an object or the camera angle changes, the lav provides a consistent alternative. It’s safer to have two sources of audio than to rely on one.
How do I reduce wind noise on set?
Use a proper windscreen, often called a "dead cat," which is a furry cover designed to break up wind before it hits the microphone capsule. For very windy conditions, add a foam layer underneath the dead cat. Position the mic behind a natural windbreak if possible, such as a wall or vehicle.
What is ADR and when is it necessary?
ADR stands for Automated Dialogue Replacement. It’s the process of re-recording dialogue in a studio after principal photography. It’s necessary when on-set audio is unusable due to excessive noise, sync issues, or poor performance. While convenient, ADR is expensive and can lack the spontaneity of original takes, so it should be avoided when possible.



Comments(6)