Most film crews waste hours on set because they didn’t plan their lighting before the camera rolled. You show up with a dolly, a few lights, and a hope. Then you spend three hours just trying to get a face to look natural under a 1000W HMI. That’s not creativity-that’s chaos. Prelighting isn’t just a step in the process. It’s the difference between a shoot that runs on time and one that spirals into overtime, stress, and compromised visuals.
What Prelighting Actually Means
Prelighting is the process of setting up and testing your key lighting positions before the cast, crew, or main equipment arrives. It’s not about making everything perfect. It’s about answering three questions: Where does the light need to go? What does it need to do? And how can we get it there without moving half the set?
Think of it like laying railroad tracks before the train arrives. You don’t wait for the locomotive to show up to figure out where the rails go. You map the route ahead of time. Same with lighting. You’re not decorating the scene-you’re engineering the look.
On a low-budget indie film, prelighting might mean hanging a single 2K from a pipe grid 20 minutes before the actor walks in. On a studio production, it could involve a team of four grip and electric crew members working for two full days. The scale changes. The principle doesn’t.
Why Skip Prelighting? (And Why You Shouldn’t)
Some DP’s say, "We’ll figure it out on the day." That’s a myth. You don’t "figure it out" on set-you compromise. You end up with:
- Shadows falling on the wrong side of the actor’s face because the stand couldn’t be moved in time
- Light spill on the backdrop that ruins your color grade
- Electricians running extension cords across walkways because the circuit wasn’t tested
- Actors waiting 45 minutes while you reposition a 4x4 bounce
Every minute spent prelighting saves at least three minutes on set. That’s a 3:1 return on time investment. On a 12-hour shoot, that’s 6 extra hours of usable time.
And it’s not just about speed. It’s about control. When you prelight, you’re not reacting to the environment-you’re shaping it. You decide where the light falls, how hard it is, and what it hides. That’s the job of a cinematographer.
The Three-Step Prelighting Framework
Here’s how to do it right, whether you’re working on a microbudget short or a Netflix series.
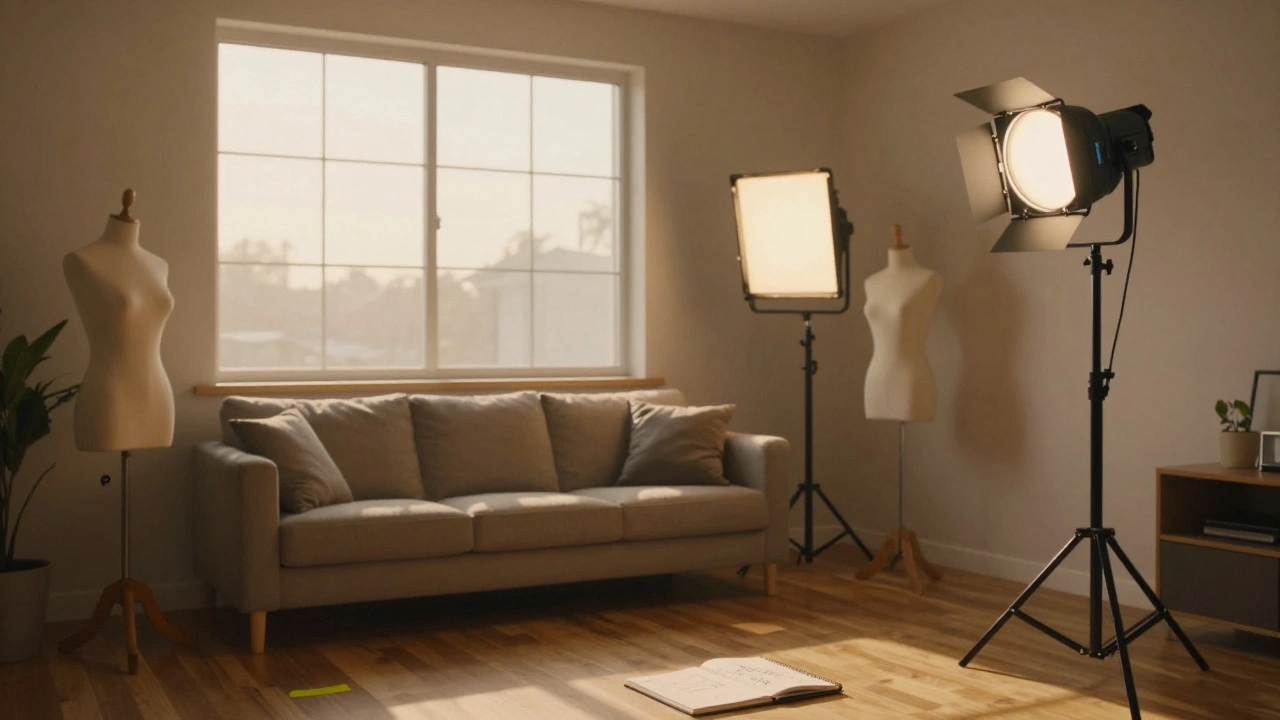
Step 1: Light the Space, Not the Subject
Don’t start by pointing lights at actors. Start by lighting the room. Walk through the set with a handheld LED panel. Turn off all the lights. See how the natural light hits the walls, floors, and windows at the time of day you’re shooting.
Now ask: What areas need to be bright? What needs to be dark? Where are the shadows falling naturally? Where do you want them to fall? This isn’t about aesthetics yet-it’s about geography.
For example: If your scene takes place in a kitchen at 4 p.m., and the window is on the west wall, the light will be low and warm. You don’t need to fight that. You need to enhance it. Hang a 1K tungsten behind a diffusion frame on the opposite wall to fill the shadows without killing the natural look.
Step 2: Mark the Lights, Not the Cords
Use gaffer tape to mark every light’s position on the floor. Not the cord. The light. Even if it’s 10 feet away from the plug. Why? Because when you’re moving a 200-pound light on a C-stand, you don’t want to be guessing where it went.
Label each tape with the light’s purpose: "Key," "Fill," "Rim," "Practical," "Background." Use colors if you want: red for key, blue for fill, yellow for backlight. This isn’t just for you. It’s for the gaffer, the key grip, the assistant who’s new. Everyone sees the same map.
Also mark the circuit breakers. If you’re pulling 15 amps from one outlet and the lights blow, you’ll know which breaker to flip without calling an electrician. Save the drama for the script.
Step 3: Test the Look, Not Just the Brightness
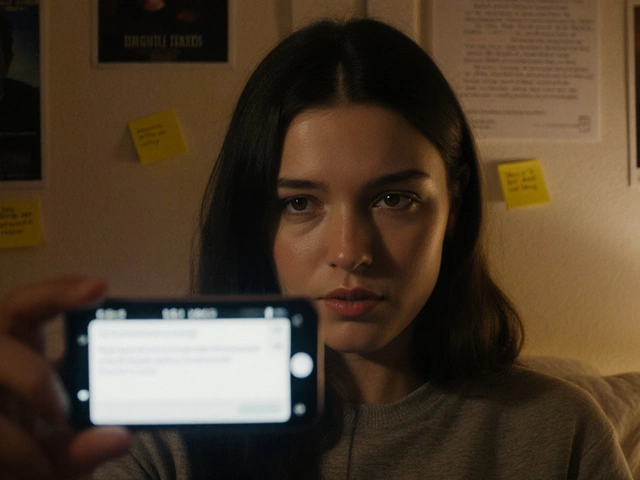
Don’t just turn on the lights and say, "Looks good." Put a test subject in the scene. A stand-in, a crew member, even a mannequin. Shoot a quick clip with the camera you’re using. Not a full take. Just 10 seconds.
Check these things:
- Is the key light catching the eye correctly? No catchlights? Too harsh? Too soft?
- Is the fill reducing contrast enough? Or is it washing out the texture?
- Is the backlight separating the subject from the background? Or is it spilling onto the wall behind?
- Are any practical lights (lamps, TVs, neon signs) actually contributing to the scene? Or are they just decoration?
This step catches 90% of lighting problems before the actor walks in. No one wants to reshoot a scene because the backlight turned the actor into a silhouette.
Common Prelighting Mistakes (And How to Fix Them)
Even experienced crews mess this up. Here are the five most common errors-and how to avoid them.
Mistake 1: Assuming the Set Will Stay the Same
Set dressers move props. Cameras move. Actors move differently than you expect. Your perfect key light at 10 a.m. might be blocked by a chair at 3 p.m.
Fix: Build flexibility into your setup. Use adjustable stands. Keep a few extra lights on hand. Don’t lock lights into one position. Use flags and nets to control spill, not just to block it.
Mistake 2: Overlighting to "Be Safe"
"We’ll just put a 5K everywhere so we can shoot at f/16." That’s not safety. That’s laziness. You’re killing contrast, texture, and mood. And you’re draining the generator.
Fix: Light for the story. A horror scene needs shadows. A romantic dinner needs softness. Use less light than you think you need. You can always add. You can’t easily take away.
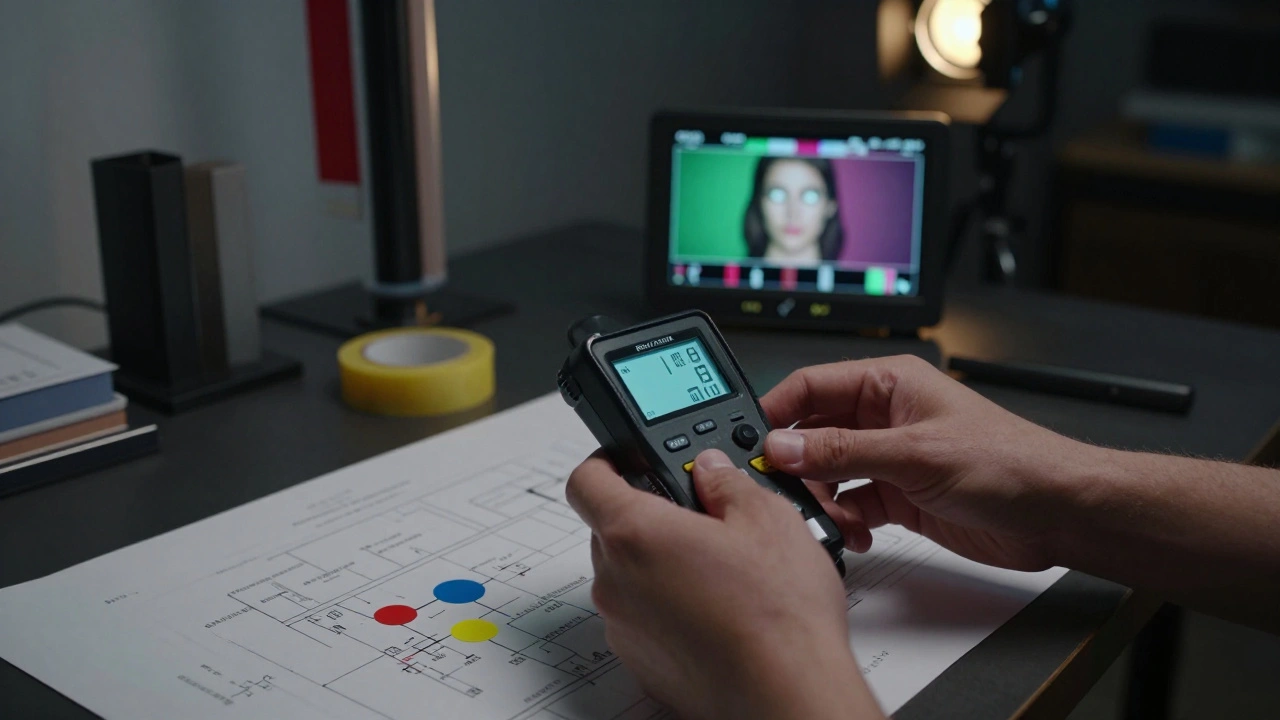
Mistake 3: Ignoring the Color Temperature
Mixing 3200K tungsten with 5600K daylight without correction? You’ll get muddy skin tones and color grading nightmares.
Fix: Pick one dominant source and match everything to it. If you’re using natural daylight, gel your tungsten lights to 5600K. If you’re using tungsten, flag out the daylight or gel the windows. Never leave mixed temps uncorrected.
Mistake 4: Not Testing the Camera’s Response
What looks good to your eyes isn’t always what the sensor sees. A light that looks balanced to you might blow out highlights on the camera.
Fix: Use the camera’s histogram and zebras. Shoot a test clip in log or raw. Check the waveform monitor. Don’t trust your eyes. Trust the data.
Mistake 5: Thinking Prelighting Is Just for the DP
Prelighting isn’t a solo job. It’s a team sport. The gaffer, key grip, best boy, and even the AD need to know what’s happening.
Fix: Hold a 15-minute prelight briefing. Show the setup. Point out the lights. Explain why they’re placed where they are. Make sure everyone knows what to do if something breaks.
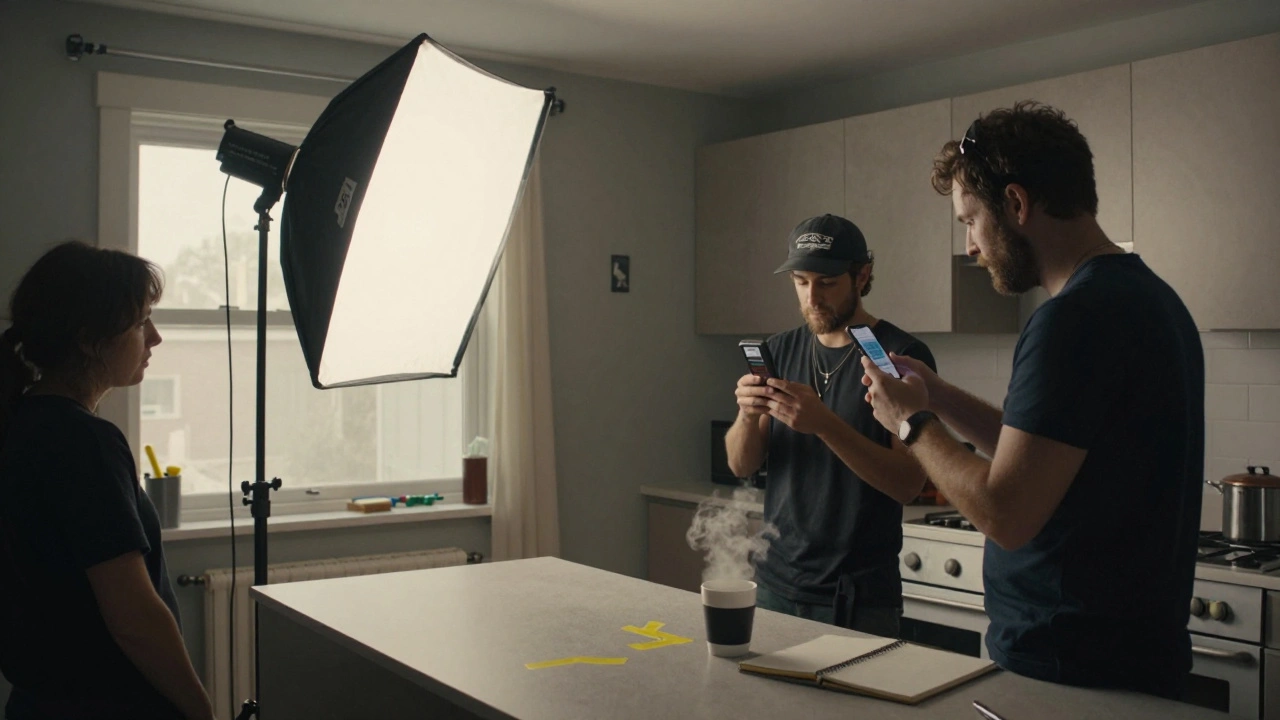
Real-World Example: A Single Room, Three Lights
Let’s say you’re shooting a conversation scene in a living room. Two characters. One window. Natural light coming in at 5 p.m.
Your prelighting plan:
- Use the window as your key light. Hang a 4x4 diffusion frame outside to soften it.
- Place a 2K tungsten on the opposite side, 45 degrees from the camera, behind a 1/2 CTB gel to match the daylight.
- Hang a 1x1 LED panel behind the sofa, aimed at the back of the heads, to create separation.
You mark each light’s position on the floor. You test the look with a stand-in. You check the histogram. You gel the window if needed. You note which circuit each light is on.
When the actors arrive, the lighting is already done. The DP just tweaks the intensity. The director says, "That’s perfect." The crew moves on to the next shot. No delays. No stress.
Tools That Make Prelighting Easier
You don’t need fancy gear. But these tools make the process faster and less error-prone:
- Light meters (like the Sekonic L-478DR) - know your foot-candles before you shoot
- Color temperature meters - confirm your gels are working
- Wireless DMX controllers - adjust LED brightness from across the room
- Portable LED panels - for quick tests and fill
- Smartphone apps like Lighttrac or Lux Light Meter - free and surprisingly accurate
And don’t forget the simplest tool: a notebook. Write down your light placements, gel types, and circuit numbers. You’ll thank yourself on day three of a five-day shoot.
When Prelighting Isn’t Possible
Yes, sometimes you’re on location with no time. A documentary crew chasing a subject. A guerrilla shoot in a public park. You don’t have a crew. You have a camera and a small LED panel.
Even then, do a 5-minute version of prelighting:
- Walk the location. Find the best natural light.
- Decide where your subject will stand.
- Place your LED where the fill should be.
- Test with your phone camera.
- Adjust one thing before you roll.
It’s not perfect. But it’s better than guessing.
Final Thought: Light Is a Tool, Not a Decoration
Lighting isn’t about making things look pretty. It’s about guiding the eye, controlling emotion, and telling the story. Prelighting is how you take control of that power before it controls you.
Stop treating lighting like an afterthought. Start treating it like the first draft of your visual language. The more you plan, the more you create. The less you plan, the more you react.
And in filmmaking, creators win. Reactors just survive.
What’s the difference between prelighting and on-set lighting?
Prelighting happens before the main crew and actors arrive. It’s about testing positions, marking equipment, and confirming the look. On-set lighting is the fine-tuning that happens during the shoot. Prelighting solves problems before they start; on-set lighting adjusts for changes.
Do I need a full crew to prelight?
No. Even a single DP with a helper can prelight effectively. The key isn’t the number of people-it’s the plan. A solo operator can mark lights, test exposure, and note circuit loads. Big crews just make it faster.
Can I prelight without a generator?
Yes. Use LED panels, battery-powered lights, or natural light. Many modern films rely on LEDs for prelighting because they’re low-power and easy to test. You don’t need a 10K light to figure out where the light should go.
How long should prelighting take?
It depends on the complexity. A simple interior scene might take 45 minutes. A multi-room set with 15 lights could take 3-4 hours. As a rule, budget 10-20% of your total shoot time for prelighting. That’s the minimum to avoid chaos.
Is prelighting only for narrative films?
No. Documentaries, commercials, music videos, and even live-streamed events benefit from prelighting. Any time you care about consistent, intentional lighting, prelighting saves time and improves quality.


Comments(7)