The Invisible Half of Filmmaking
Most people think the work stops when the director yells "Cut." That moment marks the end of shooting, but it is actually just the beginning of the real magic. The post-production process is where the movie truly takes shape. It turns hours of messy recording into a compelling story you can watch in a theater or on your screen. Think of it like cooking. Shooting gives you the raw ingredients, but post-production is the actual cooking, seasoning, and plating.
Without this stage, you just have data files sitting on a hard drive. It needs to be organized, trimmed, tuned, and packaged. For independent creators working from home studios in Asheville or massive crews in Los Angeles, the fundamentals remain the same. We take Raw Footage, the unprocessed data captured by cameras, and refine it until it looks professional.
Gathering and Organizing Your Assets
Before you make the first cut, you need a system. This phase is often called logging or dailies review. It sounds boring, but skipping it creates chaos later. Imagine trying to find one specific interview clip in three thousand files without labels. You will waste days looking for the right scene.
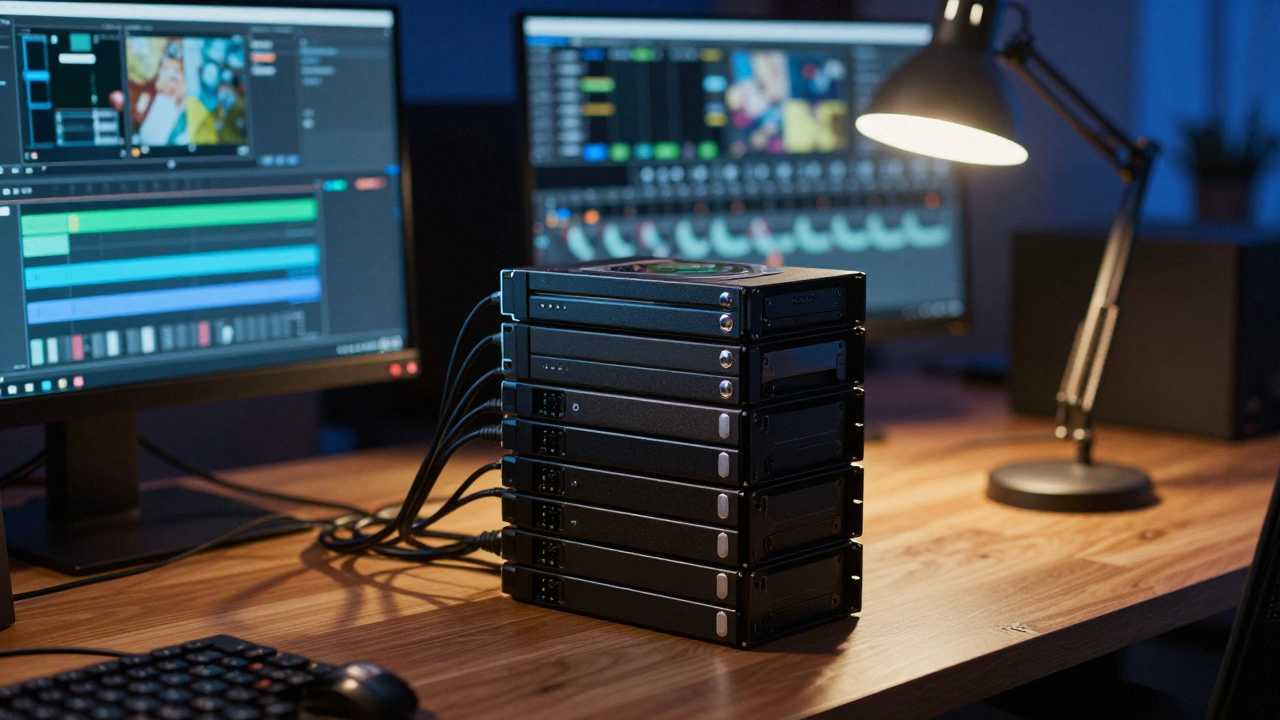
Start by ingesting everything from your camera cards. Use a non-linear editing system to import these files. The software creates a proxy file, which is a low-resolution version used for smooth playback on your computer while keeping the original high-quality file safe.
- Ingest: Copy all media from the set drives to a local server or cloud storage.
- Backup: Create redundant copies immediately. One drive failure can lose weeks of work.
- Metadata: Tag scenes with names and dates so they are searchable.
- Sync: Match audio recorded on separate boom mics with the video clips.
This preparation ensures that when you start editing, you spend time making creative choices instead of hunting for files.
Building the Story: The Rough Cut
Once your media is ready, the editor opens their timeline. They place the best shots of every scene in order. This version is called the assembly or rough cut. It is clunky and long. There are gaps in the dialogue, and the pacing might feel slow. That is okay. This stage is about structure, not perfection.
Avid Media Composer remains the industry standard for Hollywood features due to its stability with massive project files. However, for smaller projects, many editors prefer Pro NLE Systems like Adobe Premiere Pro for its flexibility.The editor trims away mistakes, stutters, and bad takes. They look at the emotional arc. If a scene drags, they shorten it. If a joke lands well, they give it more breathing room. You are shaping the narrative flow here. Directors usually view several versions of this rough cut before agreeing on a picture lock.
Picture Lock and Refinement
Picture lock is a major milestone. It means no more cuts will be made to the visual sequence. The length and timing of every shot are frozen. Why does this matter? Because sound and visuals are tightly linked. If you change the video length after adding music, the audio sync falls apart.
After picture lock comes the fine cut. Editors focus on rhythm and transitions. They add dissolve effects or cross-fades where needed to smooth out time jumps.
| Stage | Goal | Key Actions |
|---|---|---|
| Assembly | Story Structure | Place all selected shots in order |
| Rough Cut | Pacing and Flow | Trim excess, fix dialogue rhythm |
| Fine Cut | Precision | Frame-perfect timing, transition polish |
| Master | Delivery Ready | Final export settings, credits roll |
Audio Post-Production and Mixing
Audiences forgive poor video quality much faster than bad audio. Clear, immersive sound makes a production feel expensive. Once the visuals are locked, the sound team steps in. They separate the mix into different layers: dialogue, ambient noise, music, and sound effects.
Dialogue editing is crucial. Even with great on-set recording, wind noise or street traffic might ruin a line. Sound editors use tools to remove background hiss and replace problematic speech with recordings from a session, known as Automated Dialogue Replacement (ADR).
Pro Tools is the dominant software for this audio phase. It allows engineers to scrub through waveforms and apply EQ to balance frequencies. They ensure the voices sit clearly above the music bed.Sweeteners are small added sounds that create texture. If you see a character walk through a forest, you hear leaves crunching and birds chirping. These are often not in the original recording. They are constructed layer by layer to sell reality.

Color Correction and Grading
Visual tone is established here. Every frame is reviewed for consistency. Different cameras shoot light differently. If Scene 1 was filmed in the morning and Scene 2 at noon, the skin tones might shift. Color correction fixes these technical errors.
Color grading goes further. It creates a mood. A horror movie might use desaturated greens and blues. A romantic comedy uses warm oranges and soft lights. Modern grading uses scopes to analyze luminance and saturation mathematically.
Software like DaVinci Resolve has revolutionized this field. Originally designed solely for high-end color, it now handles full editing suites. Colorists paint light onto specific objects. For example, they can brighten a red jacket in a dimly lit bar scene without touching the rest of the shadow.
Adding Visual Effects
Visual effects, or VFX, range from removing unwanted crew members in the background to creating entire alien worlds. In 2026, AI tools help speed up tasks like rotoscoping, which separates foreground subjects from backgrounds. Still, the core principle involves compositing multiple image elements into a single frame.
VFX artists work closely with the final master. They match the grain of the camera sensor. If the effect looks too sharp or clean compared to the handheld footage, viewers will reject it as fake. Integration is key.
Final Delivery and Standards
You cannot just save a YouTube file and send it to distributors. Broadcasters and theaters require specific formats. This is the distribution master phase.
If you are showing in a cinema, you need a Digital Cinema Package (DCP). It encrypts the content and protects against piracy. Television requires specific broadcast levels for brightness. Streaming platforms like Netflix have strict bitrate requirements.
The technical coordinator checks the metadata. This includes closed captions and subtitles encoded into the file. They verify that the loudness level complies with regulations, ensuring the volume does not spike unexpectedly.
How long does post-production usually take?
The timeline depends heavily on the project size. A short documentary might take two to four weeks. A feature film typically spends six months to over a year in post-production. Complex visual effects extend this timeframe significantly.
What software should beginners use?
Beginners often start with iMovie or Adobe Premiere Elements for simplicity. As skills grow, moving to DaVinci Resolve (free version available) provides industry-standard color tools and editing capabilities without a subscription cost.
Is picture lock necessary before sound mixing?
Yes, changing video lengths after audio is mixed causes synchronization issues. While minor adjustments are sometimes possible, locking the picture is the standard professional workflow to prevent rework costs.
Can you edit without professional gear?
Modern laptops are powerful enough for HD and even 4K editing. Hardware acceleration and cloud workflows allow remote teams to collaborate effectively without needing a dedicated server farm.
What is the difference between color correction and grading?
Correction fixes technical problems like exposure and white balance errors. Grading is artistic and establishes the mood or style of the film. Both happen in the same software but serve different purposes.


Comments(6)