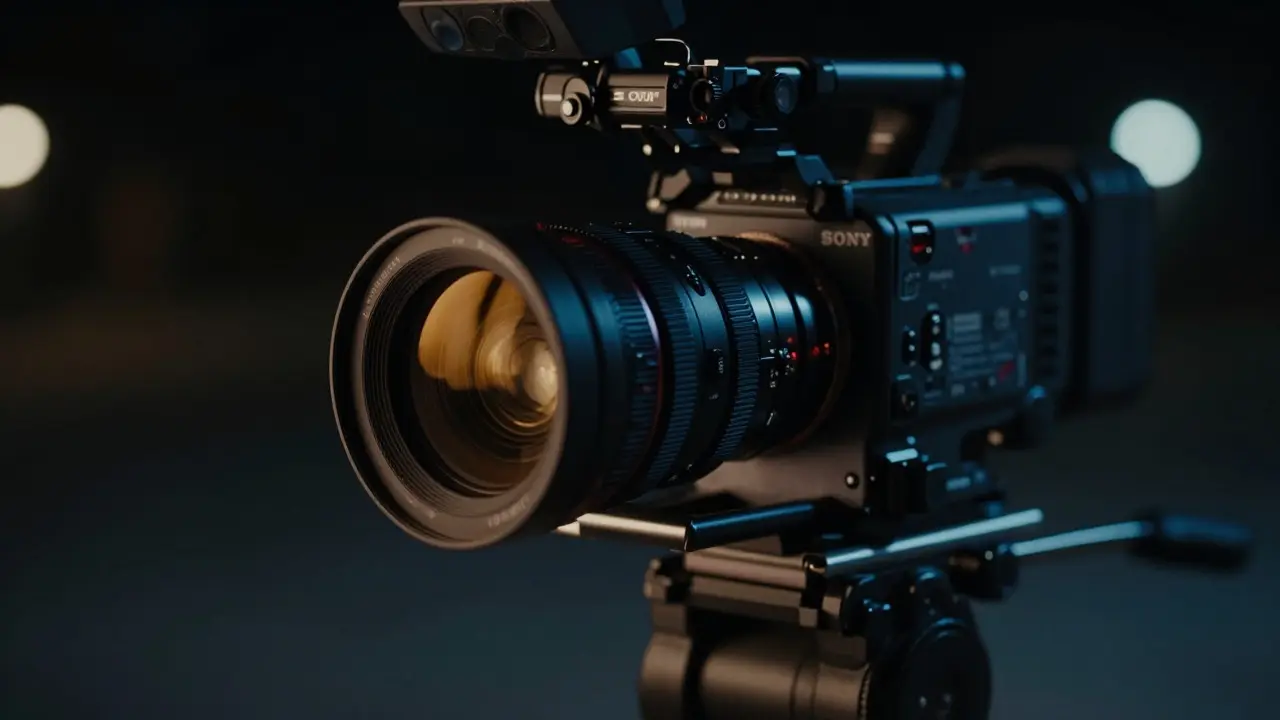
Shooting at night is where a camera's true character reveals itself. It’s also where most productions go wrong. You have limited light, high noise floors, and a ticking clock before the sun rises. But when you get it right, the result feels intimate, mysterious, or raw in a way that daylight simply can’t match. This guide breaks down how to handle night shoots without sacrificing image quality or losing your crew to exhaustion.
Understanding the Physics of Low Light
Before you touch a dial, you need to understand what your sensor is actually doing. In low-light conditions, the primary enemy is signal-to-noise ratio. As you increase ISO, you amplify the signal from the sensor, but you also amplify the random electronic noise. Modern digital sensors, like those found in the Sony FX6 or Canon C70, handle this much better than cameras from even five years ago, but physics still applies.
The key metric here isn't just maximum ISO; it's the base ISO. Every camera has a native base ISO (often 800 or 1600 for cinema cameras) where the sensor reads data with the least amount of amplification. Staying near this base ISO is the single most effective way to keep your images clean. If you shoot at ISO 400 on a camera with a base ISO of 800, you are technically under-exposing and then brightening it in post, which introduces more noise than if you had shot natively at 800.
Choosing the Right Lens Aperture
Your lens is your first line of defense against darkness. Fast lenses-those with wide maximum apertures like T1.5 or T1.9-are essential for night work. They let in significantly more light than standard T2.8 lenses. However, there is a trade-off: depth of field.
At T1.5, your focus plane becomes razor-thin. If an actor moves two inches forward, they might be out of focus. This requires precise focus pulling or the use of focus assist tools. Many cinematographers prefer T2 lenses for narrative work because they offer a balance between light gathering and manageable depth of field. If you must use a very fast lens, consider stopping down slightly if the scene allows it, prioritizing sharpness over maximum brightness.
Lighting Strategies for Night Scenes
"Low light" doesn't mean "no light." The best night shots often rely on a mix of available light and carefully placed practicals. Here is how to approach it:
- Practical Lights: Use lamps, streetlights, neon signs, or monitor glow within the frame. These sources feel authentic and help motivate shadows. Keep them warm (around 3200K) to contrast with cooler moonlight tones.
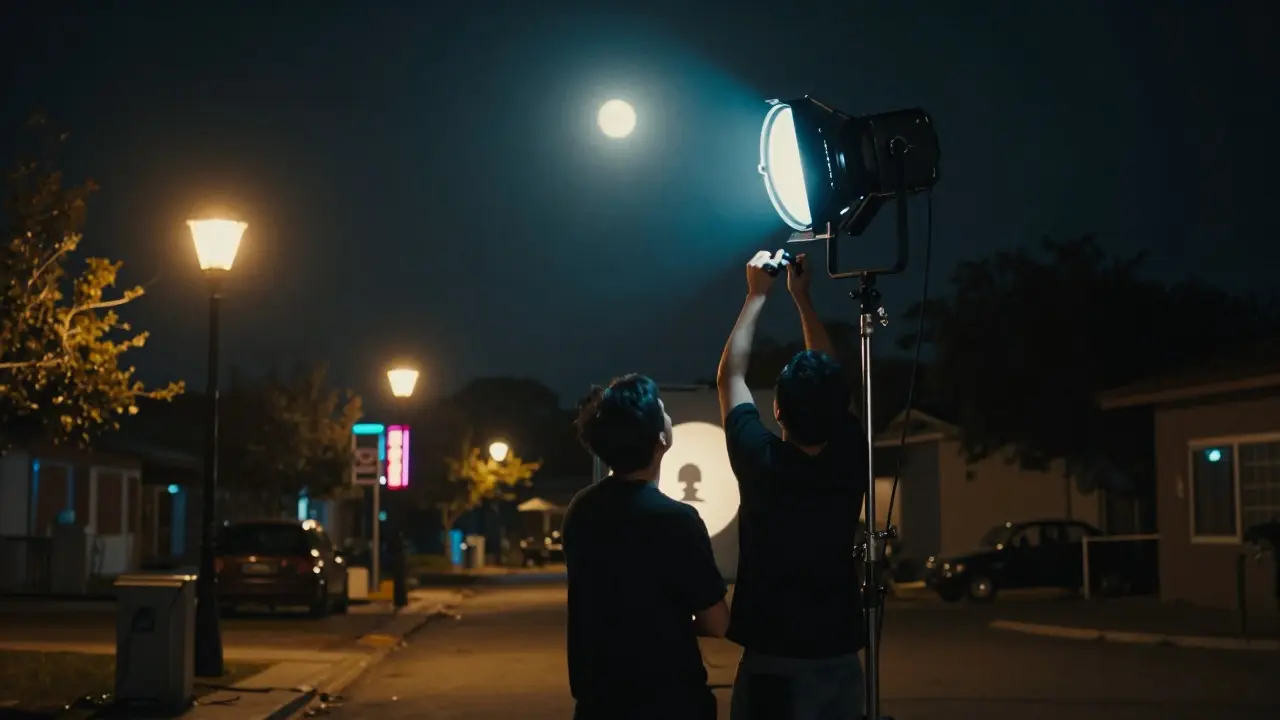
- Moonlight Simulation: If you need a cool, blue tone, use large HMI lights placed far away to mimic the soft, directional nature of moonlight. Avoid using LEDs close up for this effect, as they create harsh, flat highlights.
- Key Light Placement: Place your key light off-axis, not directly in front of the subject. Side lighting or backlighting creates texture and separation from the background. A rim light behind the subject helps define their silhouette against the dark environment.
A common mistake is trying to illuminate the entire set evenly. Instead, embrace shadows. Let parts of the frame fall into darkness. This reduces the dynamic range your camera has to handle and makes the lit areas pop more effectively.
Camera Settings and Exposure Control
Exposure at night is tricky because auto-exposure modes often fail. Your camera may try to expose for the bright streetlamp instead of the shadowed face. Always use manual exposure or semi-auto mode with locked aperture and shutter speed.
For cinematic motion blur, stick to the 180-degree shutter rule. If you are shooting at 24 frames per second, your shutter speed should be 1/48th of a second. This keeps movement looking natural. If you find your footage looks too static, don't slow the shutter down further; instead, add light. Slowing the shutter below 1/48 will introduce unnatural motion trails that look amateurish.
White balance is another critical setting. Auto white balance can shift colors mid-shot as lights flicker or change intensity. Lock your white balance manually. For mixed lighting scenes, pick the dominant color temperature and adjust the rest in post-production if necessary. A neutral starting point is usually around 5600K for daylight balance, but for night scenes, you might push it higher to simulate moonlight or lower it for tungsten-heavy interiors.
Managing Noise in Post-Production
No matter how careful you are, some noise will appear. The goal is to manage it, not eliminate it completely. Heavy noise reduction can make skin look waxy and destroy fine detail. Instead, aim for a balanced approach:
- Expose to the Right (ETTR): Slightly overexpose your highlights (while avoiding clipping) to capture more data in the shadows. This gives you more room to pull down the exposure in post without lifting noise excessively.
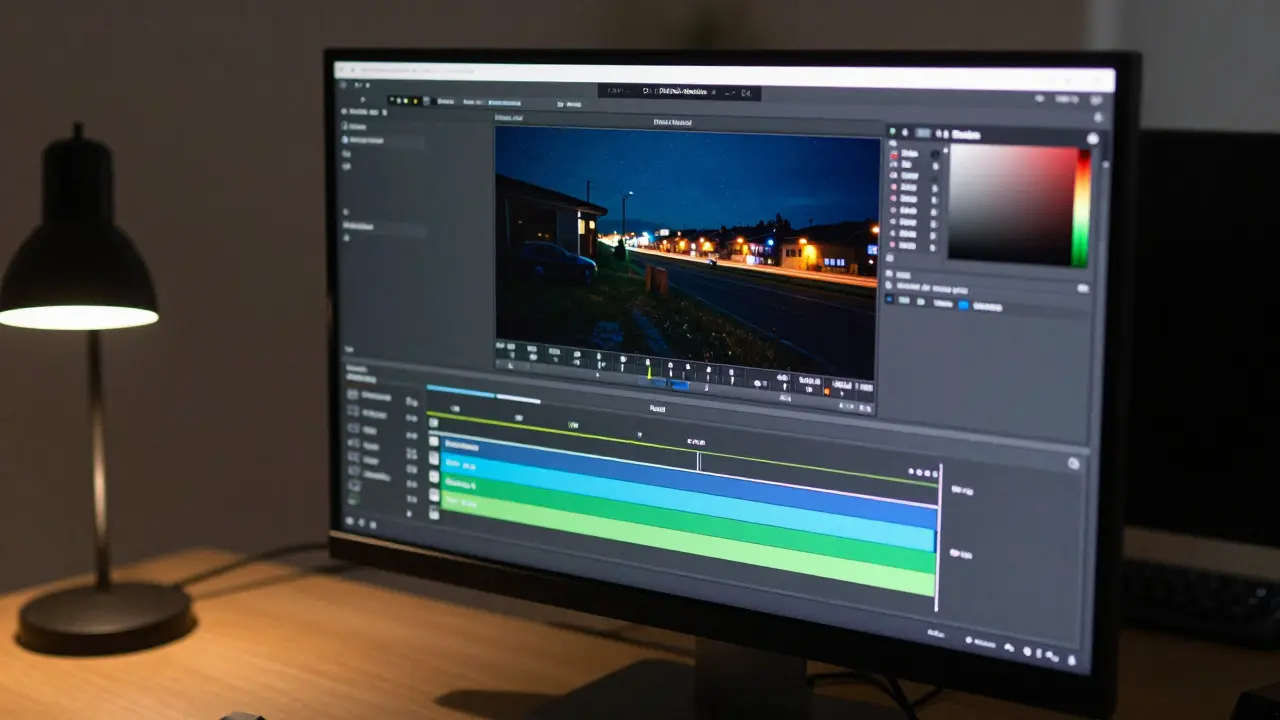
- Use Temporal Denoising: Software like DaVinci Resolve or Neat Video uses temporal information to smooth out noise across multiple frames. This is far superior to spatial denoising, which blurs details.
- Grain Matching: If you are mixing digital night shots with film or other digital sources, apply a consistent grain structure. Film grain masks digital noise effectively. Choose a grain size that matches the resolution and aspect ratio of your project.
Comparison: Popular Cinema Cameras for Low Light
Not all cameras perform equally in the dark. Here is a quick comparison of three popular models used in independent and commercial productions:
| Camera Model | Base ISO | Max Usable ISO | Sensor Size | Best For |
|---|---|---|---|---|
| Sony FX6 | 800 / 3200 | 12,800 | Super 35mm | Versatile hybrid shooting, high dynamic range |
| Canon C70 | 400 / 1000 | 10,000 | Full Frame | Documentary, run-and-gun, shallow depth of field |
| Blackmagic Pocket 6K Pro | 400 | 8,000 | Super 35mm | Budget-conscious productions, compact setups |
Note that "Max Usable ISO" is subjective. While these cameras can technically record at higher values, image quality degrades rapidly beyond the listed points. Always test your specific camera body and lens combination before committing to a production schedule.
Common Pitfalls to Avoid
Even experienced directors of photography make mistakes at night. Here are the top three errors to watch out for:
- Over-reliance on Fill Light: Adding too much fill light flattens the image and removes the mood. Trust the shadows. If the audience can't see everything, they will pay closer attention to what they can see.
- Inconsistent Color Temperature: Mixing 3200K tungsten with 5600K daylight without gelling creates green or magenta casts that are hard to fix in post. Gel your sources to match the intended look.
- Ignoring Background Illumination: A perfectly lit subject against a pitch-black background looks unnatural unless it's a deliberate stylistic choice. Add subtle backlight or bounce light to separate the subject from the background.
Frequently Asked Questions
What is the best ISO setting for night photography?
There is no single "best" ISO. The ideal setting is your camera's native base ISO, typically 800 or 1600 for modern cinema cameras. Stay as close to this value as possible while maintaining correct exposure. If you must go higher, do so only when necessary to avoid motion blur.
How do I reduce noise in night video?
Reduce noise by exposing correctly at the base ISO, using fast lenses to gather more light, and applying temporal noise reduction in post-production. Avoid heavy spatial denoising, which blurs details. Adding film grain in post can also mask residual digital noise effectively.
Should I use a tripod for night shoots?
Yes, whenever possible. Long exposures and high ISO settings amplify any camera shake. A sturdy tripod stabilizes the image and allows for slower shutter speeds if needed. For moving shots, use a gimbal or stabilized rig to maintain smooth motion without introducing jitter.
What lens aperture is best for low-light filming?
Lenses with wide maximum apertures, such as T1.5 or T1.9, are ideal for low-light filming. They allow more light to reach the sensor. However, be mindful of the shallow depth of field these apertures create, which requires precise focus management.
How does white balance affect night shots?
White balance determines the color temperature of your image. At night, mixed light sources can cause inconsistent colors. Lock your white balance manually to a fixed value (e.g., 5600K) and gel your lights to match this temperature. This ensures color consistency throughout the scene and simplifies post-production grading.



Comments(7)