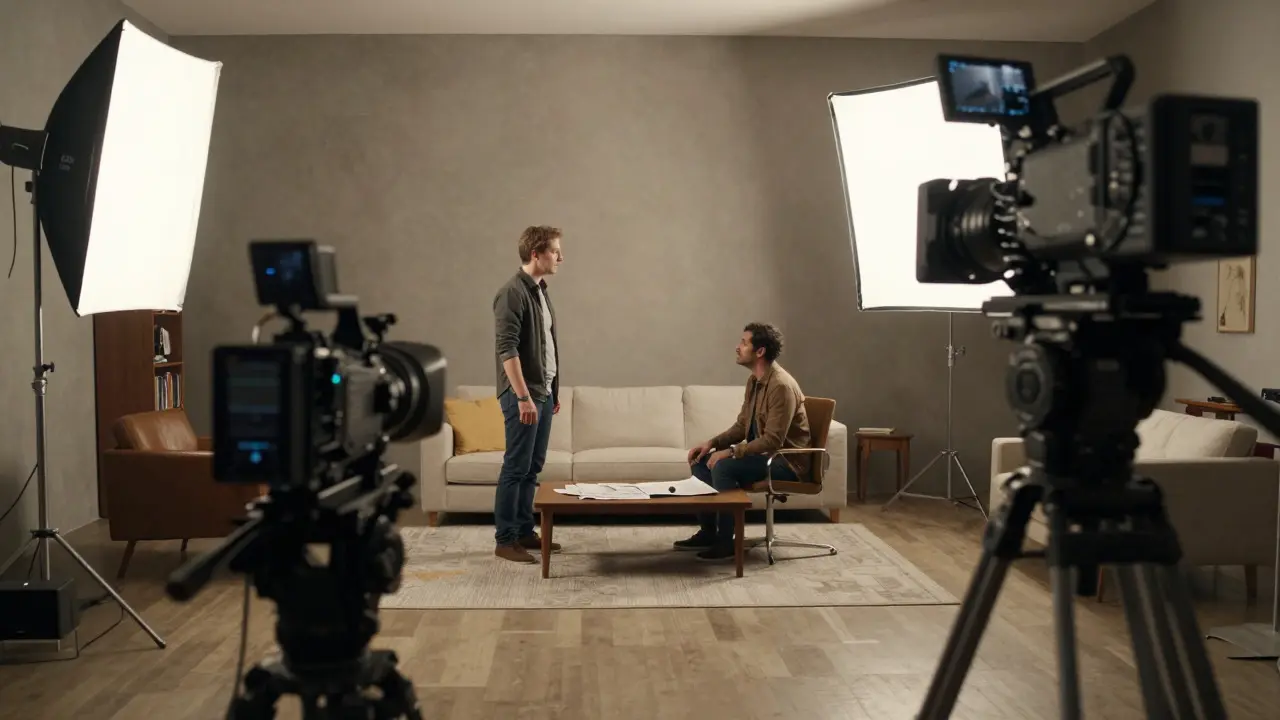
Imagine you are standing on a set, camera rolling, and the director calls for a take. You need to capture every emotional beat, every physical movement, and every spatial relationship between characters without missing a single detail. That is exactly what a master shot is a wide-angle cinematic framing that captures the entire action of a scene in a single continuous take, establishing spatial context and character relationships. It serves as the backbone of your film coverage, providing editors with a safety net and audiences with a clear understanding of where everyone is.
Many directors rely heavily on close-ups to convey emotion, but without a solid master shot, those close-ups can feel disorienting. The audience might not know which way a character is facing or how far apart two people are standing. This article breaks down how to plan, shoot, and utilize master shots effectively to create seamless, professional-looking scenes.
Why the Master Shot Is Non-Negotiable
A master shot is not just a "wide" shot; it is a strategic tool. In cinematography, it establishes the geography of the scene. If two characters are arguing across a room, the master shot shows the distance between them, the furniture they might bump into, and the body language that defines their power dynamic.
- Spatial Orientation: It tells the viewer where the action is happening relative to the environment.
- Editing Safety Net: If a close-up has a technical error (like focus pulling issues), the editor can cut to the master shot to hide the mistake.
- Pacing Control: Wide shots often allow for slower, more observational pacing, giving the audience time to absorb the scene's mood.
Think of the master shot as the map. All other shots are zooms into specific points on that map. Without the map, the journey gets confusing.
Planning Your Coverage: The Three-Point System
Before you even pick up the camera, you must plan your coverage. The standard approach involves three key angles per character plus the master shot. This ensures you have enough material to edit a coherent sequence.
- The Master Shot: Captures all actors and the full set design. Usually shot from a higher angle or at eye level, using a wider lens (e.g., 24mm or 35mm on full-frame).
- Two-Shots: Frame two characters together. These help maintain the relationship dynamics while allowing for tighter framing than the master.
- Single Shots (Close-Ups): Focus on one character’s face or upper body. These capture subtle micro-expressions and reactions.
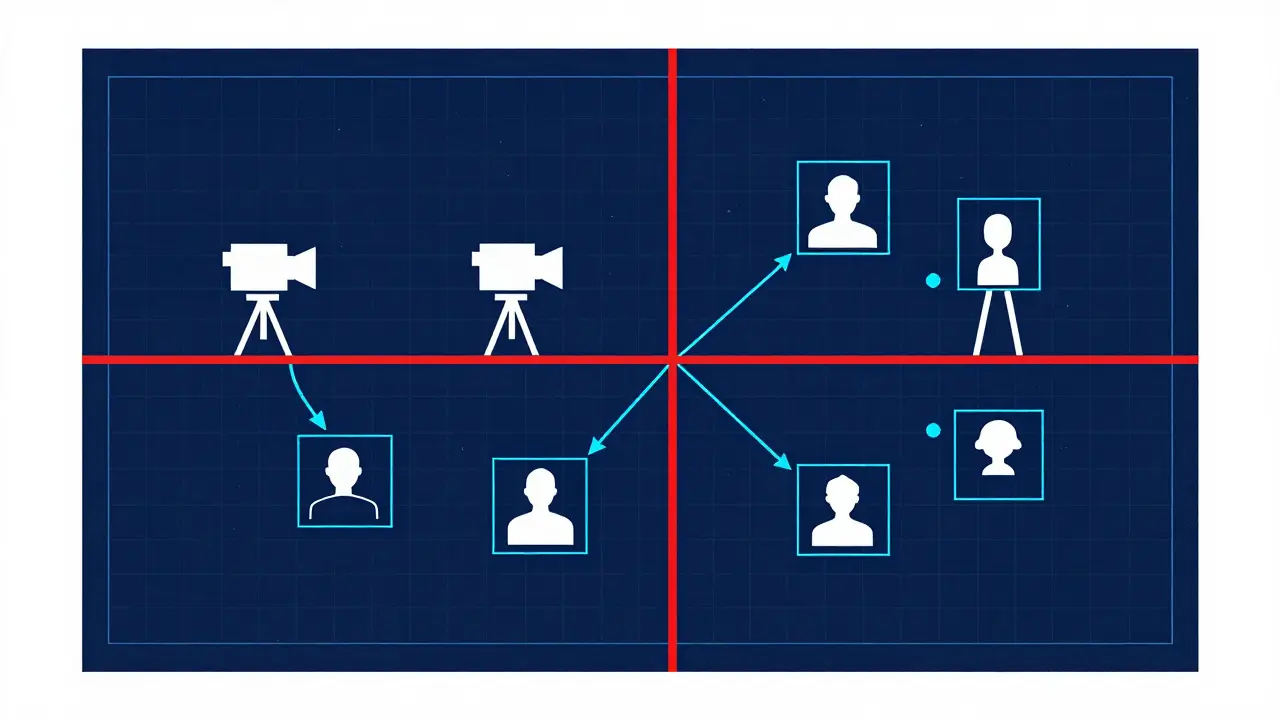
When planning, consider the 180-degree rule. This principle dictates that the camera should stay on one side of an imaginary line connecting the characters. Crossing this line without reason can confuse the audience about who is facing whom. The master shot helps establish this axis clearly.
Technical Execution: Lenses and Lighting
Shooting a master shot requires different technical considerations compared to close-ups. Because you are capturing a larger area, depth of field becomes a critical factor. You generally want a deeper depth of field so that both foreground and background elements remain sharp. This often means stopping down your aperture (using a higher f-number like f/8 or f/11) rather than shooting wide open.
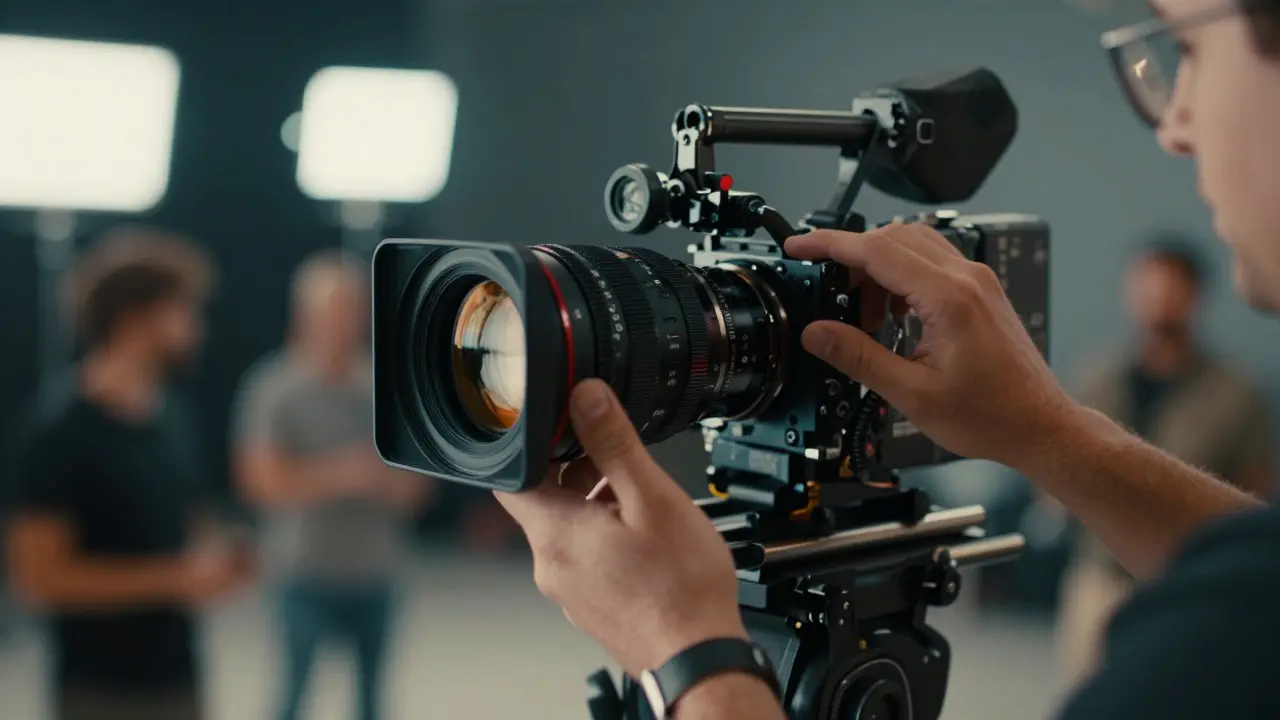
Lens choice matters significantly. A prime lens offers superior optical quality and low distortion, which is crucial for maintaining the integrity of the set design. However, if you are in a tight space, a high-quality zoom lens might be necessary to adjust framing quickly without moving the camera base. Just be mindful of breathing effects when zooming, which can distract viewers.
Lighting for a master shot is challenging because you need to illuminate a wider area evenly. Unlike a close-up, where you can sculpt light around a single face, a master shot requires broader, softer sources to avoid harsh shadows across the entire set. Large softboxes or HMI panels are often used to achieve this uniformity.
Blocking and Movement
Great master shots involve dynamic scene blocking. Static master shots can feel boring if the actors don't move. Encourage your director to choreograph movement that utilizes the depth of the frame. For example, having a character walk from the background to the foreground adds dimension and keeps the visual interest alive.
Camera movement also plays a role. A slow dolly-in or a gentle pan can transform a static master shot into a dynamic piece of storytelling. However, keep movements smooth and motivated. Every camera move should serve the narrative, not just show off equipment. Steadicam or gimbal stabilizers are invaluable here, ensuring that the motion remains fluid and professional.
| Shot Type | Primary Purpose | Typical Lens Range | Depth of Field |
|---|---|---|---|
| Master Shot | Establish spatial context and full action | 24mm - 35mm | Deep (f/8 - f/16) |
| Two-Shot | Show interaction between two characters | 35mm - 50mm | Moderate (f/4 - f/5.6) |
| Close-Up | Capture emotion and detail | 85mm - 135mm | Shallow (f/1.8 - f/2.8) |
Common Mistakes to Avoid
Even experienced cinematographers make errors with master shots. One common pitfall is ignoring the background. Since the master shot includes everything, a cluttered or distracting background can ruin the composition. Always scan the edges of the frame before hitting record.
Another mistake is mismatched eyelines. If the master shot shows Character A looking left, but the subsequent close-up shows them looking right, the edit will feel jarring. Ensure that the blocking in the master shot aligns perfectly with the coverage you plan to shoot next. Communication between the director, DP, and actors is vital to prevent these continuity errors.
Finally, don't overthink the lighting. Sometimes, natural light or practical lights within the set can provide a more authentic look than complex artificial setups. Balance is key; you want the subject to stand out without making the background look artificially flat.
Editing Implications
Your work doesn't end when the camera stops rolling. The master shot provides the editor with a baseline. In post-production, the editor uses the master shot to match cuts, ensure consistent timing, and fix minor performance inconsistencies. If an actor flubbed a line in a close-up, the editor can sometimes use audio from the master shot to patch it, provided the lip sync is close enough.
Furthermore, the master shot allows for flexible editing rhythms. During intense action sequences, you might cut away from the master frequently. In quieter, dialogue-driven scenes, you might hold on the master shot longer to let the tension build. Understanding how your coverage will be edited helps you shoot with intent.
What is the ideal lens for a master shot?
The ideal lens depends on the size of the set, but typically a 24mm to 35mm prime lens works well for most indoor scenes. Wider lenses (18mm) can distort perspective, while longer lenses (50mm) may require too much physical space to fit all actors in frame.
Do I always need a master shot?
While not strictly mandatory for every single scene, it is highly recommended for any scene involving multiple characters or significant spatial changes. For simple two-person conversations in a fixed location, a series of two-shots and singles might suffice, but the master shot remains the safest bet for complex scenes.
How does the 180-degree rule affect master shots?
The 180-degree rule requires the camera to stay on one side of the axis of action. The master shot establishes this axis visually. If you cross the line in a later shot without a reason, the audience may feel disoriented. The master shot helps define the 'correct' side for all subsequent coverage.
Can I use a zoom lens for master shots?
Yes, especially in tight spaces or fast-paced productions. However, primes offer better image quality and less distortion. If using a zoom, lock the focal length after framing to avoid breathing effects during the take.
What is the difference between a master shot and an establishing shot?
An establishing shot usually appears at the beginning of a scene to show the location (e.g., a city skyline). A master shot occurs during the scene itself and captures the full action of the characters within that location. Establishing shots are often static; master shots follow the action.


Comments(5)