Quick Wins for Your Reel
- Lead with your strongest work, not your oldest.
- Keep the total length under two minutes.
- Prioritize sound quality over flashy visual effects.
- Cut out the fluff; start the scene right before the tension peaks.
- Ensure your current look matches the footage.
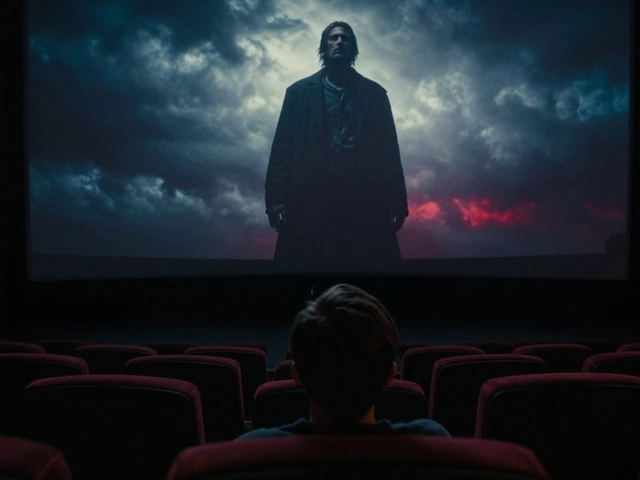
The Psychology of the Casting Director
Before you open your editing software, you need to understand who is watching. Casting Directors is the professionals responsible for selecting actors for specific roles in film, television, and commercials. They aren't looking for a creative art piece. They want to see three things: your range, your "type," and your technical proficiency on camera.
If you're a "gritty detective" type, don't waste forty seconds on a comedic sketch from a student film unless it's incredibly tight. You want the viewer to instantly categorize you. When a casting director sees a reel that gets straight to the point, it tells them you're a professional who understands the industry. It's a subtle signal that you won't waste time on set.
Curating the Right Clips
The biggest mistake actors make is including every scene they've ever been in. If a scene is "okay," it's actually hurting you. A reel is only as strong as its weakest clip. You should be looking for Acting Range, which is the ability to portray a variety of emotional states and character archetypes convincingly. However, don't confuse range with randomness. Choose two or three distinct "flavors" of your acting-perhaps a high-tension drama and a lighthearted conversational piece.
Where does the footage come from? Ideally, you want professional sets. If you're just starting, Self-Tapes-recorded auditions filmed by the actor at home-can be used in a pinch, but they should be high quality. If you use a self-tape, make sure the lighting is clean and the background is a neutral color. Avoid using clips from high school plays or low-budget shorts where the audio sounds like it was recorded inside a tin can. Bad audio is a faster way to get a reel rejected than bad acting.
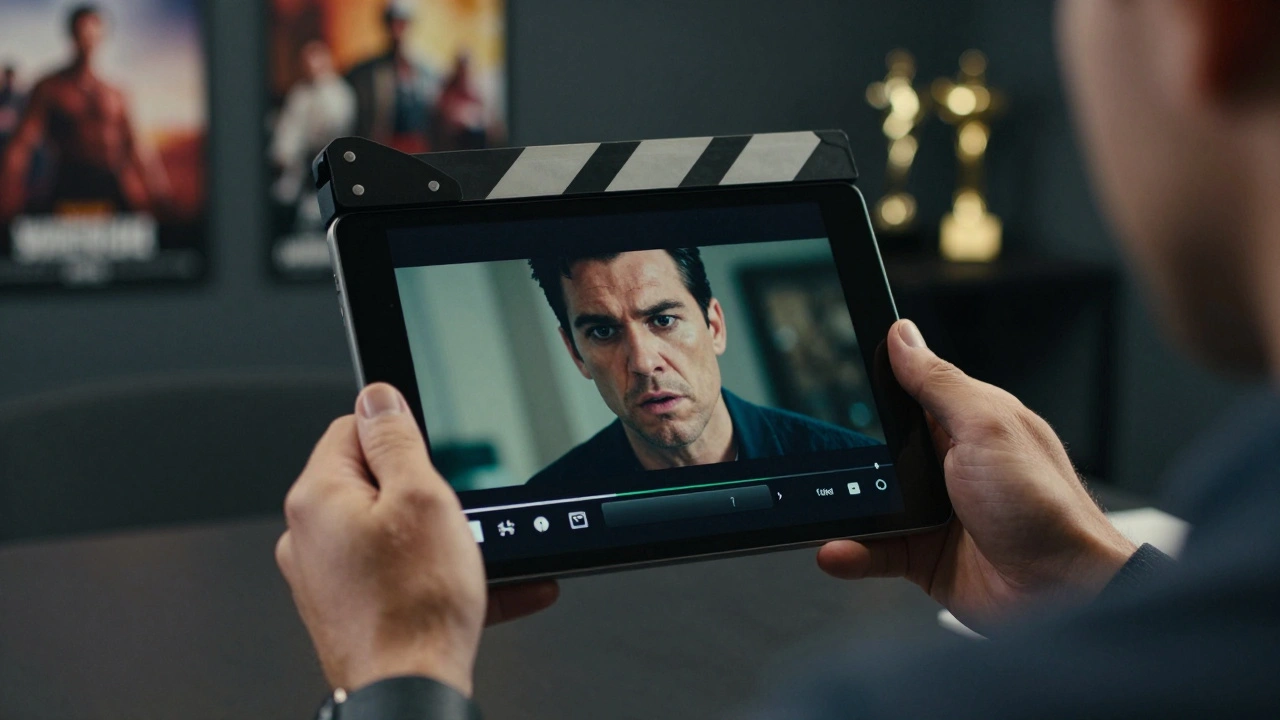
The Art of the Edit: Cutting for Impact
Now we get into the actual actor showreel construction. You aren't making a movie; you're making a collage. Most scenes in films are too long for a reel. You need to trim the fat. Instead of showing the entire buildup to a confrontation, start the clip right when the conflict begins. This keeps the energy high and the pacing tight.
Avoid the "montage opening." You know the ones-music playing while a series of headshots and quick clips flash by. Casting directors hate these. They want to see you talking and acting immediately. Start with your absolute best scene. If you have a clip from a known production or with a recognized actor, put that first. It provides an immediate stamp of legitimacy.
| Keep it if... | Cut it if... | Why it matters |
|---|---|---|
| Your face is clearly visible and in focus. | The camera is mostly on the other actor. | They are hiring you, not your scene partner. |
| The dialogue is crisp and easy to hear. | There is loud background noise or wind. | Audio quality equals production value. |
| The emotion is authentic and focused. | You are "over-acting" or chewing scenery. | Subtlety usually plays better on camera. |
| It shows a specific, marketable "type". | It's a generic scene with no clear character. | Specificity helps you get cast. |
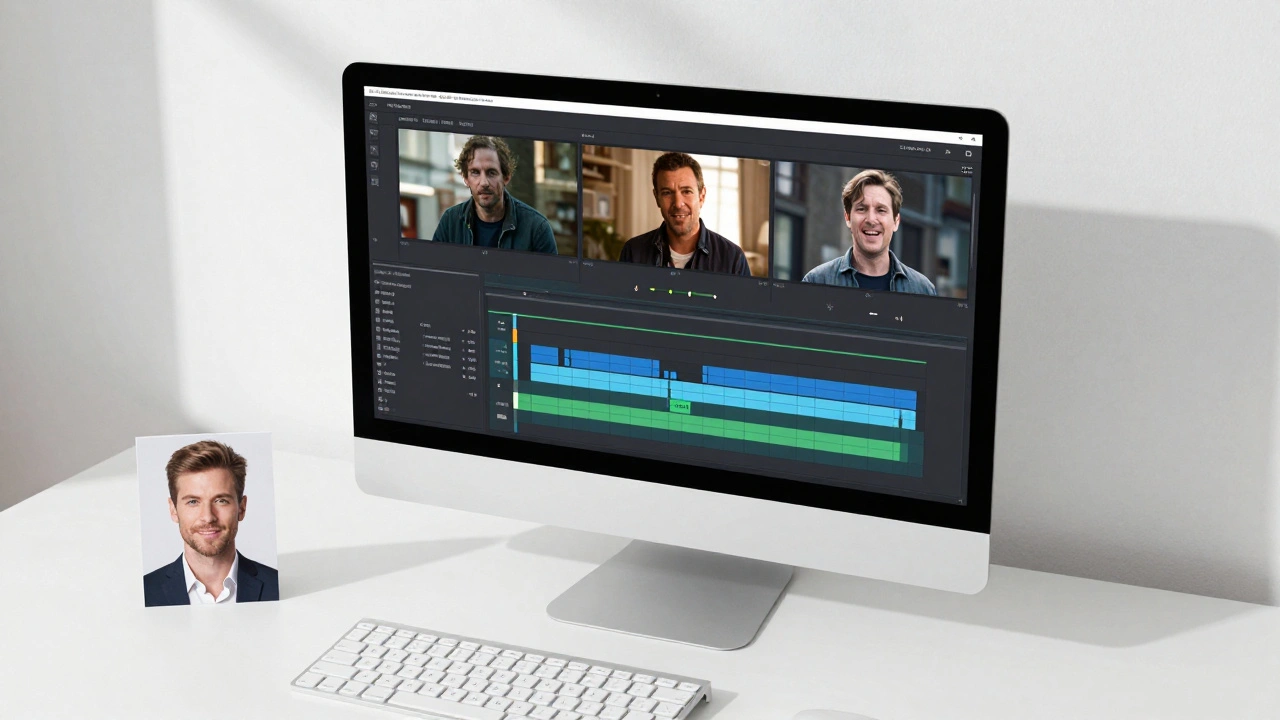
Technical Setup and Software
You don't need a Hollywood studio to edit your reel, but you do need a clean finish. While Adobe Premiere Pro is the industry standard for professional editors, many actors find DaVinci Resolve-a powerful free professional video editing software-to be a great alternative, especially for color correction. If you're on a Mac and want something simple, iMovie works, but it lacks the precision of the others.
When exporting, stick to standard formats. H.264 or MP4 is the safe bet. Avoid sending massive 4K raw files that will crash a casting director's email or slow down their browser. Keep the file size manageable. If you're uploading to Vimeo or YouTube, ensure the privacy settings allow the recipient to view the video without needing to sign in or request access.
Common Pitfalls and How to Avoid Them
One of the biggest traps is the "ego edit." This is when an actor includes a scene just because they liked how they looked in it, even if the acting is mediocre. Remember, a reel is a tool for employment, not a vanity project. If a scene doesn't showcase your ability to drive a story forward, it doesn't belong.
Another mistake is outdated footage. If your reel features you with long hair and a beard, but you've since shaved your head and lost twenty pounds, that reel is misleading. When a casting director calls you in based on a reel, they expect the person who walks through the door to look like the person in the video. If the discrepancy is too large, you might lose the job before you even speak.
Putting it All Together: The Final Flow
Your reel should flow like a conversation. Start with a bang, maintain the interest in the middle, and end on a strong, memorable note. A typical structure looks like this: Scene 1 (The Powerhouse) → Scene 2 (The Contrast/Different Vibe) → Scene 3 (Supporting Strength). Each transition should be a clean cut. No fancy wipes, no star-shaped transitions, and no distracting music between scenes.
Finally, add a simple slate at the beginning or end. Your name, your representation (if applicable), and your contact info. Keep it minimal. The focus should remain on the performances. If you can't find enough high-quality footage, consider filming a high-end Demo Scene. This is a scripted scene specifically filmed for your reel with a professional crew to fill a gap in your range.
How long should my actor reel be?
Ideally, keep your reel between 60 and 120 seconds. Casting directors have incredibly limited time. If you can prove you're talented in 90 seconds, you're more likely to have the whole thing watched than if you provide a five-minute epic.
Can I use clips from student films?
Yes, absolutely, provided the quality is high. The only thing that matters is how you look and sound on screen. If the student film has professional lighting and clear audio, it's a great addition. If it looks like a home movie, leave it out.
Should I include a voiceover reel in my acting reel?
No. Keep them separate. A visual reel focuses on your screen presence and facial expressions, while a voice reel focuses on vocal range and timing. Mixing them can confuse the casting director and dilute the impact of both.
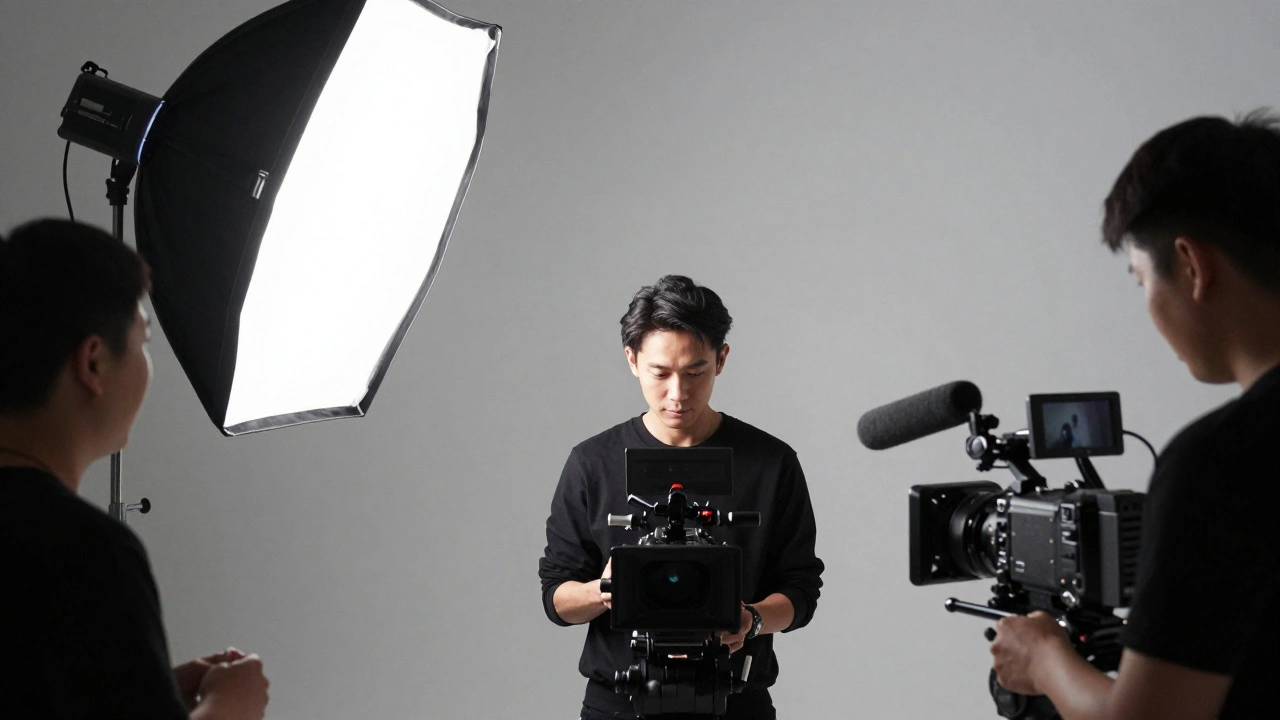
What if I don't have any professional footage yet?
Film a few high-quality demo scenes. Hire a local DP (Director of Photography) and a sound mixer to record a couple of short, contrasting scenes. This shows you're proactive and gives you a professional starting point.
Do I need to put music in the background of my scenes?
Generally, no. Let the acting and the dialogue do the work. Adding generic cinematic music can often feel amateur and can distract from the nuance of your performance.
Next Steps for Your Career
Once your reel is finished, don't just let it sit on a hard drive. Upload it to a professional hosting site and add the link to your digital profiles and emails. If you're applying for a specific role that requires a vibe different from your general reel, consider creating a "mini-reel"-a curated 30-second clip specifically tailored to that character's archetype.
If you find yourself struggling to pick clips, ask a trusted acting coach or a peer to watch it. Sometimes we are too close to our own work and can't tell when a scene is dragging. A fresh set of eyes can help you identify the exact moment a clip should end to keep the energy peaking.


Comments(5)