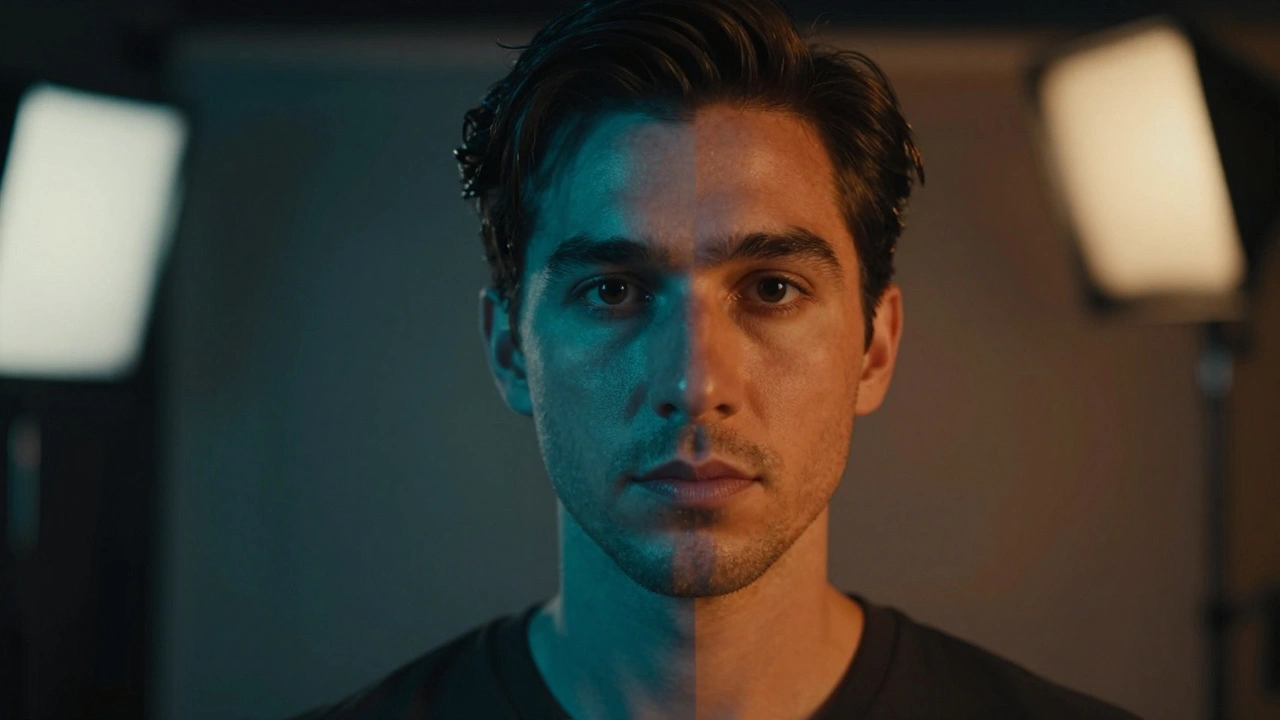
If you shoot with an ARRI Alexa is a high-end cinema camera known for its distinct color science and dynamic range. one day and a Sony FX6 the next, you know the nightmare. The skin tones clash. The greens look different. Even when exposed identically, the images feel disconnected. This isn't just bad monitoring; it's a fundamental conflict between how sensors capture light and how we interpret data. To fix this, you need to master Color Science is the proprietary way a camera manufacturer processes image data from the sensor to the output file. and understand exactly what a Film LUT is a Look Up Table that maps input color values to output color values for creative grading or conversion. does.
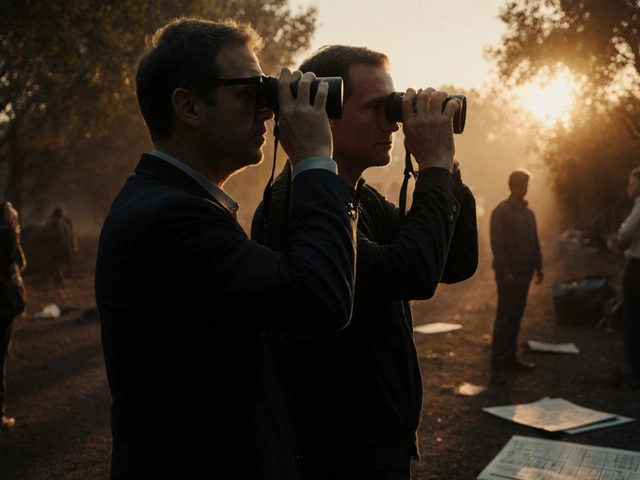
We spend too much time hunting for "free download" presets that ruin our footage before we even start editing. A preset is not a solution. It's a band-aid. Real consistency comes from understanding the pipeline. When you mix cameras on a documentary or a narrative project, the goal isn't to make them look identical. That's impossible because the sensors differ. The goal is to make them work together so the eye never stumbles during a cut.
The Difference Between Color Space and Color Science
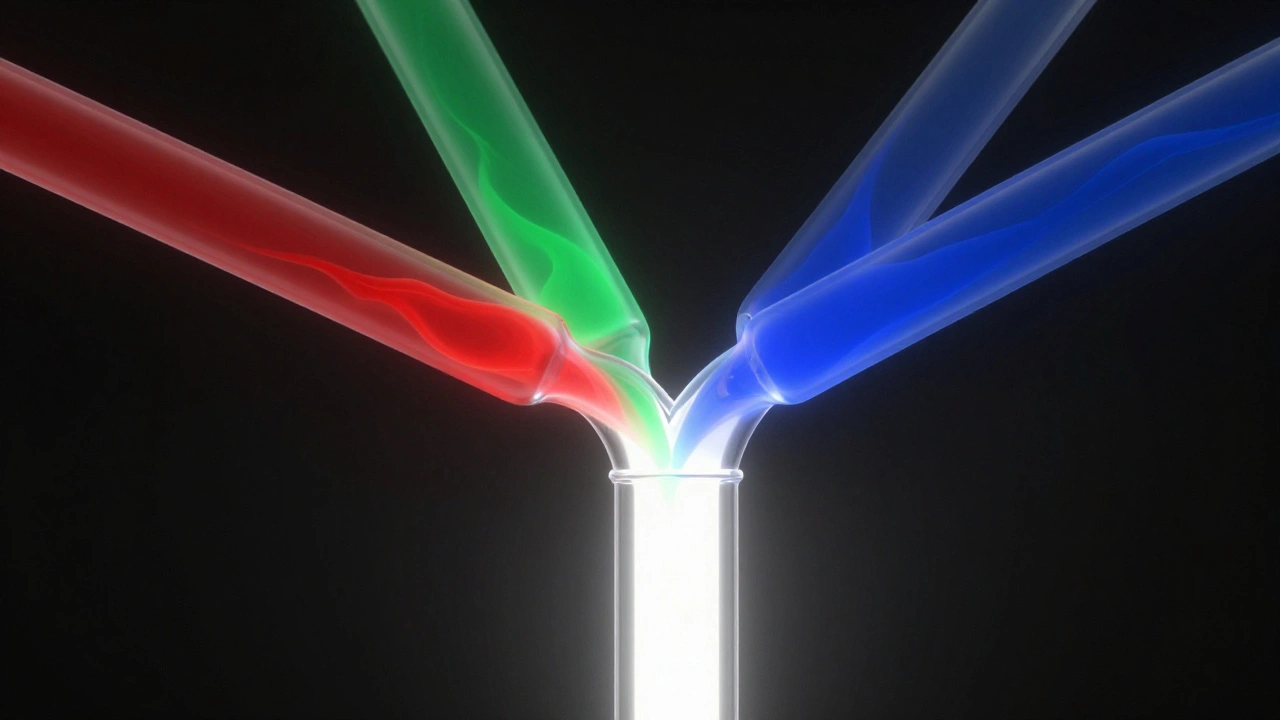
People often confuse these terms. They sound similar, but they solve different problems. A color space is a mathematical container. It defines the range of colors a file can hold. You have spaces like Rec.709, DCI-P3, or ACEScg. Think of this as the size of the bucket you pour your paint into. If you dump a gallon of red paint into a cup, it overflows and distorts.
Color science is the flavor. It dictates how the camera decides what "red" means. An ARRI sensor might interpret a brick wall differently than a Red Komodo does. One might push the saturation slightly warmer, while the other keeps it cooler. This is hard-coded into the demosaicing process. When you switch to Log Encoding is a flat image profile designed to preserve maximum dynamic range by compressing highlight information., you strip away most of this baked-in processing. You get a flat image that looks gray and lifeless. This gives you the raw material to rebuild the look later.
Without converting Log to Linear or a standard space, you're trying to grade shadows on a muddy floor. If you try to grade straight out-of-camera JPEGs, you have very little lift. Using Log exposes the physics of the scene. But even Log isn't magic. A Sony S-Log3 curve isn't mathematically the same as a Panasonic V-Log. Applying a generic conversion LUT to both will result in slightly different midtone roll-offs. This is why your matching fails.
Understanding LUT Types and Their Purpose
You see three main categories of tables popping up in post-production folders. Knowing which one you need prevents wasted effort.
| Type | Function | Usage Scenario |
|---|---|---|
| Technical LUT | Converts Log/Flat to Rec.709 | On-set monitoring and proxy generation |
| Creative LUT | Adds stylized color grades | Applying a final "film look" in post |
| Matching LUT | Aligns camera profiles to ACES | Unifying disparate camera formats |
A Technical LUT brings the image back to something viewable. It takes your flat 10-bit file and pushes contrast and saturation back to normal TV levels. Many cameras ship with these pre-installed. However, relying solely on the manufacturer's default often misses the mark for artistic intent. Creative LUTs sit on top of the technical conversion. These add teal shades, punchy yellows, or vignetting. They should generally come after you have matched your lights and exposure.
Matching LUTs are the secret weapon for VFX. If you are shooting a green screen background on one camera and compositing an actor shot on another, you need them to share a unified color space first. This leads us to ACES (Academy Color Encoding System) is an open industry standard system for digital content creation that ensures color consistency across devices.. Instead of forcing a Sony look onto a Blackmagic image, you map both to a neutral scientific space.
Workflow Steps for Cross-Camera Matching
You cannot simply drag a file onto the timeline and expect it to pop. Follow this sequence to keep your edits seamless.
- Establish a Reference Monitor: Calibrate your display using X-Rite or similar hardware. If your monitor drifts, your matches are lies. Your screen needs to be fixed at a 6500K white point with a gamma of 2.4.
- Neutralize Exposure: Use waveform monitors, not your eyes. Align the black points of your footage. Lift shadows until they touch zero noise floor. Cap highlights before they clip. This ensures dynamic range parity.
- White Balance Check: Neutralize grays first. If one camera shoots at 5600K and another at 3200K, your LUT will struggle to correct the channel shifts without crushing detail.
- Apply Primary Conversion: Convert all sources to a common working space like ACEScct or a standardized Rec.709 reference. This removes the specific "flavor" of each sensor temporarily.
- Add Secondary Grades: Once neutralized, apply creative adjustments. Now the differences are stylistic choices, not technical errors.
When dealing with 3D cameras like the Sony FX6 is a hybrid camera popular in indie production featuring S-Log3 gamma and 12-bit RAW capture. versus legacy HD cameras, noise floors matter. Older sensors introduce chroma noise in shadows faster. Your matching LUT might brighten the Sony to match the older cam, inadvertently amplifying the newer sensor's grain. You may need to run noise reduction before matching to avoid artificial texture differences.
Common Pitfalls in Color Management
One mistake everyone makes is trusting the waveform blindly. Waveforms show luminance well, but they miss subtle hue shifts. Always check vectorscopes. If the red dot of a lip sync isn't in the red zone, your match is off. Skin tones follow a narrow vector track called the "flesh tone line." If Camera A sits above the line (greenish) and Camera B sits below (magenta), no amount of saturation will hide it.
Another trap is bit depth loss. If you take a 4:2:2 file and apply a complex LUT that requires 8-bit precision, you get posterization. Banding appears on smooth gradients. This happens when you pull down the exposure too much digitally. Keep your workflow in 32-bit floating point whenever possible in DaVinci Resolve is industry-standard software for professional color grading, editing, and visual effects. or Nuke. Floating point prevents clipping in the highlights, preserving data that you might want to recover later.
Metadata issues also crop up frequently. Sometimes a camera records the wrong color space info in the file header. A Log file labeled as Rec.709 tricks the software into treating it as a finished picture. You end up double-correcting the look, washing out the blacks. Always verify the media properties before importing. Force the interpretation if the camera wrote garbage data.
Why ACES Wins Over Simple LUTs
Simple LUTs assume linear math. In reality, perception is non-linear. ACES solves this by mapping every camera into a common Intermediate Format. It separates the Input Transform from the Output Transform. This means you aren't forcing a camera to act like another camera. You are asking both cameras to describe reality neutrally.
For example, if you shoot in ProRes RAW is a flexible RAW video format used on Apple cameras providing extensive color adjustment potential., you have significant latitude. ACES preserves that latitude throughout the entire chain. LUTs often crush the dynamic range because they operate on fixed numbers. ACES operates on perceptual color data. For long-form projects involving archival footage and modern digital sources, ACES is the only robust method to keep consistency over years of editing.
Troubleshooting Mismatched Shots
Even with a solid plan, you will find shots that stick out. Here is how to diagnose the issue quickly.
- Green Tint in Shadows: Usually indicates a bad gain setting on the sensor. Check your ISO limits. Shoot native ISO whenever possible.
- Contrast Mismatch: Often caused by improper log decoding. Verify you applied the correct Inverse Curve for the source file.
- Different Skin Texture: Could be lens diffraction. Fast lenses render softer highlights than sharp primes. Don't fix this in grading; fix it by choosing the right glass.
The goal is always continuity of emotion. Audiences forgive slight tonal variations if the emotional journey holds. However, clashing whites or blown-out lips distract immediately. By understanding that Color Science is biology and LUTs are just mathematics, you stop fighting the files and start collaborating with them.
What is the best way to match two different camera brands?
Use a neutral intermediate space like ACES or RCP to convert both cameras. Match exposure and white balance first, then apply creative grading. Do not rely on creative LUTs alone for structural matching.
Do I need to calibrate my monitor before grading?
Yes, calibration is essential. Uncalibrated monitors lead to inconsistent results across different viewing environments and devices.
Can I use a creative LUT for monitoring on set?
It is risky. Technical LUTs are safer for monitoring as they preserve dynamic range. Creative LUTs might clip highlights, hiding problems until post-production.
Does ACES replace the need for LUTs?
ACES uses transforms rather than static LUTs. It provides more flexibility. You still use lookup tables for specific conversions, but they are generated dynamically within the system.
Why do my skin tones look green on some cameras?
This often stems from sensor demosaicing algorithms or incorrect white balance settings. Adjust using the green/magenta channel in secondary grading.


Comments(8)