Walk into a movie theater and the screen looks flat. The blacks look gray, and the skin tones are washed out. You might blame the film itself, but more often than not, the problem is the projection room. Cinema calibration is the unsung hero of the exhibition experience. It ensures that what the director saw in the grading suite is exactly what you see in your seat. Without it, high-budget blockbusters can look like low-quality streaming content.
This isn't just about tweaking sliders until things "look nice." It's a technical discipline governed by strict standards. For feature films, the goal is consistency across thousands of screens worldwide. If a scene is meant to be dark and moody, it needs to stay that way whether you're watching it in New York or Tokyo. This guide breaks down how theaters achieve this, the tools they use, and why quality control (QC) matters more than ever in the digital age.
The Core Standard: SMPTE ST 428
To understand cinema calibration, you first need to know the rulebook. The industry standard for digital cinema projection is SMPTE ST 428 is a specification developed by the Society of Motion Picture and Television Engineers that defines the technical requirements for digital cinema projection systems. Also known as SMPTE RP 431, it sets the baseline for brightness, color, and contrast ratios. Before this standard existed, every theater had its own idea of what "good" looked like. Now, there is a universal language.
The standard specifies a reference white point of 6500K, which mimics daylight. It also dictates the gamma curve, which determines how lightness is perceived on the screen. Most importantly, it sets the minimum brightness levels. For a standard 2D feature film, the screen should emit at least 14 foot-lamberts (fl). For 3D presentations, because the glasses cut light, the requirement jumps to 10 fl per eye. These numbers aren't arbitrary; they are based on human visual perception thresholds. Below these levels, detail in shadows disappears, and the image feels muddy.
Why Contrast Fails: The Ambient Light Problem
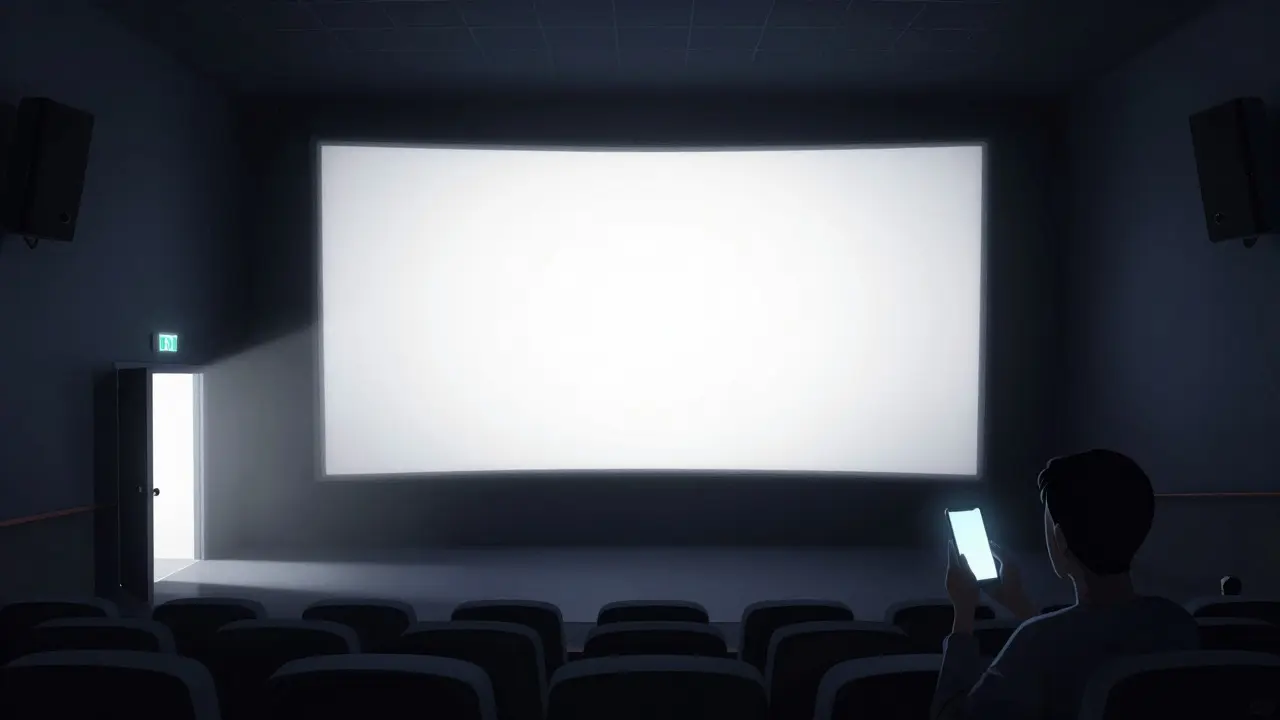
Brightness is easy to measure. Contrast is where most theaters struggle. Contrast ratio is the difference between the brightest white and the darkest black on the screen. A high-contrast image makes colors pop and adds depth. However, cinema rooms are rarely perfectly dark. There is always some ambient light from doorways, exit signs, or even the audience's phone screens.
This ambient light raises the floor of the black level. If your projector outputs a true black, but the room reflects 0.5 foot-lamberts of white light onto the screen, your effective black is no longer zero-it's 0.5. This crushes the dynamic range. To combat this, calibrators adjust the projector's black level slightly upward so that the blacks match the ambient light floor. This technique, known as black level adjustment, ensures that shadows retain detail without looking like gray fog. It’s a delicate balance: too low, and you lose shadow detail; too high, and the image loses punch.
The Tools of the Trade: Spectroradiometers vs. Colorimeters
You can't calibrate what you can't measure accurately. In the past, technicians used simple photometers, which only measured total light intensity. Today, professional calibration requires devices that can measure color temperature and spectral distribution. The two main types of instruments are spectroradiometers and colorimeters.
Spectroradiometers are high-precision optical instruments that measure the intensity of light at each wavelength across the visible spectrum. They provide a full spectral graph, allowing calibrators to see if a specific color channel is spiking or dipping. Brands like JETI or Konica Minolta make these devices. They are expensive, costing upwards of $10,000, but they offer the highest accuracy. Because they capture the entire spectrum, they can detect issues that simpler meters miss, such as uneven lamp aging or filter degradation.
Colorimeters are devices that measure color using filters that mimic the human eye's response to red, green, and blue light. They are faster and cheaper, often under $2,000. While they don't show the full spectrum, they are excellent for day-to-day checks. For a busy multiplex manager doing weekly QC, a colorimeter is often sufficient. For a master technician performing a full annual recalibration, a spectroradiometer is the gold standard. The choice depends on the depth of inspection required.
| Feature | Spectroradiometer | Colorimeter |
|---|---|---|
| Accuracy | High (full spectrum analysis) | Moderate (RGB filtering) |
| Cost | $8,000 - $15,000+ | $1,000 - $3,000 |
| Best Use Case | Master calibration, troubleshooting | Routine QC, daily checks |
| Data Output | Spectral graphs, CIE coordinates | XYZ values, CCT, Brightness |
| Setup Time | Longer (requires careful alignment) | Faster (point and shoot) |
DLP Projector Maintenance: The Hidden Variable
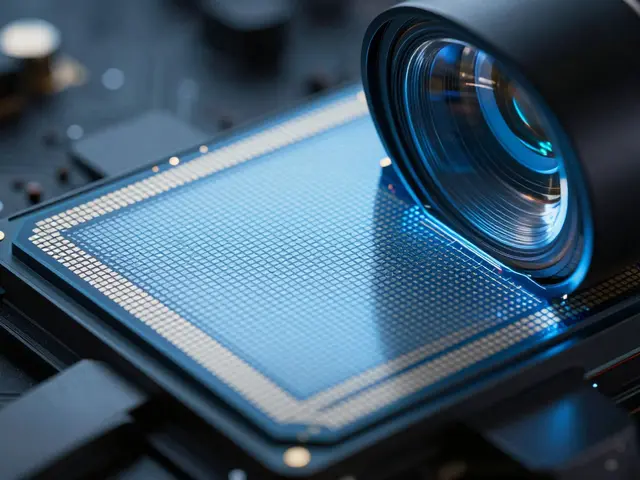
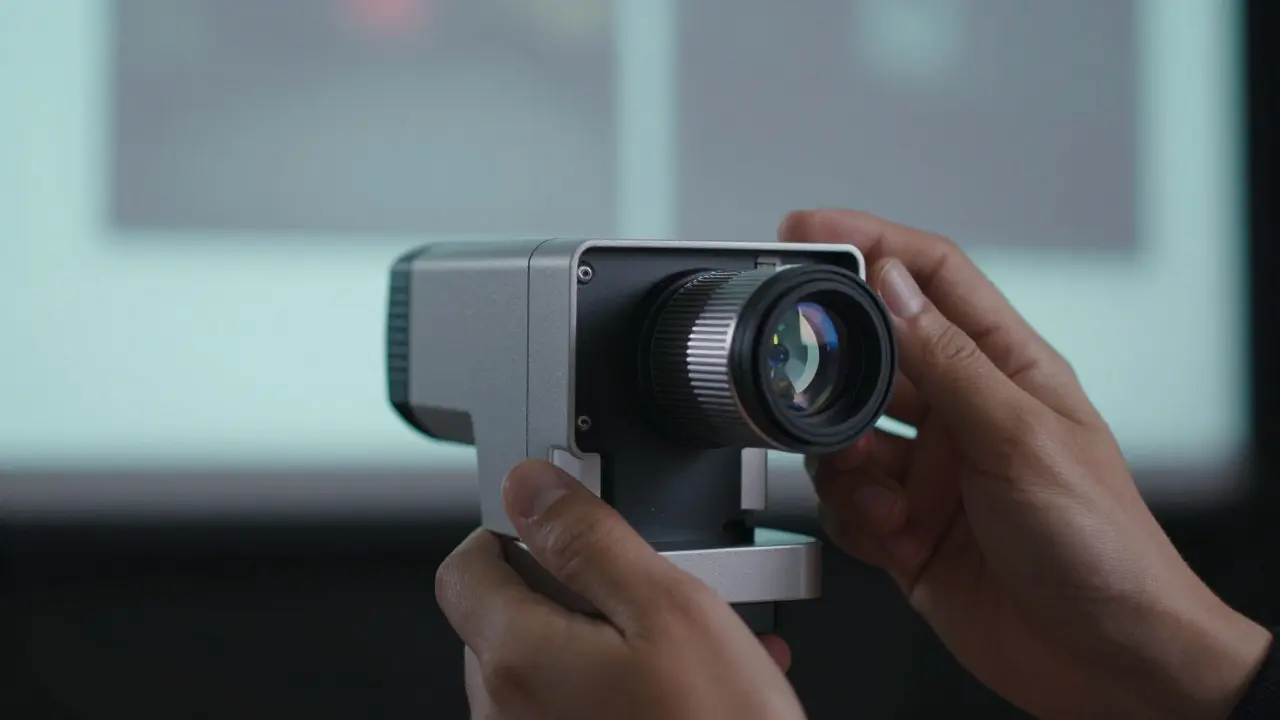
Most modern cinemas use Digital Light Processing (DLP) projectors, primarily from manufacturers like Barco, Christie, and Sony. Unlike older xenon lamp systems, DLP projectors use LED or laser sources. However, they still degrade over time. The color wheels in DLP engines wear down, and the micro-mirror arrays can develop dead pixels or sticking. More critically, the light source itself shifts in color temperature as it ages.
Laser-based DLP projectors, now common in premium large-format (PLF) theaters, offer better stability than LED models. Lasers maintain their spectral purity longer, meaning less frequent calibration is needed. But even lasers drift. A well-maintained laser projector might require a full recalibration once a year, while an LED unit might need adjustments every six months. Regular QC involves checking the uniformity of the screen. Hot spots near the center or dim corners indicate lens fouling or misalignment. Cleaning the projection lens with specialized air blasters and lint-free cloths is a basic but essential part of the maintenance routine.
The Calibration Process: Step-by-Step
Calibration isn't a one-time event; it's a process. Here is how a typical session unfolds in a professional setting:
- Pre-Check: Verify that the projector has been running for at least 30 minutes to reach thermal equilibrium. Temperature changes affect light output significantly.
- Ambient Light Measurement: Turn off the projector and measure the ambient light on the screen. This establishes the black level floor.
- White Point Adjustment: Adjust the RGB gain settings to hit the target color temperature (usually 6500K) and brightness (14 fl for 2D). This is done using the measurement device placed at the center of the screen.
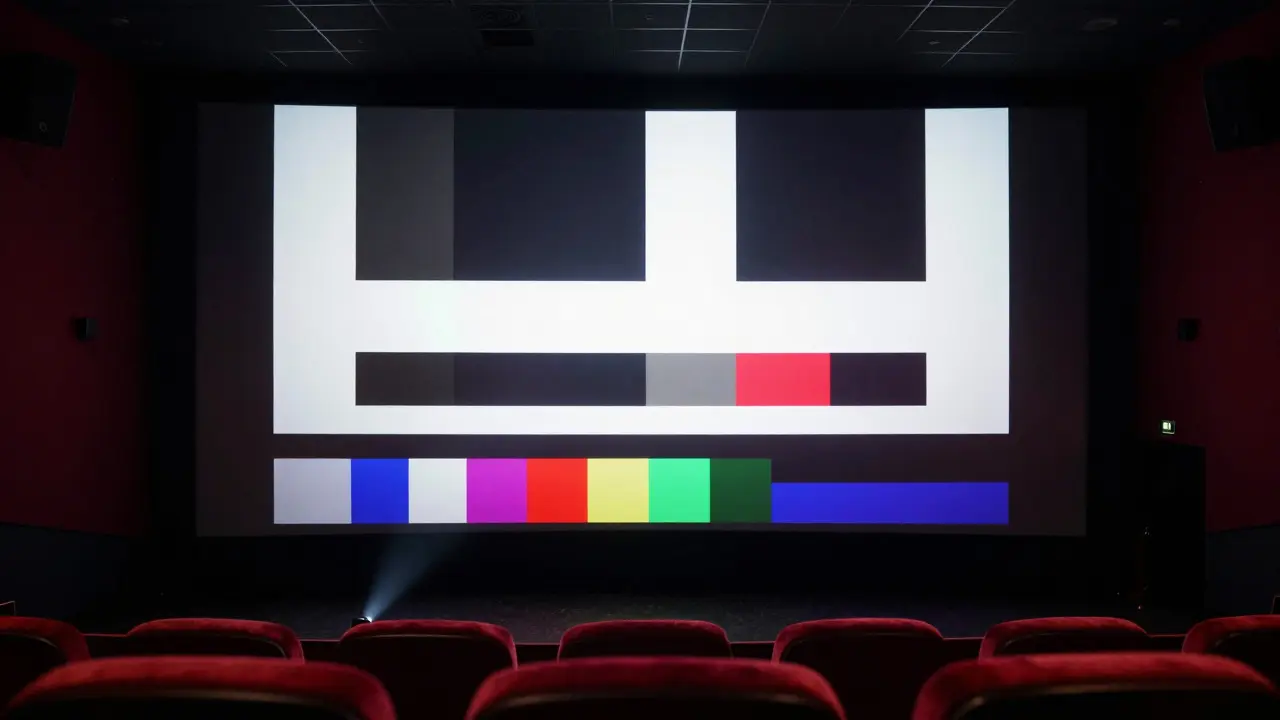
- Gamma Verification: Display a test pattern with grayscale steps. Measure the brightness at specific points (e.g., 10%, 50%, 90% white) to ensure the gamma curve matches the SMPTE standard (typically 2.6).
- Color Primaries Check: Display pure red, green, and blue fields. Measure the chromaticity coordinates to ensure they fall within the DCI-P3 color space boundaries. Drift here causes unnatural skin tones or oversaturated greens.
- Uniformity Mapping: Move the meter to nine points on the screen (corners, edges, center) to check for brightness variance. Ideally, variation should be less than 10%.
- Documentation: Log all readings in a database. Trends over time help predict when components will fail.
Quality Control: Beyond the Numbers
Numbers tell you if the system is working, but they don't tell you if the movie looks good. Quality Control (QC) includes subjective viewing tests. Technicians often watch a short clip with known color challenges-like a sunset or a night scene-to verify that the calibration translates well visually. They also check for flicker, which can occur if the projector's frame rate doesn't sync correctly with the server. Frame rate errors cause subtle judder that audiences notice subconsciously, leading to fatigue.
Another critical aspect of QC is audio-video synchronization. While not strictly part of color calibration, lip-sync errors ruin the immersion. The delay between the video signal and the audio output must be less than 40 milliseconds to be imperceptible. Most modern servers handle this automatically, but hardware upgrades or cable changes can throw it off. A simple clap test-clapping hands in front of the camera and listening to the delay-is a quick way to verify sync.
Common Pitfalls and How to Avoid Them
Even experienced technicians make mistakes. One common error is calibrating in a room with incorrect ambient lighting. If the house lights are on during calibration, the black level will be set too high. Always calibrate in the actual viewing condition-lights off, doors closed. Another pitfall is ignoring the screen material. Silver screens reflect light differently than matte white screens. A calibration done on a silver screen may look too bright on a matte screen if the gain isn't accounted for. Finally, relying solely on auto-calibration features in the projector menu is risky. These algorithms are generic and don't account for the specific age of your lamp or the unique characteristics of your screen. Manual verification with external instruments is non-negotiable for professional results.
Frequently Asked Questions
How often should a cinema projector be calibrated?
For LED projectors, a full calibration is recommended every 6 months. For laser projectors, every 12 months is usually sufficient. However, routine QC checks using a colorimeter should be performed weekly or monthly to catch early signs of drift.
What is the ideal brightness level for a 2D movie?
According to SMPTE ST 428, the target brightness for 2D presentations is 14 foot-lamberts (fl). This level provides enough light for clear visibility without washing out the contrast in darker scenes.
Why do 3D movies look dimmer than 2D movies?
Active shutter 3D glasses block approximately 70-80% of the projected light. To compensate, the projector must output higher brightness. The target for 3D is 10 fl per eye, which requires the projector to emit significantly more total light than in 2D mode.
Can I calibrate my home theater with the same methods?
Yes, but the targets differ. Home theaters typically aim for lower brightness (16-24 nits, or roughly 0.5-0.8 fl) to preserve contrast in small rooms. The principles of measuring white point, gamma, and black level remain the same, but the equipment and target values are adjusted for the smaller scale.
What happens if a cinema ignores calibration?
Audiences will notice inconsistent color temperatures, washed-out blacks, and potential flicker. Over time, uncalibrated projectors suffer from component stress, leading to premature failure. It also damages the brand reputation of the theater chain, as viewers associate poor image quality with the venue rather than the film.