Ever wonder how a digital dragon breathes fire on screen without burning down the studio? It’s not magic; it’s a rigorous, multi-stage workflow known as the CGI process. Whether you’re a film student, an aspiring artist, or just a curious viewer, understanding this pipeline demystifies the spectacle. The journey from a blank white space to a photorealistic shot involves dozens of specialized roles and software tools working in tandem.
This guide breaks down that exact sequence. We’ll walk through each phase, from the initial concept sketches to the final composite, showing you where the heavy lifting happens and why certain steps can’t be skipped. By the end, you’ll see why a single second of screen time can take weeks of labor behind the scenes.
The Pre-Production Blueprint
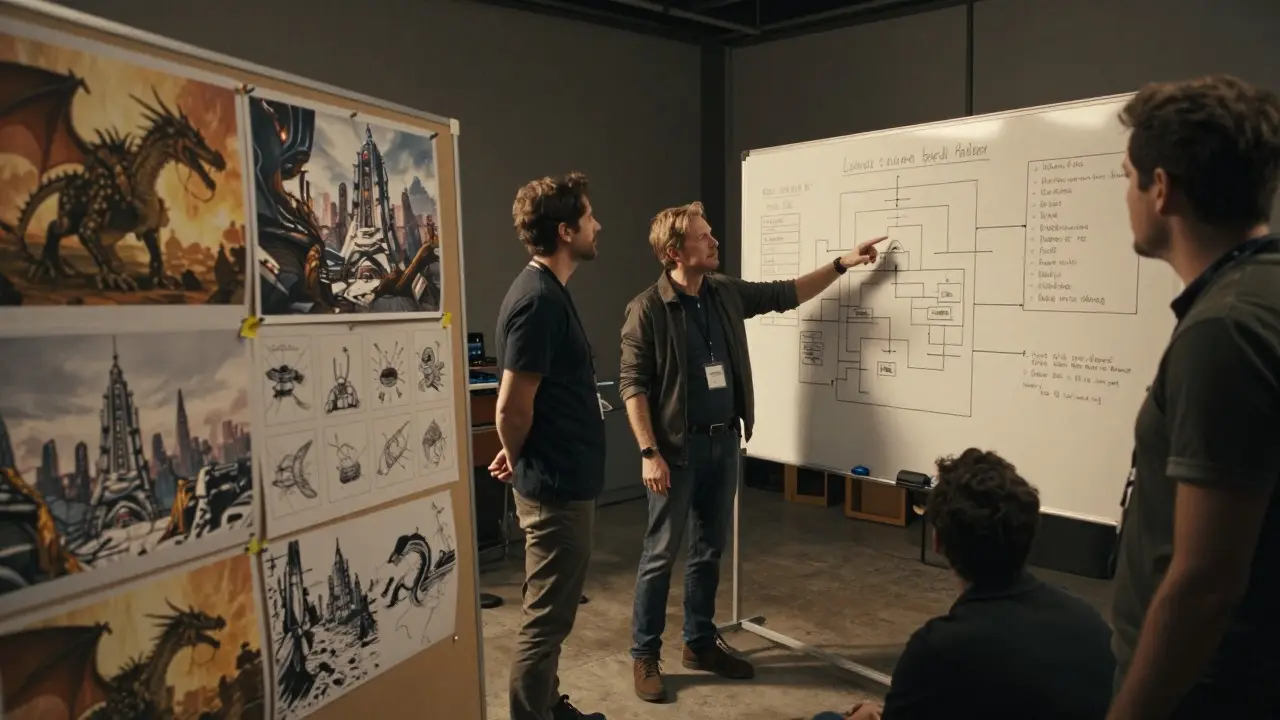
Before any polygons are pushed or textures painted, the team needs a map. This is where the Pre-Production phase begins. It’s the strategic heart of the project. Directors, story artists, and technical directors (TDs) collaborate to define what is actually feasible within the budget and schedule.
Key activities here include:
- Concept Art: Artists create 2D illustrations to establish the visual style, color palette, and character design. These aren't just pretty pictures; they are functional documents that guide the 3D modelers later.
- Storyboarding: A comic-book-style sequence of shots helps plan camera angles and pacing. For CGI-heavy films, this might involve animatics-rough animated versions of the storyboard-to test timing before expensive production work starts.
- Shot List Creation: The director lists every single shot required. Each shot gets a unique ID number, which becomes the primary key for all subsequent files and renders. If a shot changes, its ID stays the same, ensuring file organization remains intact.
Skipping this stage often leads to costly rework. Imagine building a house without blueprints; you might realize the kitchen is too small after the walls are up. In CGI, that means rebuilding a complex character rig because the original design didn't account for the specific movement needed in scene 45.
Modeling: Building the Digital Geometry
Once the concepts are approved, we move to 3D Modeling. This is the construction phase. Modelers use software like Maya, Blender, or Houdini to build the mesh-the wireframe structure that defines the shape of objects, characters, and environments.
There are two main types of modeling approaches used in film:
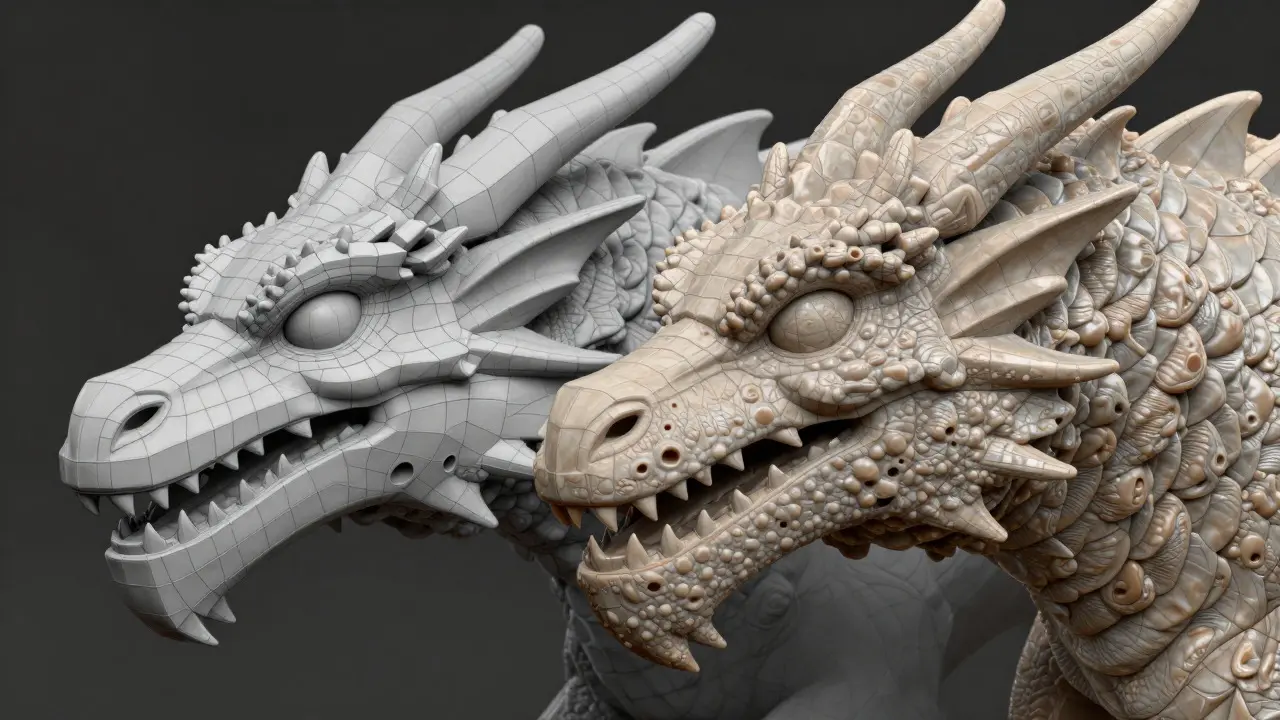
- Polygonal Modeling: This involves manipulating vertices, edges, and faces. It’s the standard for most hard-surface assets like cars, buildings, and weapons. The goal is to keep the topology clean, meaning the flow of lines follows the natural contours of the object. Clean topology is crucial because it allows the model to bend and stretch smoothly during animation.
- Sculpting: Popularized by software like ZBrush, this method feels more like carving clay. Artists add millions of tiny polygons to capture high-frequency details like skin pores, wrinkles, or bullet holes. Once sculpted, the model is usually "retopologized"-reduced to a lower-poly version that is easier to animate but retains the detail through texture baking.
A common pitfall here is over-modeling. Adding unnecessary geometry increases file size and slows down computer performance. Experienced modelers know that if a detail isn't visible from the camera's angle, it doesn't need to exist in the high-resolution mesh.
Texturing and Shading: Adding Skin and Surface
A raw 3D model looks like a gray plastic toy. To make it look real, we apply Textures and Shaders.
Think of textures as the paint job. They provide color, roughness, and bumpiness. Common texture maps include:
- Albedo/Color Map: The base color of the surface.
- Roughness Map: Determines how shiny or matte the surface is. A wet street has low roughness; a dry concrete wall has high roughness.
- Normal Map: A trick that fakes depth. It makes flat surfaces look bumpy without adding actual geometry.
Shaders go a step further. They define how light interacts with the material. A shader for water behaves very differently from a shader for human skin. Skin uses subsurface scattering, a technique that simulates light penetrating the outer layer of skin and scattering inside, giving it that soft, fleshy glow. Water uses refraction and reflection properties. Getting these physical properties right is what separates "video game graphics" from "film quality."
Rigging and Animation: Bringing It to Life
A static model is useless in a movie. It needs to move. This is where Rigging comes in. Riggers build a digital skeleton inside the 3D model. This skeleton consists of bones, joints, and controls that animators will manipulate.
For characters, this is incredibly complex. You don't just have a bone for the arm; you have separate controls for the elbow bend, wrist rotation, and even individual finger movements. Facial rigs are even more intricate, often containing hundreds of blend shapes to replicate subtle expressions like a slight smile or a raised eyebrow.
Once rigged, Animators take over. They create movement frame by frame. Unlike stop-motion, where you physically move a puppet, digital animators adjust the position of the rig's controls. They rely heavily on the principles of animation established by Disney legends, such as squash and stretch, anticipation, and follow-through. A good animator ensures that the weight of the character feels believable. Does the dragon feel heavy when it lands? Does the cape lag behind the body due to inertia? These physics-based details sell the illusion.
Lighting and Look Development
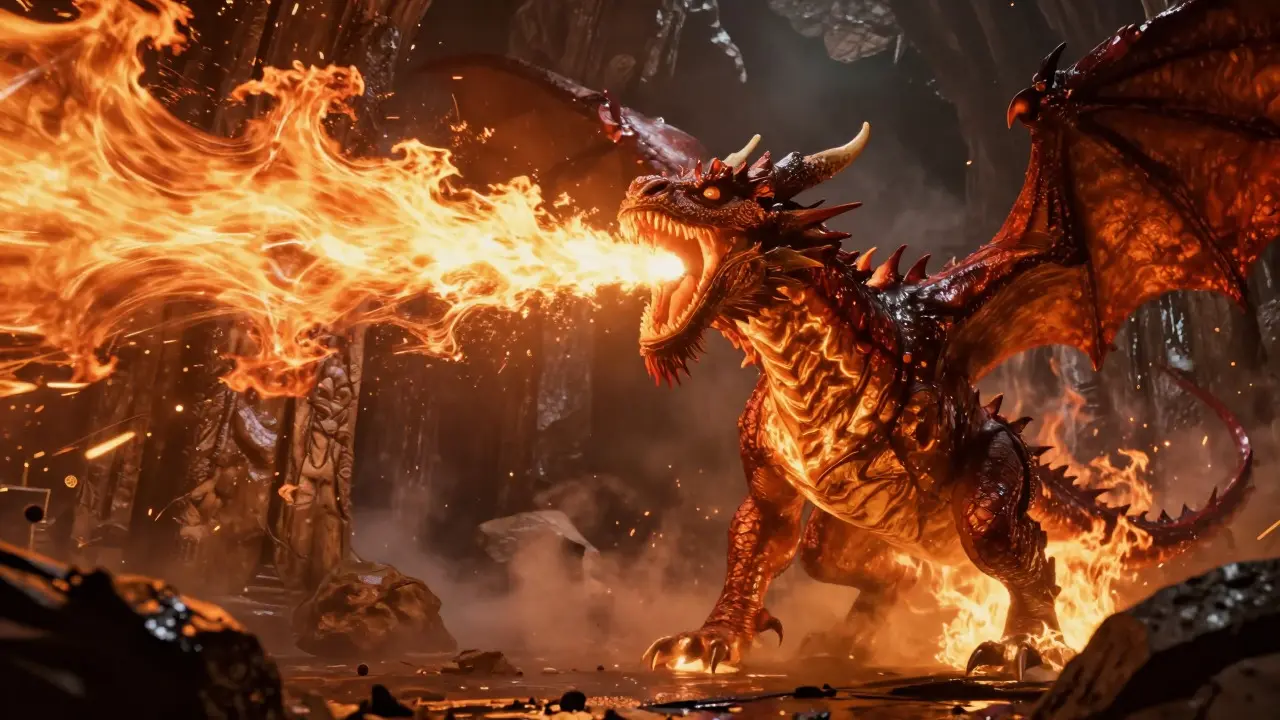
Now that the characters are moving, the scene needs atmosphere. This is the domain of Lighting Artists. Lighting isn't just about making things visible; it's about storytelling. Light directs the audience's eye, sets the mood, and establishes time of day.
In modern pipelines, lighting is often done using Global Illumination (GI) engines. These simulate how light bounces around a room, creating realistic shadows and reflections. An HDRI (High Dynamic Range Image) environment map is often used to provide ambient light based on a real-world location scan.
Look Development (LookDev) runs parallel to lighting. LookDev artists fine-tune the materials to ensure they respond correctly to the specific lights in the scene. They might adjust the transparency of a glass window or the hairiness of a fur coat until it matches the reference photos provided by the director.
Simulation and Effects
Many shots require dynamic elements that don't fit neatly into rigid models. This is where Simulations come in. Software like Houdini excels at calculating complex physics.
Common simulations include:
- Fluids: Water splashes, ocean waves, or rain. Solving fluid dynamics requires massive computational power because water is chaotic and non-compressible.
- Particles: Smoke, dust, snow, or sparks. These are often rendered as thousands of individual sprites or volumes.
- Cloth and Hair: Simulating how a robe drapes over a shoulder or how hair sways in the wind. This involves solving cloth physics equations for every vertex in the fabric mesh.
Simulations are unpredictable. An artist might set up a perfect explosion, but the resulting debris pattern might look unnatural. Tuning these simulations takes time and patience, often requiring multiple iterations to get the "right





Comments(10)