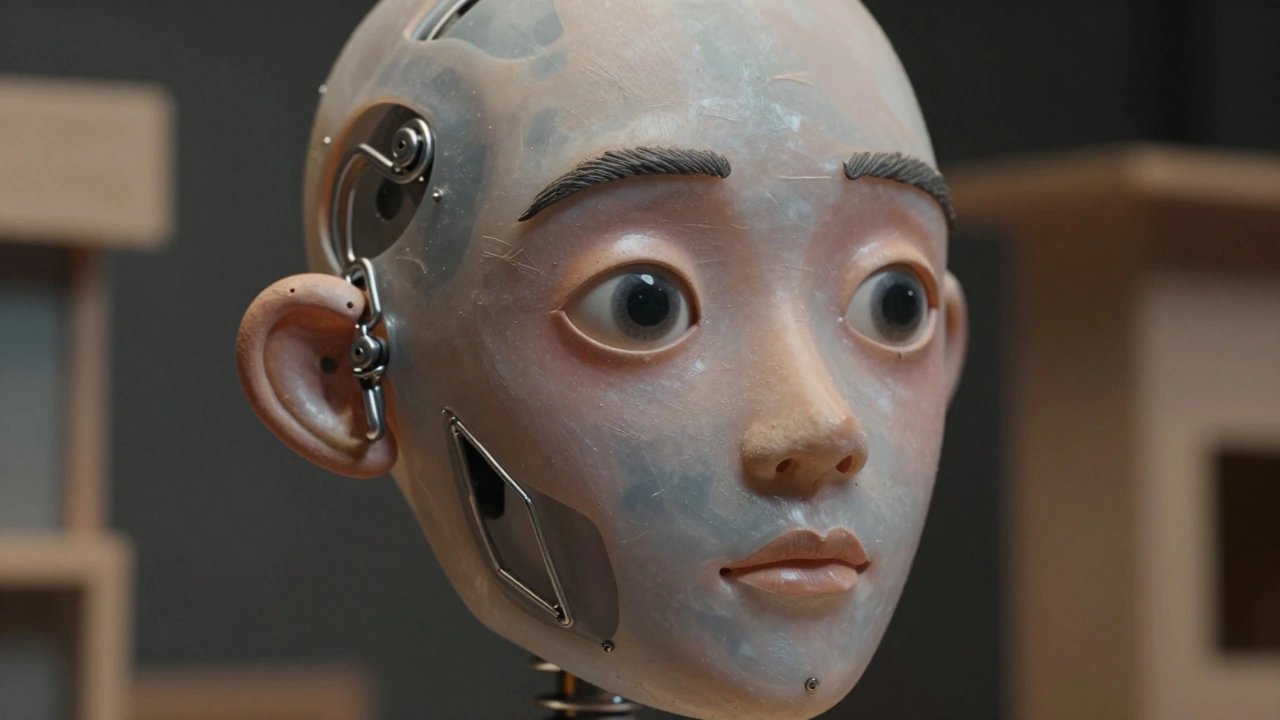
Imagine spending four hours to get a character to blink. Now imagine doing that for every single eye movement in a two-hour film. This is the reality of stop-motion animation, a filmmaking technique where physical objects are moved in small increments between individually photographed frames. Unlike digital animation, where you can undo mistakes with a click, stop-motion demands physical precision and relentless patience. The magic happens when meticulous planning meets tangible craftsmanship.
The difference between a successful project and a disaster often comes down to two pillars: the production schedule and the set design. If your schedule is loose, you’ll run out of time before the film is finished. If your sets are fragile or poorly designed, they’ll break under the stress of hundreds of shots. Let’s look at how to build both correctly from the ground up.
Understanding the Stop-Motion Workflow
To plan effectively, you first need to understand what makes this medium unique. Stop-motion is not just about moving puppets; it is about managing light, camera settings, and physical space over a long period. The process relies on frame-by-frame photography, the method of capturing individual images of an object that has been slightly repositioned between each shot. When played back at standard rates like 24 frames per second, these stills create the illusion of fluid motion.
This workflow introduces specific constraints. You cannot reshoot a scene easily if the lighting changes by even a fraction. You cannot have actors improvising because the puppeteers are hidden inside the set, manipulating wires or rods. Every movement must be pre-planned. This rigidity is why the production schedule and set design are not just logistical details-they are the creative foundation of the entire project.
Building a Realistic Production Schedule
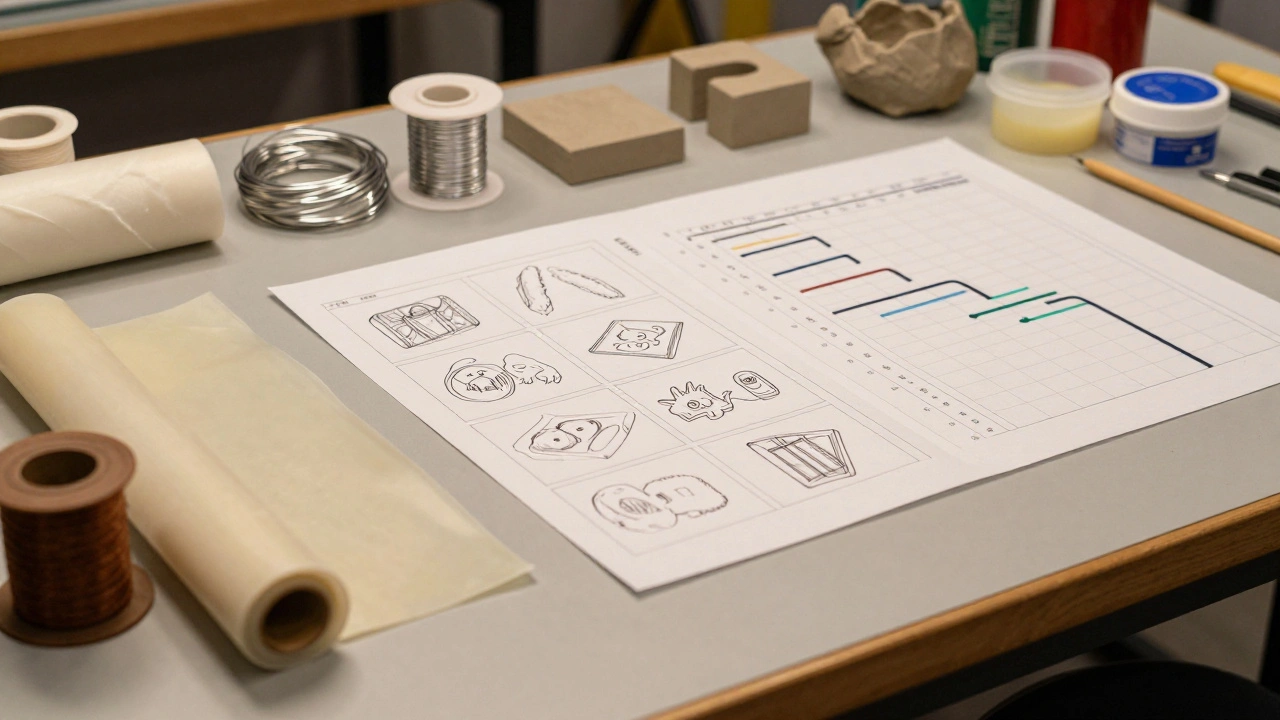
A common mistake beginners make is estimating time based on screen duration. They think a one-minute scene takes one hour to shoot. In reality, complex scenes can take days. To build a schedule that works, you need to break down the work into measurable units. Start with the storyboard. Each panel represents a potential shot. Estimate how many frames each shot requires. A simple pan might take 12 frames (half a second), while a complex interaction involving three characters might require 60 frames (two and a half seconds).
Once you have the frame count, apply a daily output rate. An experienced animator might move 5-10 frames per day for complex dialogue scenes. For action sequences, the rate might drop to 2-3 frames per day due to the precision required. Multiply your total frame count by the inverse of your daily rate to get the number of shooting days. Add 20% buffer time for accidents-broken limbs, dropped cameras, or software crashes. This buffer is not optional; it is essential.
Consider the pre-production phase carefully. Building puppets and sets often takes longer than the actual shooting. If you have a six-week shoot, you might need eight weeks of pre-production. Use tools like Gantt charts, project management diagrams that illustrate the timeline of a project through horizontal bars representing start and finish dates. to visualize dependencies. For example, you cannot shoot Scene 4 until the background model for Scene 4 is painted and dry. These dependencies create critical paths that dictate your schedule.
Designing Sets That Survive the Shoot
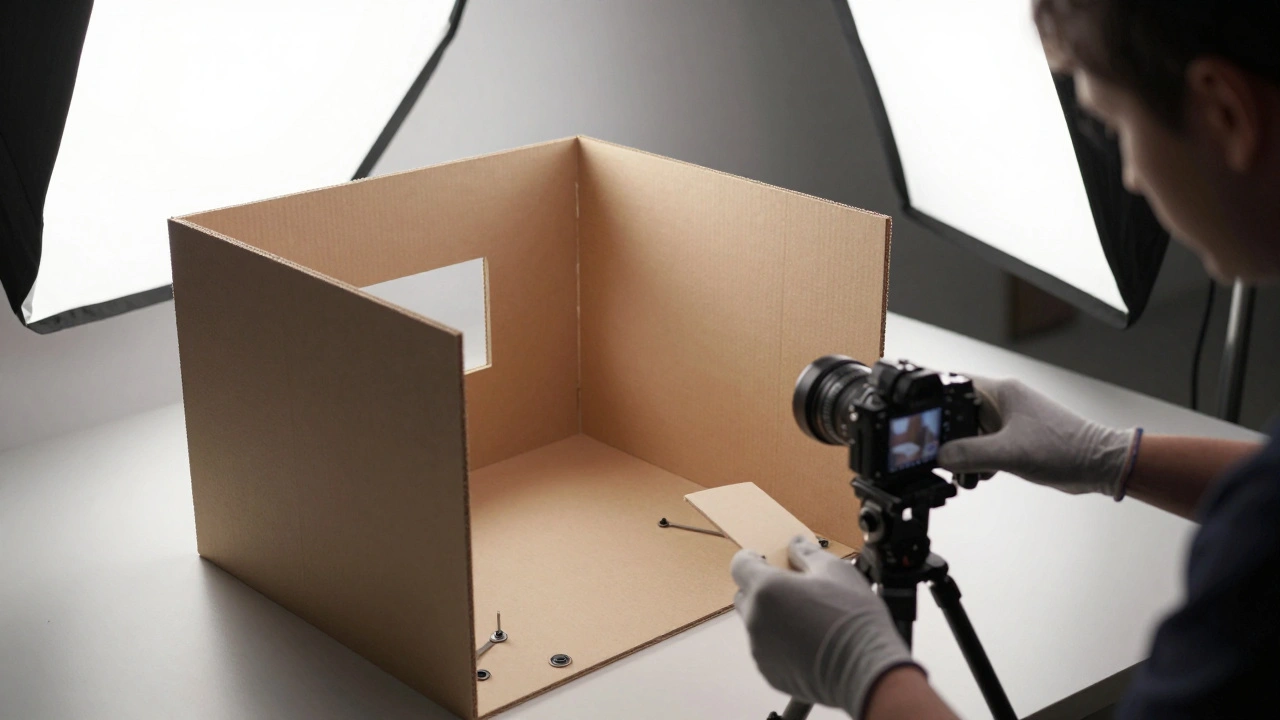
Your sets are not just backgrounds; they are working environments. Animators will reach into them, adjust lights, and move props dozens of times a day. Therefore, durability is more important than aesthetics initially. A beautiful set that breaks after ten shots is useless. Use materials that are lightweight but strong. Foam core, rigid foam board used for models and signs is excellent for large structures because it is easy to cut and paint. Armature wire, metal wire used to provide internal support for puppets and figures should be used to reinforce thin walls or delicate props.
Modularity is key. Build your sets in sections that can be removed or adjusted. If a camera angle changes, you don’t want to rebuild the entire room. Use magnetic bases for props so they stay in place during lighting adjustments but can be moved quickly. Paint everything matte to avoid unwanted reflections. Glossy surfaces catch light from the studio lamps, creating distracting hotspots that ruin continuity. Matte textures absorb light evenly, making lighting adjustments much easier.
Lighting access is another critical factor. Design your sets with holes or removable panels where animators can insert lights. Hard-wiring lights into the set prevents cables from tripping people or getting tangled in puppet movements. Keep cable runs short and secure. A loose cable can drag a puppet out of position, ruining a sequence of frames.
Puppet Construction and Articulation
The puppet is the star of the show, but it must be functional. The skeleton, or armature, determines the range of motion. For facial expressions, use interchangeable face parts. Instead of trying to sculpt subtle muscle movements frame-by-frame, swap out cheeks, eyes, and mouths. This technique, known as replaceable faces, a stop-motion technique using multiple molded head pieces to achieve different expressions. saves time and ensures consistency. Materials like latex, a synthetic rubber used for flexible puppet skin or silicone, a durable, flexible polymer often used for realistic skin textures work well for skins because they stretch without tearing.
Joints must be tight but smooth. Loose joints cause jittery movement, which looks unprofessional. Tight joints strain the animator’s hand and risk breaking the puppet. Test every joint extensively before shooting. Use ball-and-socket joints for shoulders and hips, allowing full rotation. Hinge joints work best for elbows and knees. Ensure the center of gravity is balanced so the puppet doesn’t tip over unexpectedly.
Camera and Lighting Stability
In stop-motion, the camera never moves unless you want it to. And if it does move, it must do so imperceptibly. Use a heavy tripod with a fluid head locked down completely. Any vibration from footsteps or equipment can blur the image. Lock the focus manually. Autofocus hunts for contrast in static scenes, causing the image to shift slightly between frames. This "focus breathing" is noticeable and distracting.
Lighting must be consistent. Use LED lights with dimmers that don’t flicker. Incandescent bulbs change color temperature as they heat up and cool down, causing color shifts between shots. LEDs maintain a constant color temperature. Position lights outside the camera’s field of view to avoid lens flares. Use diffusion material like silk or muslin to soften shadows. Harsh shadows reveal the texture of the puppet’s surface, breaking the illusion of realism. Soft shadows blend the puppet seamlessly into the environment.
Software Tools for On-Set Control
Modern stop-motion relies heavily on software to manage the technical aspects. Dragonframe, industry-standard software for controlling cameras and lights in stop-motion animation is the most popular choice. It allows you to control camera exposure, white balance, and focus directly from the computer. It also provides onion-skinning, showing previous frames overlaid on the current view. This helps animators see exactly how far to move the puppet for smooth motion.
Other tools include Tweak, software developed by Laika Studios for stop-motion animation and open-source alternatives like OpenFlipbook, free software for stop-motion animation. Choose software that integrates with your camera and lighting setup. Compatibility issues can waste valuable shooting time. Ensure the software supports high-resolution video formats if you plan to deliver in 4K or higher.
| Material | Best Use Case | Durability | Cost |
|---|---|---|---|
| Foam Core | Large set structures | Medium | Low |
| Silicone | Puppet skin | High | High |
| Armature Wire | Internal skeleton | Very High | Low |
| Clay | Quick prototyping | Low | Low |
Managing Continuity and Mistakes
Mistakes happen. A puppet falls. A light burns out. A cable gets pulled. When this happens, you must restore the scene exactly as it was. Take reference photos of every setup from multiple angles. Record the lighting levels and camera settings in a log sheet. This documentation allows you to recreate the scene accurately if something goes wrong. Without it, you may have to reshoot entire sequences, blowing your budget and schedule.
Continuity errors are hard to spot in real-time but obvious in playback. Check for consistent clothing folds, prop positions, and lighting direction. Small inconsistencies distract the audience and break immersion. Review footage daily. Don’t wait until the end of the shoot to check quality. Early detection of issues allows for immediate correction.
Budgeting for Time and Resources
Stop-motion is expensive because it is slow. Budget for overtime. Animators often work late to meet deadlines. Include costs for materials, software licenses, and equipment rental. Factor in post-production time for compositing, visual effects, and sound design. Sound is half the experience. Poor audio ruins great visuals. Hire a professional sound designer early in the process.
Invest in good equipment. Cheap tripods shake. Cheap lights flicker. Cheap cameras produce noisy images. Quality gear reduces errors and speeds up the workflow. Calculate the return on investment. Spending more upfront saves money in the long run by reducing reshoots and repairs.
How long does it take to shoot one minute of stop-motion animation?
It varies greatly depending on complexity. Simple scenes might take 1-2 days, while complex dialogue scenes can take 5-7 days. On average, expect 3-5 days per minute of final footage.
What is the best material for stop-motion puppet skin?
Silicone is widely considered the best due to its durability, flexibility, and realistic appearance. Latex is a cheaper alternative but tears more easily.
Why is Dragonframe software important?
Dragonframe provides precise control over camera and lighting, offers onion-skinning for accurate movement, and manages metadata for continuity, streamlining the entire production process.
How do I prevent jittery movement in my animation?
Use tight but smooth joints in your armature, ensure your camera is on a stable tripod, and move the puppet incrementally using onion-skinning software to guide each step.
Can I use natural light for stop-motion?
No. Natural light changes constantly, causing inconsistent exposure and color temperature. Use controlled artificial lighting to maintain continuity across hundreds of frames.


Comments(6)