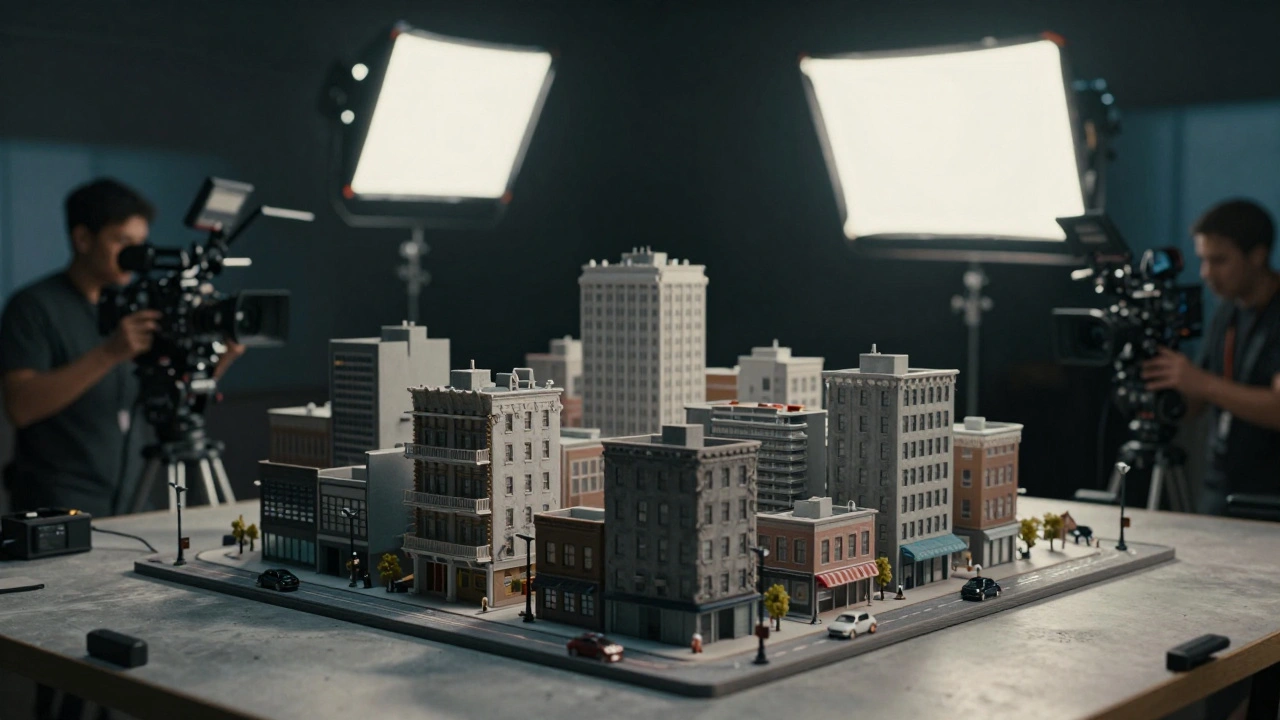
The Math of Miniatures: Choosing Your Scale
You can't just build a model "small" and hope for the best. The scale determines how the camera perceives the object and how physics will behave. If you're building a skyscraper, a 1:12 scale is far too large-you'd need a warehouse just for one building. Instead, production designers often look at standard industry ratios.
A common choice for large-scale environments is 1:24 or 1:48. At 1:48, an object is 1/48th the size of the real thing. This is often the "sweet spot" for urban miniatures because it's small enough to manage but large enough to allow for the fine detail that prevents the model from looking like a plastic toy. If you're doing something truly massive, like a mountain range or a city skyline, you might drop down to 1:100 or even 1:200.
The danger here is the "miniature look." When things are too small, the surface tension of water looks like blobs of syrup, and fire looks like a flickering candle rather than a roaring inferno. To fight this, designers use specific materials that mimic the texture of the real world at a reduced scale, such as specialized foams and high-density resins.
| Scale Ratio | Best Use Case | Visual Characteristic |
|---|---|---|
| 1:6 to 1:12 | Interior sets, furniture, props | High detail, feels almost full-sized |
| 1:24 to 1:48 | Vehicles, small buildings, street scenes | Balanced detail and manageability |
| 1:100 to 1:500 | Cityscapes, landscapes, space stations | Epic scope, requires high-speed filming |
Mastering Forced Perspective and Optical Illusions
One of the most powerful tricks in a designer's bag is Forced Perspective. This is a technique that manipulates human visual perception by using scaled objects placed at varying distances from the camera to create the illusion of greater depth or size. Instead of building a whole castle, you build a full-sized doorway and a miniature castle wing that slopes away from the camera. If the camera is locked in a specific position, the eye is tricked into seeing one continuous, massive structure.
To make this work, you need a "blind spot" or a masking element. For example, a real pillar or a piece of foliage can hide the seam where the full-scale set ends and the miniature begins. If the actor stands in the correct spot and doesn't move past the focal point, the illusion holds. This was a staple in early Production Design before the era of green screens, and it's still used today to add scale to sets without spending millions on construction.
The key to success is the lens choice. Wide-angle lenses exaggerate distance, which can help push the miniature further back in the perceived space, while telephoto lenses compress the image, making the transition between the real and the fake feel more seamless. It's a delicate dance between the set builder and the Director of Photography.

Materials and Construction for the Camera
Building for a museum is different from building for a movie. A museum model just needs to look good from three feet away. A film miniature must withstand the scrutiny of a 4K camera and potentially be blown up into a thousand pieces. The materials used must be "camera-ready," meaning they don't reflect light in a way that screams "plastic."
- Styrofoam and XPS Foam: The backbone of most miniatures. High-density extruded polystyrene (XPS) can be carved, sanded, and textured to look like concrete or rock.
- Vacuum Forming: This process uses heat to pull a plastic sheet over a mold. It's perfect for creating consistent architectural panels or the hull of a spaceship.
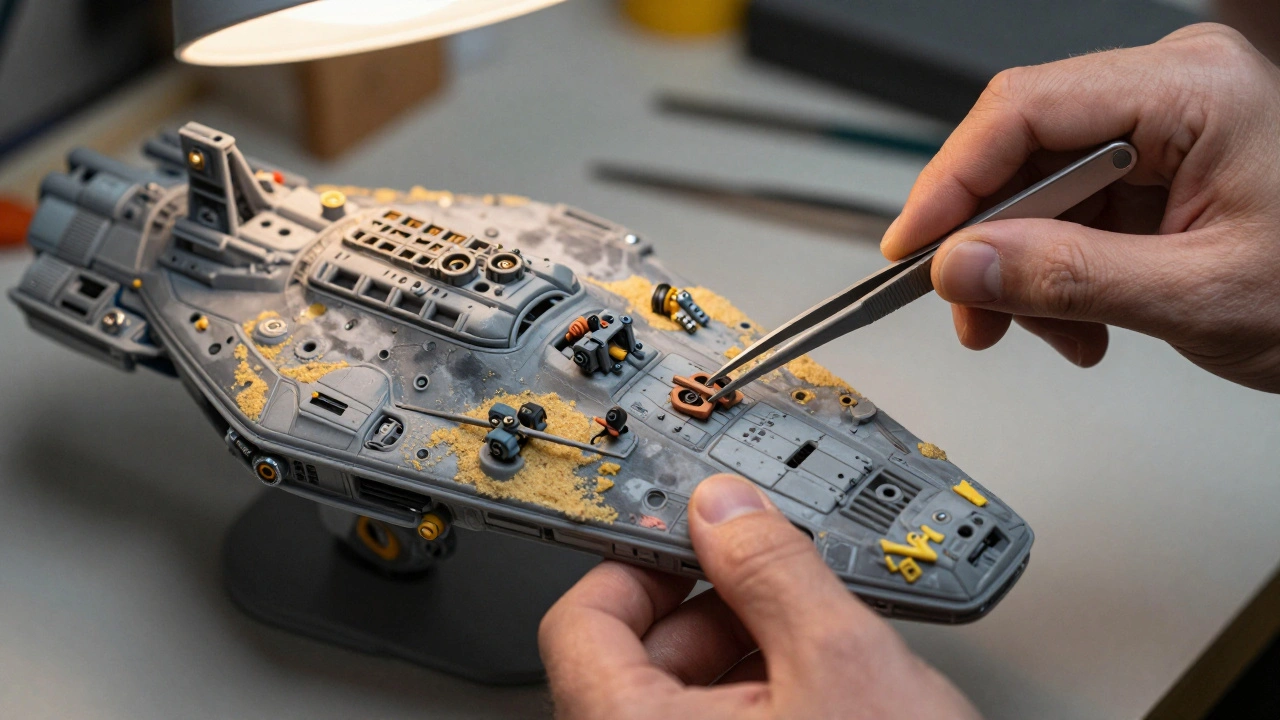
- Kitbashing: This is the art of taking parts from various commercial model kits (like tanks or planes) and adding them to a custom model to create "greebles." Greebles are those tiny, non-functional technical details that make a surface look complex and engineered.
- Resin Casting: Used for repeatable, high-detail parts. Once a master mold is made, you can cast dozens of identical windows or pipes.
Texture is everything. A flat grey wall looks fake. A wall that has been treated with a mix of acrylic paint, fine sand, and a "wash" (thinned-out dark paint that settles into cracks) looks like a weathered bunker that has seen decades of rain and wind. This process, known as weathering, is what separates a toy from a cinematic asset.
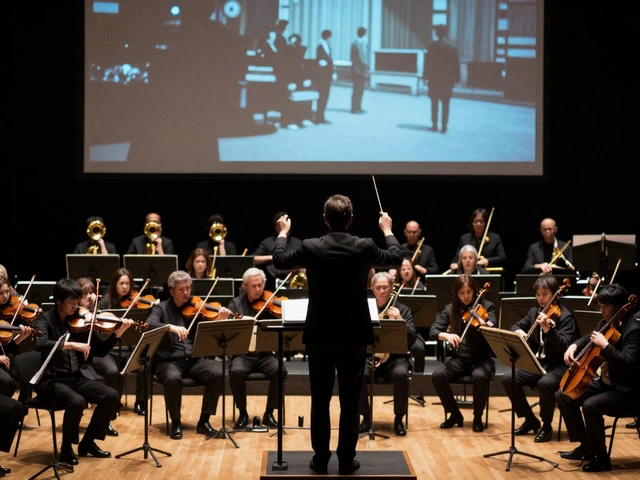
The Physics of Motion: High-Speed Cinematography
If you film a miniature building collapsing at the standard 24 frames per second (fps), it will look like a toy falling over. Why? Because gravity acts on a small object much faster than it does on a massive one. To make a miniature feel heavy and epic, you have to use High-Speed Cinematography, also known as overcranking.
By filming at 60, 120, or even 500 frames per second, the action is slowed down during playback. This mimics the way a massive structure would slowly succumb to gravity. For example, if you're filming a miniature explosion, the debris needs to move slower to suggest it has immense mass. If the debris flies away too quickly, the viewer's brain immediately flags it as "small."
This requires specialized lighting. High-speed cameras need an enormous amount of light because the shutter is open for such a short time. This is why miniature stages are often filled with incredibly bright LED arrays or HMI lamps. If the lighting is off, the image comes out muddy, and the illusion of scale is lost.
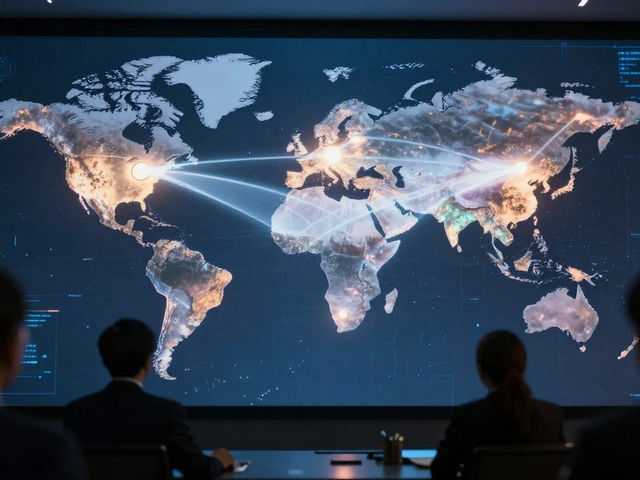
Integrating Miniatures with Modern VFX
In the current era, we rarely see "pure" miniature films. Instead, we see hybrid workflows. The modern approach is to use a miniature as a "base' and then enhance it with digital assets. This is often done using Matte Painting techniques, where a physical model provides the foreground detail, and a digital painting completes the horizon.
Another common method is the "miniature replacement." A scene is filmed with a physical model for the complex interaction (like a ship crashing into a pier), and then CGI is used to add atmospheric effects-smoke, sparks, and water splashes-that are difficult to scale down physically. This combination provides the physical weight of a real model with the polished look of a digital render.
The most successful examples use the model to dictate the lighting for the CGI. By having a physical object in the room, the VFX team knows exactly how shadows should fall and how the light should bounce, which prevents the "floating" look often seen in poorly executed digital effects.
Why use miniatures instead of just using CGI?
Miniatures provide a natural interaction with light and physics that is incredibly difficult to simulate perfectly in a computer. Physical models offer "happy accidents"-like a piece of debris falling in an unexpected but realistic way-that add a layer of authenticity and grit to the image. Additionally, for some directors, having a physical object on set helps the actors and crew visualize the space more effectively than a green screen.
What is kitbashing in the context of miniatures?
Kitbashing is the process of taking parts from various commercial model kits-such as plastic airplane, tank, or car kits-and assembling them onto a custom-built model. This is used to create highly detailed, complex surfaces (often called "greebles") that look like machinery or futuristic architecture without having to sculpt every single nut and bolt by hand.
How does the frame rate affect the look of a scale model?
Because gravity affects smaller objects faster than larger ones, filming at a normal 24fps makes miniatures look "light" or "twitchy." By using high-speed cameras to capture more frames per second (overcranking), the action is slowed down during playback. This creates the illusion of massive weight and scale, making a small building collapse look like a skyscraper falling.
What is the best scale for a detailed city miniature?
While it depends on the shot, 1:48 is widely considered a gold standard for urban miniatures. It is small enough to allow for large sections of a city to be built on a soundstage, yet large enough that the details (windows, doors, textures) don't disappear or look overly simplified when viewed through a cinematic lens.
Can forced perspective be used with digital effects?
Absolutely. Many modern productions use physical forced perspective for the immediate foreground to give the actors a real environment to interact with, and then blend that into a digital extension for the background. This creates a more seamless transition than jumping straight from a real person to a fully CGI environment.
Next Steps for Implementation
If you're starting a project that requires scale models, your first move should be a Scale Audit. List every object in your scene and determine which ones can be full-scale and which ones must be miniatures. If you're on a budget, focus on the "contact points"-the areas where the actor's environment meets the miniature. Spend the most time on the textures of these transition zones, as that's where the illusion is most likely to break.
For those working with a limited budget, start with XPS foam and a cheap heat gun. Experiment with creating textures using crumpled aluminum foil or old sponges before applying paint. Remember that in film, you aren't building a model; you're building a 2D image. If it looks right from the camera's lens, it doesn't matter if the back of the building is made of cardboard and duct tape.


Comments(8)