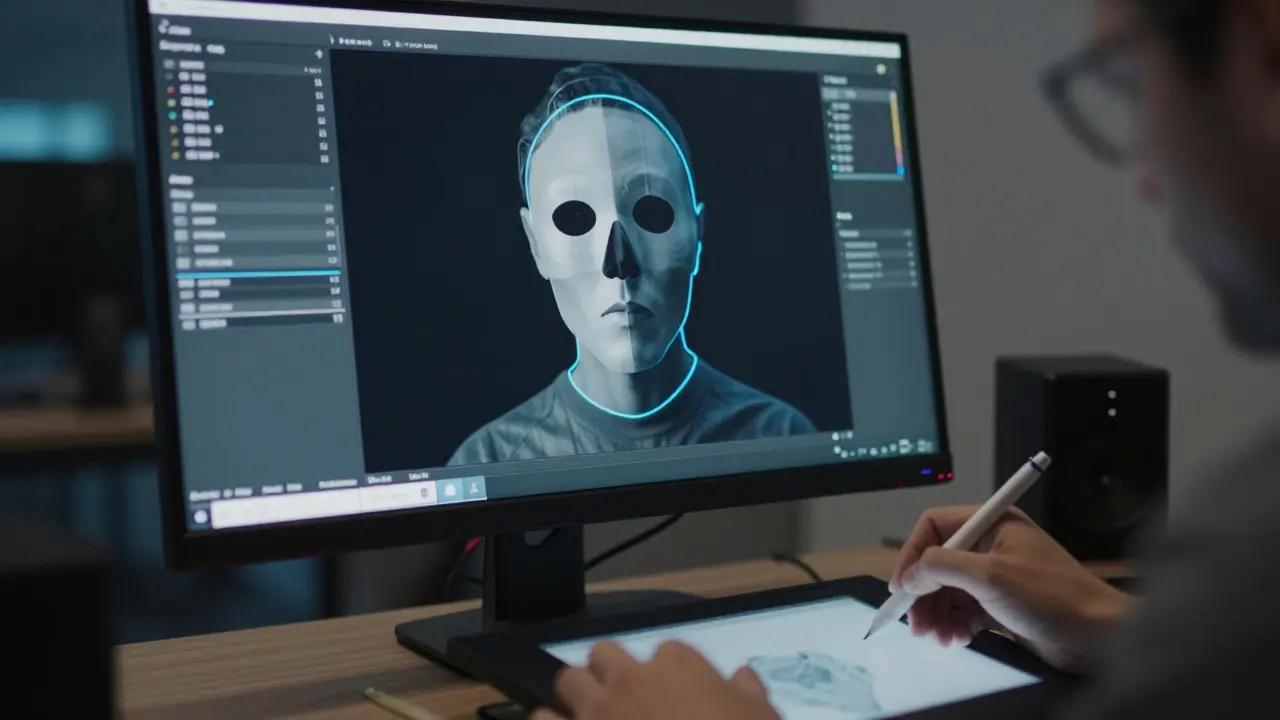
Imagine trying to remove a background from a video where the subject is moving fast, hair is blowing in the wind, and there’s a reflection on a shiny surface. Without Rotoscoping is the manual process of creating precise mattes (masks) over moving objects frame by frame to isolate them from their background., that job is nearly impossible. It is the backbone of visual effects, allowing artists to swap backgrounds, add lighting, or insert CGI elements seamlessly. But it isn’t just about drawing shapes; it’s about precision, patience, and understanding how light interacts with edges.
Most people think rotoscoping is simply tracing an outline. In reality, it is a complex workflow involving two critical components: creating a Clean Plate is a version of the footage with the foreground object removed, revealing only the background. and refining the Edge Work is the detailed adjustment of mask boundaries to match the optical properties of the original shot, including softness, halos, and transparency.. Get these wrong, and your composite looks fake. Get them right, and the audience never notices you were there at all.
Why Clean Plates Are the Foundation
A clean plate is essentially a ghost of the scene. When you remove an actor, a car, or a building from a shot, you need to know exactly what was behind it. If you are replacing a brick wall with a digital cityscape, you need a clean version of that wall area to blend the new elements correctly. Without a high-quality clean plate, your background replacement will look like a sticker pasted onto a photo.
Creating a clean plate usually involves one of three methods:
- Manual Roto Removal: The artist masks out the subject frame-by-frame. This is time-consuming but offers the highest control, especially for complex shots with occlusions.
- Tracking-Based Cleanup: Using tracking data to stabilize the image and then painting over the moving object. This works well for static backgrounds.
- AI-Assisted Generation: Newer tools use machine learning to predict what was behind the object. While faster, this method often requires significant manual touch-up to fix artifacts around hard edges.
The goal is not just to hide the object, but to reconstruct the texture and lighting of the background. If the background has shadows cast by the object, those shadows must remain in the clean plate. If the object reflected light onto the ground, that reflection needs to be handled carefully so it doesn't disappear abruptly when the object is replaced.
The Art of Edge Work: Where Magic Happens
If the clean plate is the canvas, edge work is the brushstroke. A hard, binary mask (black and white) rarely looks natural. Real-world objects have transitions. Hair strands are semi-transparent. Smoke fades into air. Glass reflects and refracts. Your roto mask needs to mimic these physical properties.
Edge work involves adjusting the feathering, spill suppression, and color correction of the mask's boundary. Here is why it matters:
- Feathering and Softness: Hard edges create a "cutout" look. You need to soften the transition between the subject and the background. However, too much softness makes the subject look blurry. The key is matching the depth of field of the original camera lens.
- Spill Suppression: Light bounces off surfaces. If you shoot a green screen, green light spills onto the actor. In live-action rotoscoping, if you remove a bright red car, red light might have spilled onto the nearby pavement. You must neutralize this unwanted color cast on the edges of your matte.
- Transparency Handling: For objects like glass, water, or smoke, the alpha channel (transparency) is crucial. You don't just mask the shape; you define how much light passes through each pixel of the edge.
Pro tip: Always check your edges in both black-and-white (matte view) and full-color composite view. A perfect matte in isolation can still look wrong if the colors don't blend correctly with the new background.

Tools of the Trade: Software Comparison
Choosing the right software depends on your budget, team size, and project scale. Here is a breakdown of the industry standards as of 2026.
| Software | Best For | Key Strength | Learning Curve |
|---|---|---|---|
| Nuke | High-end Film VFX | Node-based workflow, powerful scripting | Steep |
| After Effects | Advertising, Motion Graphics | User-friendly interface, strong integration with Adobe suite | Moderate |
| Fusion (DaVinci Resolve) | Budget-Friendly Feature Films | Integrated color grading and editing, cost-effective | Moderate |
| Roto Brush Pro | Quick Turnarounds | AI-assisted automatic masking | Low |
While AI tools like Roto Brush Pro have revolutionized speed, they still struggle with fine details like individual hair strands or complex reflections. Most professional pipelines now use a hybrid approach: let AI do the heavy lifting for initial masks, then use manual tools in Nuke or After Effects to refine the edges and fix errors.
Common Pitfalls and How to Avoid Them
Even experienced artists make mistakes. Here are the most common issues and how to fix them:
1. The "Sticker" Effect
This happens when the edge is too sharp or the color doesn't match the surrounding environment. To fix it, increase the feather slightly and apply a subtle color correction to the edges to match the ambient light of the new background.
2. Missing Occlusions
If a hand passes in front of a face, the roto must account for the hand blocking the face. If you miss this, the face will appear through the hand. Always watch the shot multiple times to identify every instance of one object hiding another.
3. Shimmering Edges
This occurs when the mask moves erratically between frames due to inconsistent tracking or manual adjustments. Use stabilization tools to smooth out the motion path before finalizing the mask. Consistency is key; the eye detects jitter far more easily than slight imperfections in shape.
4. Ignoring Lighting Changes
If the subject moves from shadow into sunlight, the edge brightness changes. A static matte won't capture this dynamic change. You may need to animate the opacity or blur of the edge to match the lighting shift.
Workflow Best Practices for Efficiency
Rotoscoping is tedious. The best artists are not just skilled drawers; they are efficient planners. Here is a workflow that saves hours:
- Analyze Before You Draw: Watch the entire clip at least three times. Note down keyframes where the shape changes drastically (e.g., hands opening, clothes flapping). Mark these in your timeline.
- Set Keyframes Strategically: Don't keyframe every frame. Set keys only where the shape changes significantly. Let the software interpolate the movement in between. Adjust the interpolation curves to ensure smooth motion.
- Use Layers Wisely: Separate complex subjects into layers. For example, keep hair, body, and accessories on different layers. This allows you to adjust the edge work for hair (which needs more softness) independently from the body (which needs harder edges).
- Check in Context: Never judge your roto in isolation. Composite it against the intended background early in the process. This reveals lighting and color mismatches that are invisible on a black background.
The Future of Rotoscoping
By 2026, artificial intelligence has changed the game. Tools that once required days of manual work can now produce 80% accurate masks in minutes. However, the last 20%-the fine-tuning of edges, the handling of tricky reflections, the artistic judgment of how the element fits the scene-still requires a human touch. Rotoscoping is evolving from a purely technical task into a hybrid discipline of technology and artistry. The artists who thrive are those who master both the software and the optical principles of photography.
Whether you are working on a low-budget indie film or a blockbuster feature, understanding clean plates and edge work is non-negotiable. These two elements determine whether your visual effects feel integrated or intrusive. Take the time to study the light, respect the physics of the original shot, and always, always check your work in context. Your audience will thank you by believing the illusion completely.
What is the difference between rotoscoping and green screen?
Green screen uses a solid-colored background that is keyed out digitally, which is faster but limited by spill and lighting constraints. Rotoscoping creates a custom matte for any background, offering unlimited creative freedom but requiring significantly more time and skill per frame.
How long does it take to roto a single minute of footage?
It varies wildly based on complexity. A simple static object might take 2-3 hours. A complex character with hair and movement can take 10-20 hours or more. AI tools have reduced this time by 40-50% for standard shots, but intricate edge work still demands manual attention.
Do I need to know how to draw to become a rotoscope artist?
No traditional drawing skills are required. Rotoscoping is about spatial awareness, patience, and understanding light. It is more akin to graphic design or animation timing than fine arts. Many successful artists come from backgrounds in UI/UX design or general computer graphics.
What is a clean plate used for besides background replacement?
Clean plates are also used for adding CGI elements that need to interact with the existing environment, fixing continuity errors, removing unwanted objects (like wires or crew members), and creating reference material for lighting simulations in 3D software.
Which software is best for beginners in rotoscoping?
Adobe After Effects is generally recommended for beginners due to its intuitive interface and widespread availability. DaVinci Resolve's Fusion module is also excellent because it is free and integrates well with color grading. Once comfortable, artists often move to Nuke for larger-scale productions.


Comments(6)