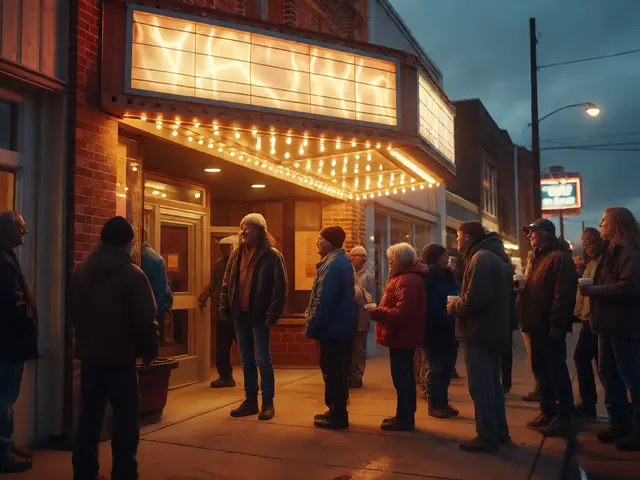
You’ve probably seen it a thousand times. The hero stands under a streetlamp, rain pouring down, mascara running, or maybe just the steam rising off wet pavement. It looks effortless. But if you have ever tried to shoot a scene like that on a budget, you know the truth: rain is one of the most expensive, difficult, and unpredictable elements to control in cinema. It’s not just about turning on a hose. It’s about lighting physics, actor comfort, equipment safety, and narrative timing.
Planning for weather effects isn't an afterthought during production; it’s a pre-production battle. Whether you are shooting a noir thriller in Los Angeles or a moody drama in Seattle, understanding how to manipulate rain and atmospheric conditions separates amateur footage from professional cinema. This guide breaks down exactly how to plan, rig, and light rain so it reads on camera without breaking your schedule or your sanity.
Why Rain Matters More Than You Think
Rain does more than make things wet. It changes the texture of reality. Dry surfaces reflect hard, specular highlights. Wet surfaces create deep blacks and rich reflections, increasing contrast and depth. This is why directors often ask for "just a little drizzle" even when the script doesn’t call for a storm. It adds production value instantly.
But here is the catch: rain kills continuity. If the sun comes out halfway through your take, the shadows change, the water evaporates, and the mood shifts from ominous to cheerful in seconds. That is why Cinematography Planning for weather must happen before you even pick up a camera. You need to decide if you are chasing natural weather or manufacturing it. Most pro films manufacture it because nature rarely cooperates with shot lists.
The Physics of Visible Rain
Newcomers often think they can just use a garden hose and hope for the best. They end up with blurry streaks that look like static noise rather than rain. To get convincing rain, you need to understand three variables: droplet size, fall speed, and backlighting.
- Droplet Size: Heavy rain needs larger droplets to be visible against dark backgrounds. Light mist requires fine atomizers. If your droplets are too small, they vanish on camera. Too large, and they look like soup.
- Fall Speed: Rain falls fast. If you shoot at 24 frames per second (fps), fast-moving water blurs into streaks. This is actually good-it creates motion. But if you want individual drops to pop, you might need higher frame rates or slower-falling artificial rain.
- Backlighting: This is the golden rule. Rain is transparent. It only becomes visible when light passes through it. Without a strong back source, rain looks like nothing. You need a powerful HMI or LED panel behind the subject, aimed toward the lens, to illuminate the falling water.
Think of it this way: if you are filming indoors looking out a window, the outside world should be brighter than the interior. That contrast makes the rain on the glass sparkle. Outdoors, you need a "sky" source that cuts through the darkness.
Rigging Systems: From Sprinklers to Rain Towers
How you deliver the water determines the look. There is no single "right" rig, but there are standard tools used across the industry.
| Rig Type | Best For | Pros | Cons |
|---|---|---|---|
| Handheld Sprayer | Close-ups, wind interaction | Highly controllable, cheap | Hard to maintain consistency over long takes |
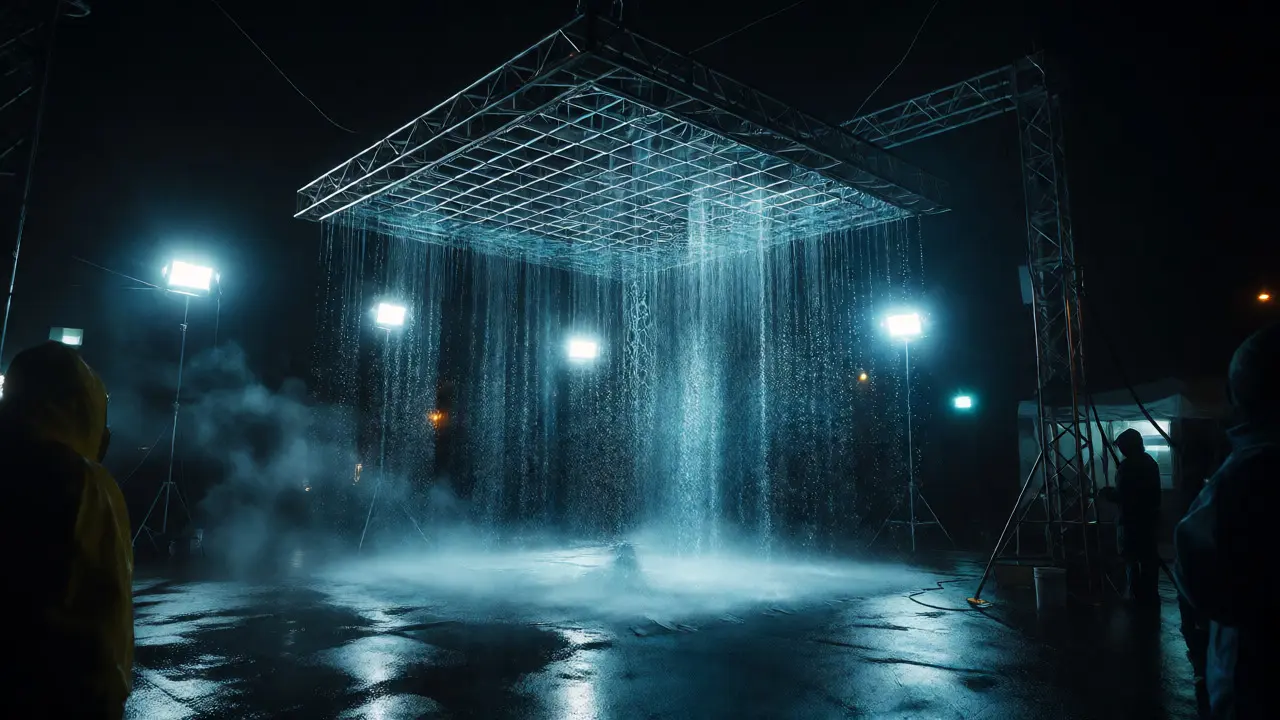
| Overhead Grid (Rain Tower) | Wide shots, medium shots | Even coverage, realistic gravity | Expensive setup, requires heavy lifting gear |
| Sprinkler System | Backgrounds, streets | Covers large areas automatically | Can flood sets, less directional control |
| Mist Machine | Atmosphere, fog + rain combo | Adds volume and mood | Doesn't create actual wetness, settles slowly |
For most indie films, a combination works best. Use overhead grids for the main action area to ensure consistent density. Use handheld sprayers for foreground elements where you need precise control over droplet impact. And always have a mist machine running in the background to add depth. Remember, real rain has layers. Your rig should too.
Lighting Challenges in Wet Conditions
Wet surfaces are mirrors. This is both a gift and a curse. On one hand, you get beautiful reflections that double your set design. On the other, every light stand, crew member, and cable gets reflected in the puddles. You need to hide your sources or angle them carefully.
Here is a practical trick: use black flags and negative fill aggressively. If a puddle reflects a white ceiling or a bright sky, it draws the eye away from the actor. Block those reflections. Also, consider the color temperature. Rain scenes usually feel cold-blue or teal tones work well. Warm tungsten lights inside windows provide a nice contrast to the cool exterior rain, creating a sense of shelter versus exposure.
Don’t forget about the actors. Wet clothes become translucent. Underwear lines show through. Skin tone changes when wet. Have wardrobe prepare duplicates of every outfit. Plan for drying time between takes. A shivering actor ruins a performance faster than bad focus.
Sound Design and Audio Capture
Cinematography isn’t just visual. Rain is loud. Real rain hitting a microphone diaphragm sounds like white noise chaos. Artificial rain hitting a boom pole sounds like a fire hose. You need to protect your audio team.
- Blimps and Windscreens: Essential. Even a slight breeze combined with rain will ruin dialogue tracks.
- Placement Strategy: Keep boom mics out of the direct spray path whenever possible. Use lavalier mics as backup, but be aware that wet fabric rustles loudly.
- Post-Production Reality: Often, you won’t keep the production sound. You’ll replace it with Foley rain in post. This frees you to prioritize image quality over audio perfection during the shoot. Just make sure you capture clean room tone and sync claps.
If you are shooting dialogue-heavy scenes, talk to your sound designer early. Ask them what they need for replacement. Sometimes, having the actors speak slightly louder helps isolate their voices from the ambient hiss of the rain rigs.
Weather Contingencies and Safety
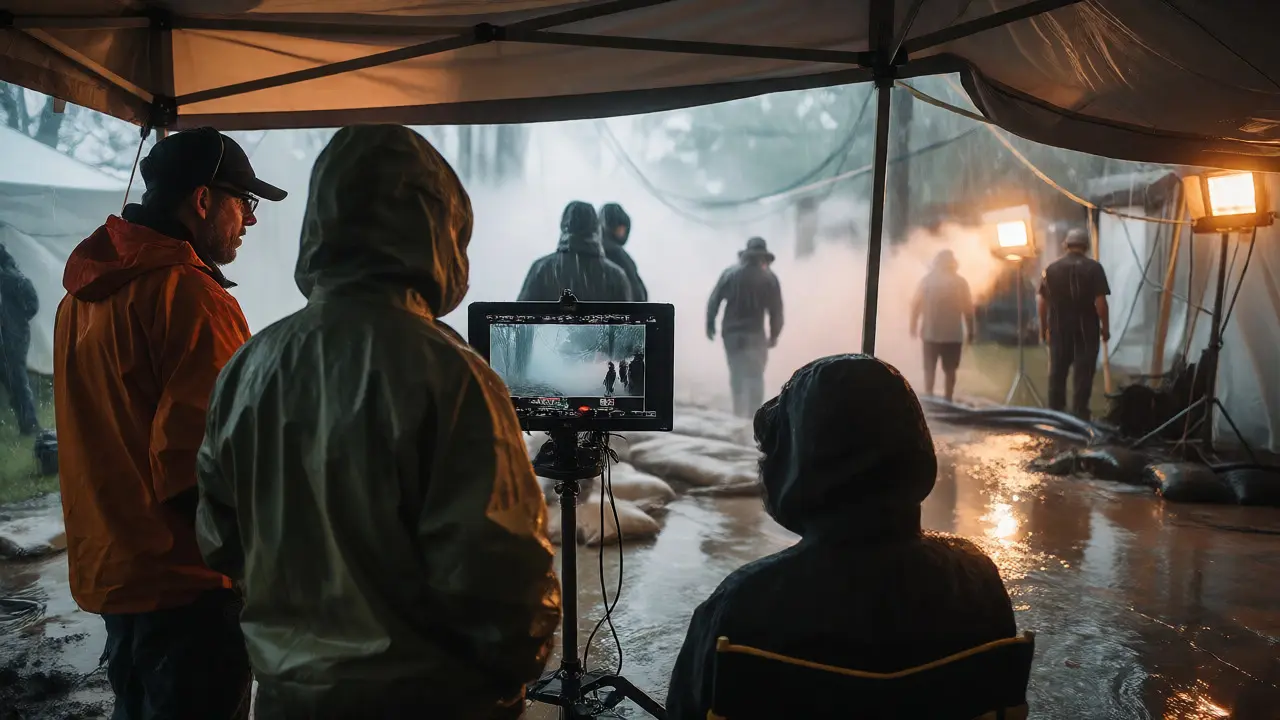
Shooting in actual weather adds another layer of complexity. If you are relying on natural rain, you need a plan B. What if it stops? What if it turns into hail? What if the lightning gets too close?
Always check radar maps hourly, not daily. Storm cells move fast. Have a "dry cover" location ready-a warehouse, a garage, or a tented area-where you can pivot immediately if the sky opens up unexpectedly. Conversely, if you are shooting artificially, watch out for electrical hazards. Water and electricity do not mix. All cables must be elevated or taped down securely. GFCI outlets are mandatory. One slip near a live wire can shut down your entire production.
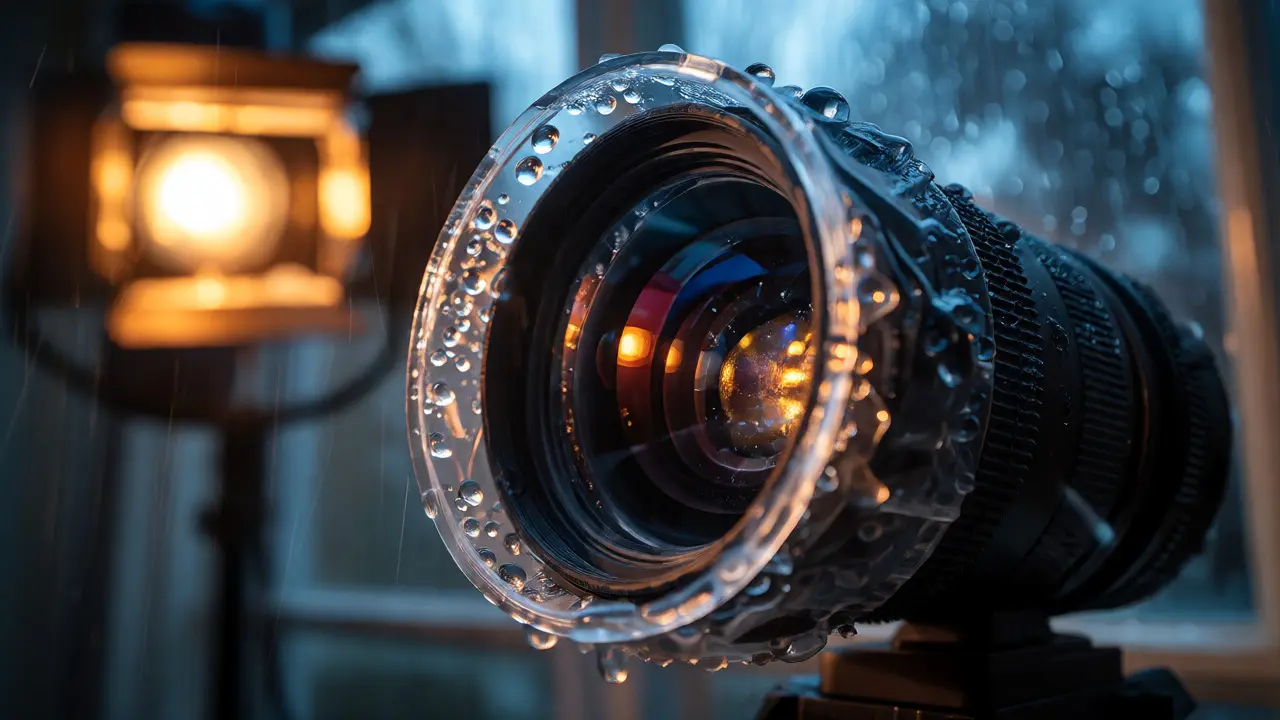
Also, consider the ground. Mud destroys boots and cameras. Lay down plywood or mats in high-traffic areas. Protect your lenses with UV filters and rain sleeves. Lens hood extensions help prevent droplets from landing directly on the front element. Clean lenses frequently; dried rain spots leave mineral deposits that are hard to remove.
Practical Tips for Budget-Conscious Filmmakers
You don’t need a Hollywood budget to fake rain convincingly. Here are some shortcuts that work:
- Glycerin Mix: Add glycerin to your water. It slows down the evaporation rate and makes droplets bead up more naturally on skin and fabric. It also reduces the "soapy" look that tap water sometimes has on camera.
- Wind Machines: Real rain rarely falls straight down. It blows sideways. Use a fan to angle your rain. This adds realism and prevents the unnatural "vertical curtain" look.
- Foreground Elements: Shoot through a wet window, a chain-link fence, or hanging leaves. These elements break up the pattern of the rain and add depth without requiring massive water output.
- Slow Motion: If you can afford the storage, shoot key moments at 60fps or 120fps. Slow-motion rain looks dramatic and allows you to see individual droplets, adding cinematic weight to emotional beats.
Remember, the goal isn’t to replicate meteorology perfectly. It’s to evoke a feeling. If the audience feels the chill and the isolation, you’ve succeeded, regardless of whether the droplets were technically accurate.
Why does my rain look invisible on camera?
Most likely, you lack backlighting. Rain is transparent and needs light passing through it to be visible. Place a strong light source behind the rain, aimed toward the camera, to illuminate the droplets.
What is the best frame rate for shooting rain?
Standard 24fps creates natural motion blur, which is ideal for realistic rain. However, shooting at 60fps or higher allows for slow-motion playback, which emphasizes individual droplets and adds dramatic flair.
How do I protect my camera equipment from rain?
Use dedicated rain covers or clear plastic bags secured with tape. Always attach a lens hood to deflect water. Wipe the lens frequently with a microfiber cloth to prevent mineral spots from forming.
Should I record production sound in rain scenes?
It depends. If the rain is light, yes. If it is heavy, the noise may overwhelm dialogue. Many filmmakers rely on Foley rain added in post-production, allowing them to prioritize image clarity over audio fidelity during the shoot.
What is a safe way to manage electricity around water?
Always use GFCI (Ground Fault Circuit Interrupter) outlets. Elevate cables above the water line using sandbags or stands. Never plug or unplug equipment while standing in water. Regularly inspect connections for moisture.