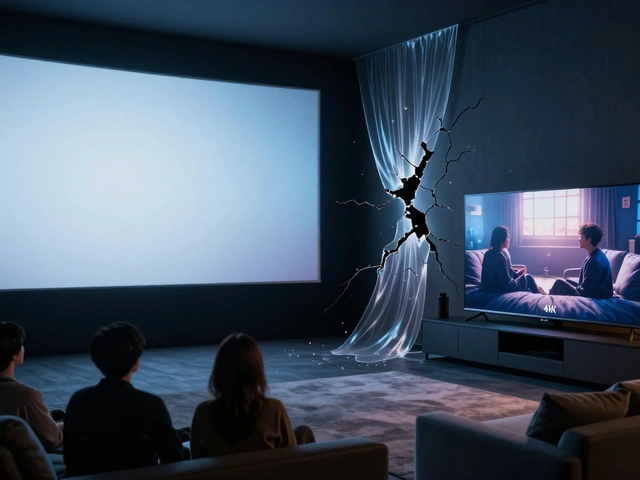
There is nothing worse than sitting in a dark auditorium, watching a movie that looks like it was shot on a cheap smartphone. You paid for the experience, but you got gray fog instead of vibrant color. This isn't just bad luck; it’s a failure of projection maintenance, the critical process that keeps cinema images bright, sharp, and compliant with industry standards. For theater owners and technical managers, keeping projectors within specification is not optional. It is a contractual obligation to content distributors and a promise to your audience. If the image falls below the required luminance levels, you risk losing license agreements and, more importantly, customer loyalty. This playbook breaks down exactly how theaters maintain image brightness, from daily checks to major overhauls.
The Baseline: Understanding DCI Compliance
Before you can maintain brightness, you need to know what "bright" actually means in professional cinema. For decades, the standard has been defined by the Digital Cinema Initiative (DCI). Established by major studios and technology companies, DCI created the technical specifications that all digital cinema projectors must meet to be certified.
The core metric here is luminance, measured in foot-lamberts (fL) or candelas per square meter (cd/m²). For a standard 2D film, the DCI specification requires a minimum of 48 cd/m² (approximately 14 fL) at the center of the screen. For 3D presentations, which inherently lose light through polarization, the requirement drops to 32 cd/m² (approximately 9.4 fL). These numbers are not suggestions; they are hard limits.
If your projector outputs less than this, the image appears dim, colors look washed out, and black levels turn into muddy gray. Studios use these specs to ensure their creative vision is preserved. When you calibrate your system, you are aiming for these specific values. Anything below is non-compliant. Anything significantly above can cause eye strain and wash out highlights. The goal is consistency within the spec range.
Daily Checks: The First Line of Defense
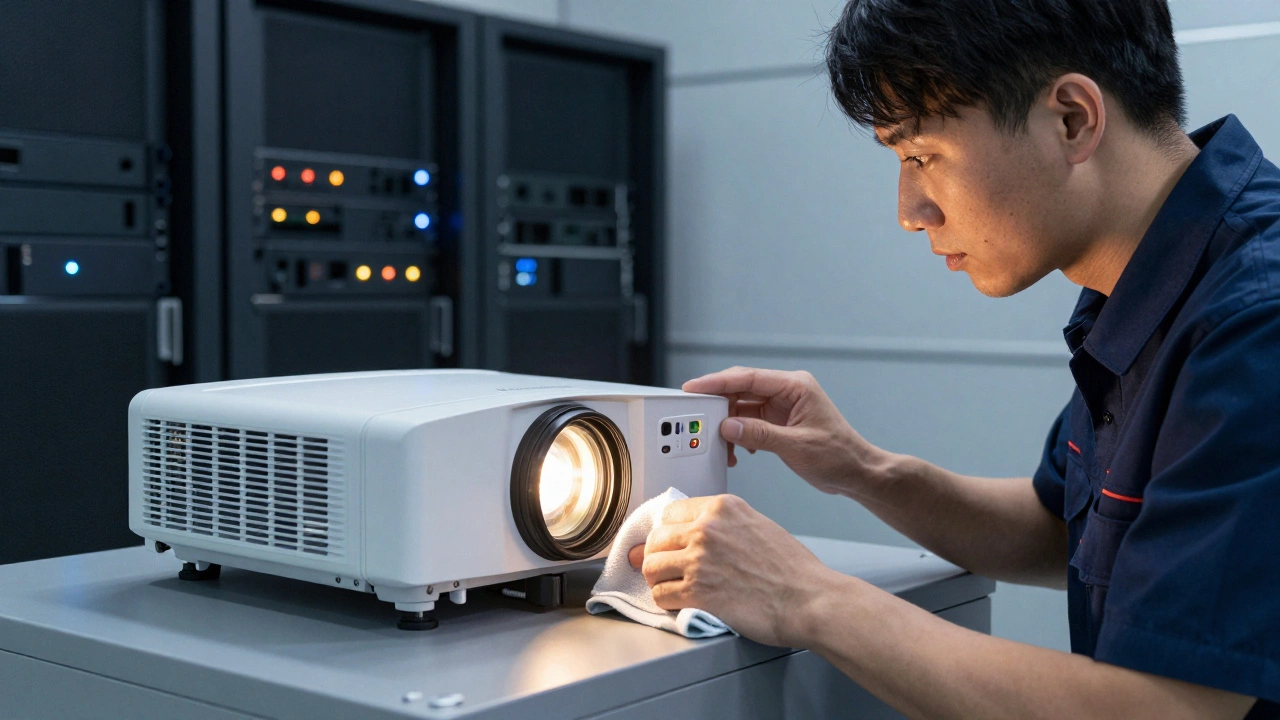
Maintenance doesn’t start when something breaks. It starts every single morning before the first showtime. The most common cause of sudden brightness loss is not hardware failure, but simple obstruction. Dust, debris, and misaligned components can block light paths without anyone noticing until the image suffers.
- Filter Inspection: Check the air filters on your projector. A clogged filter restricts airflow, causing the lamp or laser source to overheat. Many modern projectors will automatically dim the output as a safety measure if internal temperatures rise. Clean or replace filters weekly, or daily in dusty environments.
- Lens Cleaning: Use a soft microfiber cloth and lens-safe cleaning solution to wipe the front element of the lens. Fingerprints, dust specks, and smudges scatter light, reducing contrast and overall brightness. Never use paper towels or rough fabrics.
- Screen Inspection: Look at the screen surface. Is there dirt, mold, or physical damage? A dirty screen reflects less light back to the audience. Also, check for alignment issues. If the projector has shifted even slightly, the image may be hitting the edge of the screen where gain is lower.
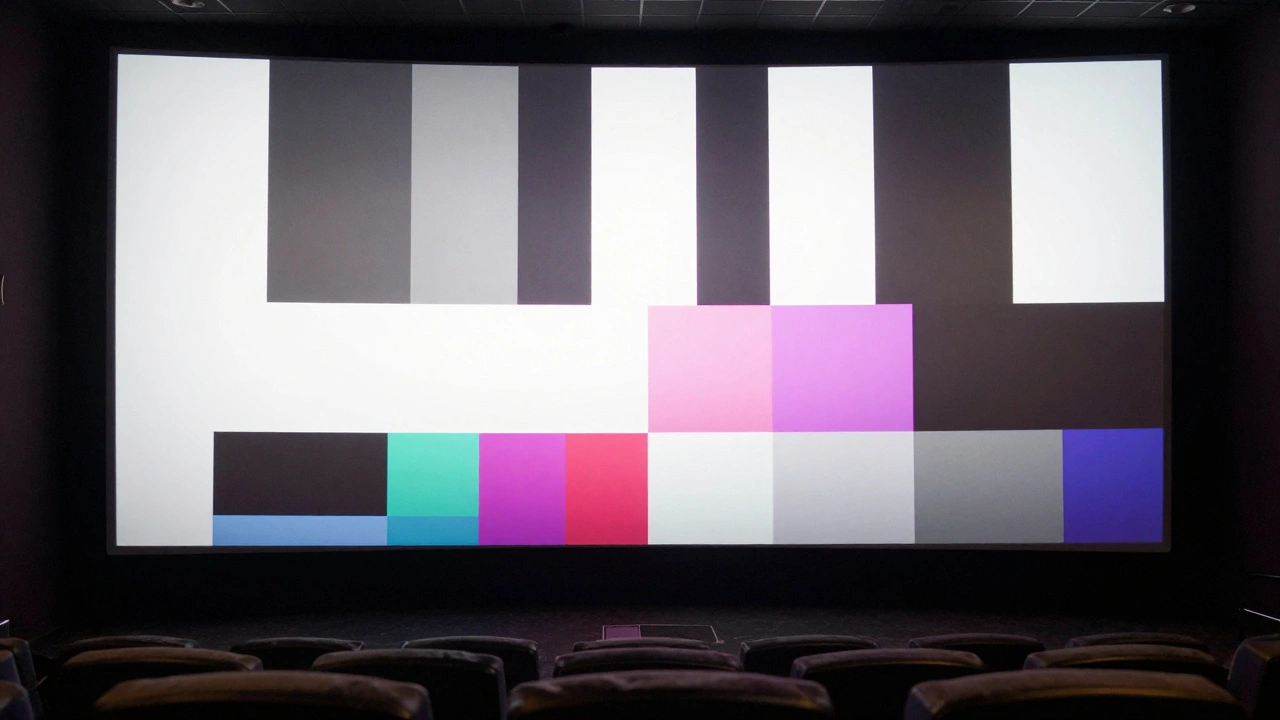
- Test Pattern Review: Display a standardized test pattern, such as the SMPTE color bars or a grayscale ramp. Visually inspect for uniformity. Are there hot spots? Are the corners darker than the center? Uneven brightness often indicates a lens issue or a problem with the light engine’s optical path.
These steps take less than ten minutes but prevent the majority of minor brightness issues. Ignoring them leads to gradual degradation that goes unnoticed until a distributor complains.
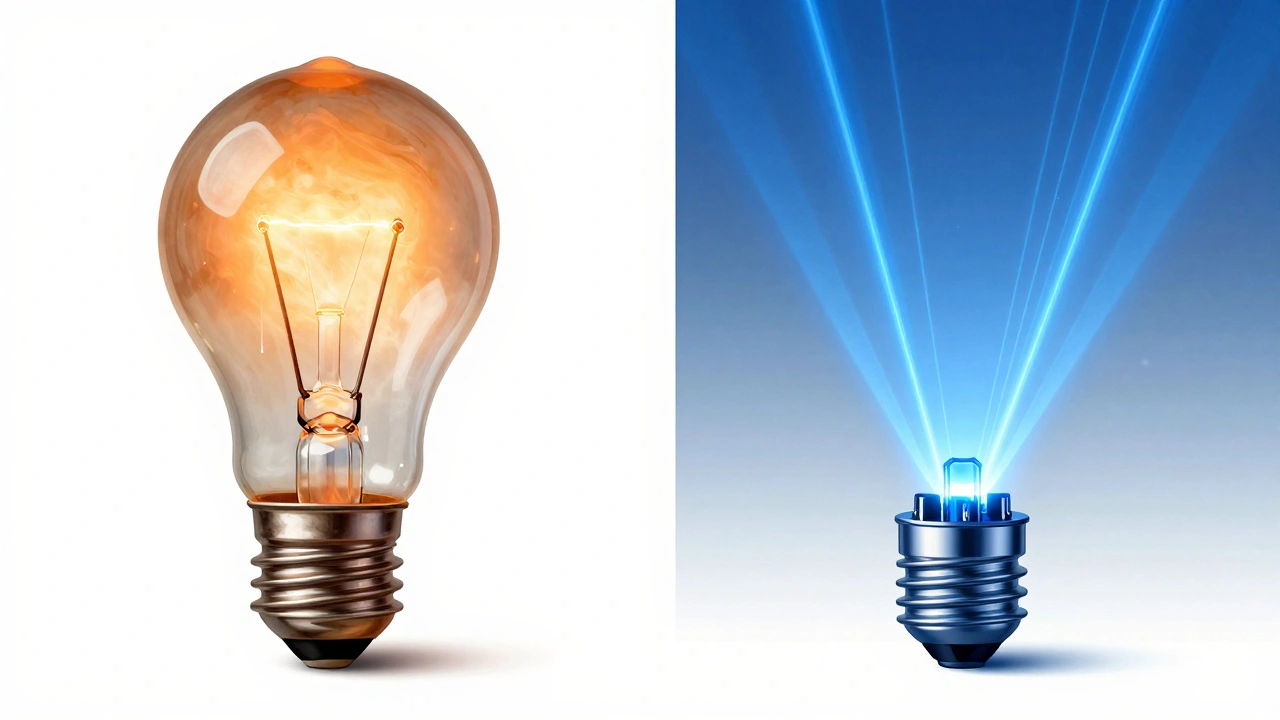
Lamp vs. Laser: Source Management Strategies
The light source is the heart of your projection system, and its health directly dictates image brightness. Traditional xenon lamps and modern laser/phosphor systems require different maintenance approaches. Understanding which one you have is crucial for planning replacements and budgeting.
Xenon lamps degrade over time. As the hours tick up, the arc inside the lamp shifts, and the glass envelope darkens due to evaporation of internal gases. This results in a slow, steady decline in luminance. Most theaters track lamp hours closely. When a lamp reaches 70-80% of its rated life, brightness often drops below DCI specs. At this point, replacement is mandatory. You cannot "calibrate out" a dying lamp. Trying to boost the gain settings will only introduce noise and reduce dynamic range.
Laser light sources behave differently. They do not burn out suddenly like lamps. Instead, they experience lumen depreciation over thousands of hours. However, lasers are more stable and maintain consistent color temperature throughout their life. The main maintenance task for laser systems is monitoring the cooling fans and heat sinks. Because lasers generate significant heat, any blockage in the airflow can trigger thermal throttling, where the system reduces power to protect itself. Regularly clean the heatsinks and ensure fan speeds are nominal.
| Feature | Xenon Lamp | Laser/Phosphor |
|---|---|---|
| Brightness Decay | Rapid after 70% life | Gradual over 20,000+ hours |
| Replacement Frequency | Every 1,500-2,500 hours | Every 20,000-30,000 hours |
| Primary Failure Mode | Sudden pop or gradual dimming | Thermal throttling or phosphor wear |
| Calibration Impact | Requires full recalibration after swap | Minimal adjustment needed |
| Cost Factor | Lower unit cost, higher labor | Higher unit cost, lower labor |
Knowing these differences helps you schedule downtime. Xenon swaps should happen during low-traffic periods, while laser maintenance is mostly preventive cleaning and software updates.
Optical Path Integrity: Mirrors and Lenses
Even with a perfect light source, your image will suffer if the optical path is compromised. The light travels from the source through a series of mirrors, prisms, and lenses before reaching the DLP chip or LCD panel, and finally out through the projection lens. Any contamination or misalignment in this chain reduces efficiency.
Mirrors inside the projector housing are particularly vulnerable. Over time, dust settles on them, and in some cases, moisture can cause slight oxidation. While you shouldn’t open the sealed optical engine yourself, scheduled service visits should include a professional inspection of these internal components. Technicians use specialized tools to clean internal mirrors without damaging delicate coatings.
The projection lens itself requires regular focus and iris checks. The iris controls the amount of light passing through. If the iris mechanism sticks or becomes misaligned, it can restrict light flow unevenly. Test the iris response via the projector’s control interface. It should move smoothly and return to its set position accurately. Additionally, check the focus ring. A soft image appears dimmer to the human eye because details are lost in blur. Sharp edges reflect light more efficiently, making the image appear brighter and clearer.
Software Calibration and Metadata
Modern cinema projectors are essentially computers with powerful processors. They rely on software profiles to manage brightness, color, and contrast. One of the most critical aspects of maintaining spec is ensuring that the correct metadata is being applied to each film.
Digital Cinema Packages (DCPs) contain embedded metadata that tells the projector how to display the image. This includes information about the intended color space, gamma curve, and sometimes even specific brightness targets. If your projector is not reading this metadata correctly, it may apply the wrong tone mapping, resulting in an image that is too dark or too bright.
Regularly update your server and projector firmware. Manufacturers release patches that improve how metadata is interpreted and optimize light engine performance. Outdated firmware can lead to compatibility issues with new films, causing unexpected brightness drops or color shifts. Always verify that your server is correctly parsing the PKL (Projector Key List) files associated with encrypted content. Incorrect key management can sometimes result in fallback modes that limit resolution or brightness.
Use a calibrated reference monitor during setup. When loading a new film, compare the projected image to the reference monitor. If the projected image looks significantly different, check the projector’s input settings. Ensure that you are using the correct input mode (e.g., "Cinema," "DCI-P3," or "Rec.709") rather than a generic video mode. Generic modes often apply aggressive compression that crushes blacks and clips whites, ruining the cinematic look.
Environmental Control: Temperature and Humidity
Your projector does not operate in a vacuum. The environment around it plays a huge role in its performance. High temperatures force the projector to work harder to cool itself, leading to thermal throttling. High humidity can cause condensation inside the optical path, scattering light and creating haze.
Maintain the projection booth at a stable temperature, ideally between 65°F and 75°F (18°C - 24°C). Avoid placing the projector near heat sources like HVAC vents or direct sunlight. Ensure that the booth has adequate ventilation to allow hot air to escape. Stagnant hot air builds up around the projector, raising its internal operating temperature.
Humidity control is equally important. Keep relative humidity between 40% and 60%. Below 40%, static electricity can attract dust to internal components. Above 60%, condensation risks increase, especially if the projector is turned off and on frequently. Use a hygrometer in the booth to monitor conditions continuously. If levels drift, adjust your HVAC system accordingly. Consistent environmental conditions lead to consistent image quality.
When to Call a Professional
While daily checks and basic cleaning can be done by theater staff, certain tasks require certified technicians. Attempting to repair internal optical components or recalibrating complex laser systems without proper training can void warranties and cause permanent damage.
Schedule professional maintenance at least twice a year. During these visits, technicians will perform deep cleaning of internal optics, verify mechanical alignments, and run comprehensive diagnostic tests. They can also measure the actual luminance output using a photometer, providing objective data on whether your system is meeting DCI specs. This documentation is valuable for proving compliance to distributors and insurance providers.
If you notice persistent issues like flickering, color shifts, or uneven brightness that don’t resolve with basic troubleshooting, call a pro immediately. Ignoring these signs can lead to catastrophic failures, such as a blown lamp or damaged DLP chip, resulting in costly repairs and extended downtime.
How often should I replace my projector lamp?
Xenon lamps typically last between 1,500 and 2,500 hours. You should replace them when they reach 70-80% of their rated life, as brightness drops significantly after this point. Monitor the lamp hour counter on your projector’s status screen to stay ahead of failures.
What is the minimum brightness required for 3D movies?
According to DCI specifications, 3D presentations must maintain a minimum of 32 cd/m² (approximately 9.4 foot-lamberts) at the center of the screen. Falling below this level results in a dim, unsatisfactory viewing experience and potential non-compliance with distribution contracts.
Can I clean the internal mirrors of my projector myself?
No, you should not attempt to clean internal mirrors yourself. The optical engine is a sealed, sensitive component. Opening it improperly can introduce dust, misalign parts, or void the warranty. Internal cleaning should only be performed by certified technicians during scheduled maintenance.
Why does my image look dimmer in summer?
Higher ambient temperatures in summer can cause your projector to overheat. To protect itself, the projector may enter thermal throttling mode, reducing light output. Ensure your projection booth is properly ventilated and maintained at a stable temperature between 65°F and 75°F.
How do I know if my projector is DCI compliant?
DCI compliance is verified through initial certification and ongoing maintenance. You can check compliance by measuring the luminance with a calibrated photometer. Standard 2D films require 48 cd/m², and 3D films require 32 cd/m². Regular professional servicing ensures your system stays within these bounds.


Comments(10)