Getting clean dialogue on set isn’t luck. It’s a skill built from experience, the right gear, and knowing what to watch for before the camera even rolls. Too many productions assume the microphone will do the work - but a $5,000 boom won’t fix a noisy set, a flimsy windscreen, or a sound person who’s never been trained. If your dialogue sounds muffled, full of background hum, or cut off mid-line, you’re not just losing quality - you’re wasting time and money in post.
Why Clean Dialogue Matters More Than You Think
Most people think of sound as background. But in film and TV, dialogue carries the story. A perfect shot means nothing if the actor’s line is buried under a passing truck or a buzzing light. Post-production can fix color, remove a stray wire, or even replace a background - but if the voice is lost, you’re stuck. A 2023 survey of 120 indie filmmakers found that 68% of their reshoots were triggered by unusable audio, not bad acting or lighting. That’s not a mistake. That’s a preventable cost.
Good sound isn’t about fancy gear. It’s about control. You control the environment. You control the mic placement. You control the noise. And you control the person holding the mic - because if they’re not trained, no amount of equipment will save you.
The Three Pillars of On-Set Sound
There are three things you need to get right every single time:
- Microphone choice - boom vs. lavalier, when to use each
- Noise management - what to shut down, what to move, what to ignore
- Sound operator skill - how to hold the boom, where to stand, how to listen
Get one wrong, and you’re gambling with your audio. Get all three right, and you’ll have clean dialogue even on a busy street.
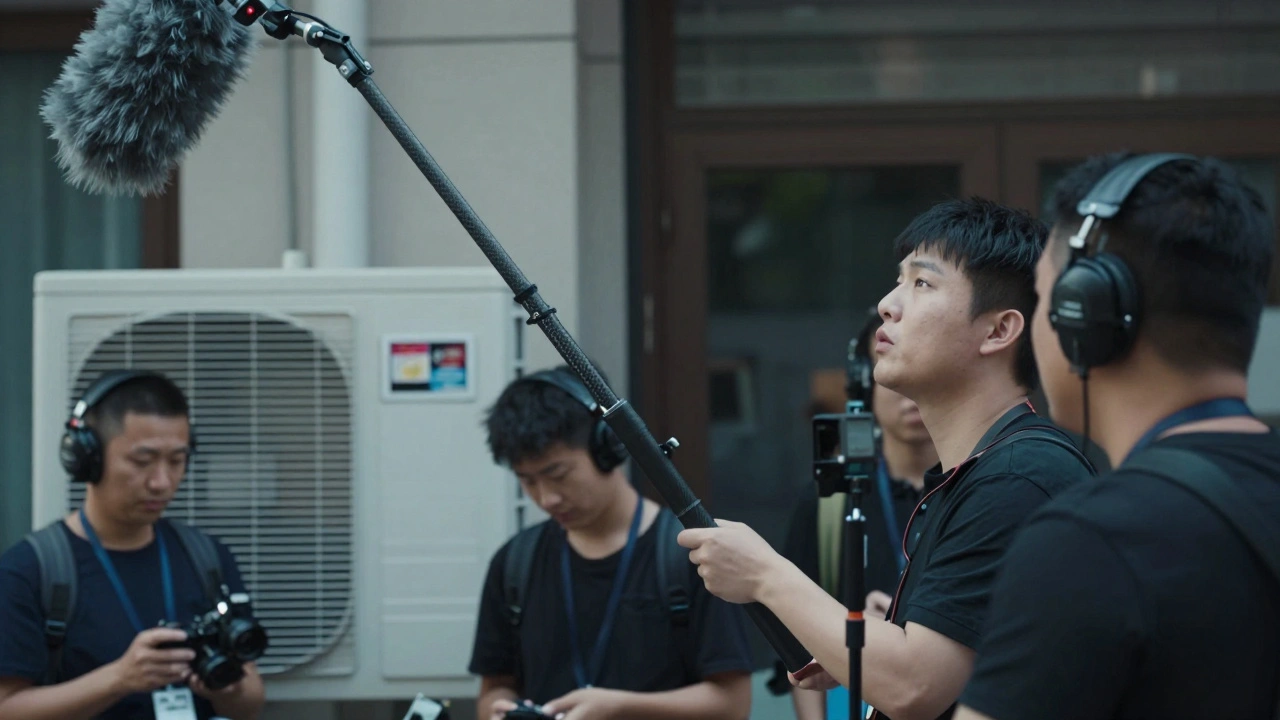
Boom Mic: Your First Line of Defense
The boom mic is your go-to for most scenes. It’s directional, flexible, and captures natural sound without touching the actor. But most people use it wrong.
Don’t hold it too far away. If the mic is more than 18 inches from the actor’s mouth, you’re asking for room tone to creep in. Don’t point it at the chest - aim for just above the mouth, slightly in front. That’s the sweet spot. The mic should be angled down so it catches the voice before the sound bounces off the floor or walls.
Use a good windscreen. Even indoors, air conditioning or HVAC systems create a low-frequency rumble. A furry windscreen (like a Rycote Lyre) cuts that out. And never, ever use a cheap foam one - they’re useless for film work.
Also, watch for shadows. If the boom casts a shadow on the actor’s face, you’re blocking the light. That’s why many boom operators use a boom pole is a lightweight, extendable pole designed to hold a microphone above the shot without appearing in frame. It's typically made of carbon fiber or aluminum, with a counterweight system for balance. A carbon fiber pole is lighter, more responsive, and doesn’t pick up vibrations like metal ones do.
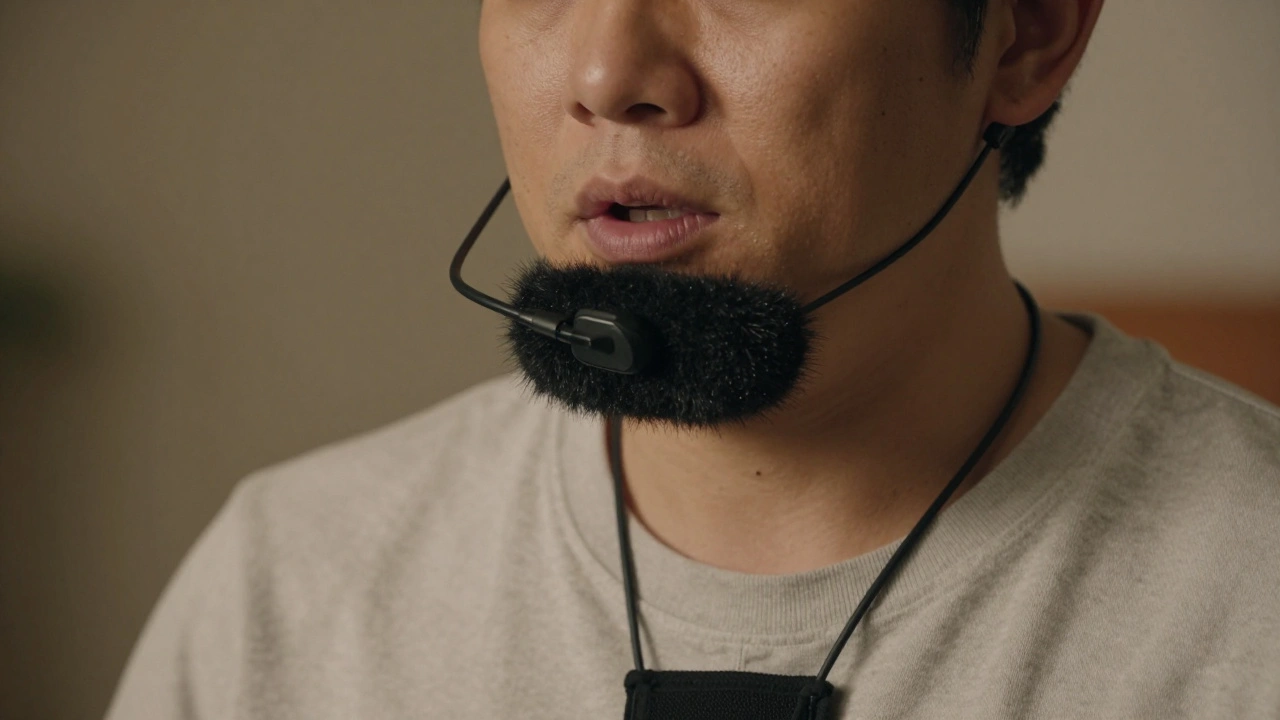
Lavalier Mics: When You Need to Hide the Mic
For tight shots, moving actors, or scenes with heavy action, you’ll need lavalier mics. But they’re tricky. They pick up rustling clothes, body heat, and even the actor’s heartbeat if placed wrong.
Always use a dead cat is a furry windscreen specifically designed for lavalier microphones to reduce clothing noise and wind interference over the mic. That’s the small, fuzzy cover that goes on the mic itself. It doesn’t just help with wind - it deadens fabric noise.
Placement matters. Never clip it on a shirt collar. That’s where movement and fabric rub are loudest. Instead, clip it to the lapel, just under the chin, or on the side of the neck. Use moleskin or medical tape to hold it in place - that stops it from bouncing. And always run the cable down the actor’s body, not over the shoulder. A cable over the shoulder creates a whip effect - every move makes a loud slap.
Test every lavalier before shooting. Have the actor walk, sit, and move their arms. If you hear a single rustle, fix it. One bad take because of a loose mic is worse than 10 minutes of prep.
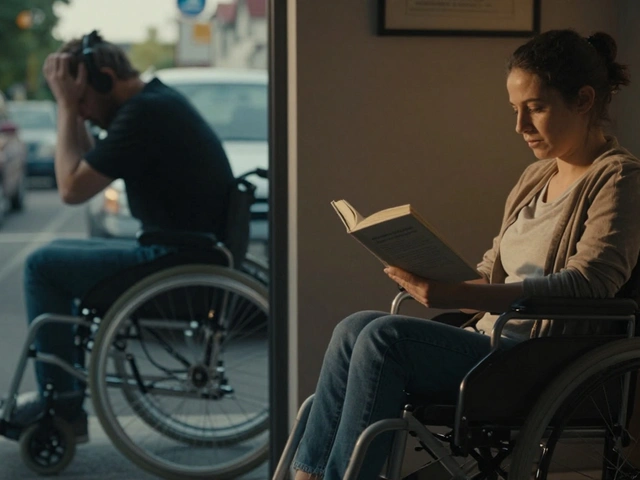
Noise Is the Enemy - And It’s Everywhere
People think noise means traffic or planes. But on set, the real killers are quieter:
- AC units - even ones that sound "quiet"
- Refrigerators in craft services
- LED lights with cooling fans
- Camera motors (especially DSLRs and mirrorless)
- Cell phones buzzing in pockets
Before every take, the sound team should do a 30-second "sound sweep." That means everyone stops talking, doors are closed, and the boom op listens with headphones. If you hear anything - even a faint buzz - find it. Turn it off. Move it. Cover it.
One team I worked with on a low-budget indie film had a scene set in a coffee shop. The espresso machine was the loudest thing on set. They didn’t turn it off - they moved it to the back room and ran the sound through a speaker during the scene. That’s how you solve noise: by outsmarting it.
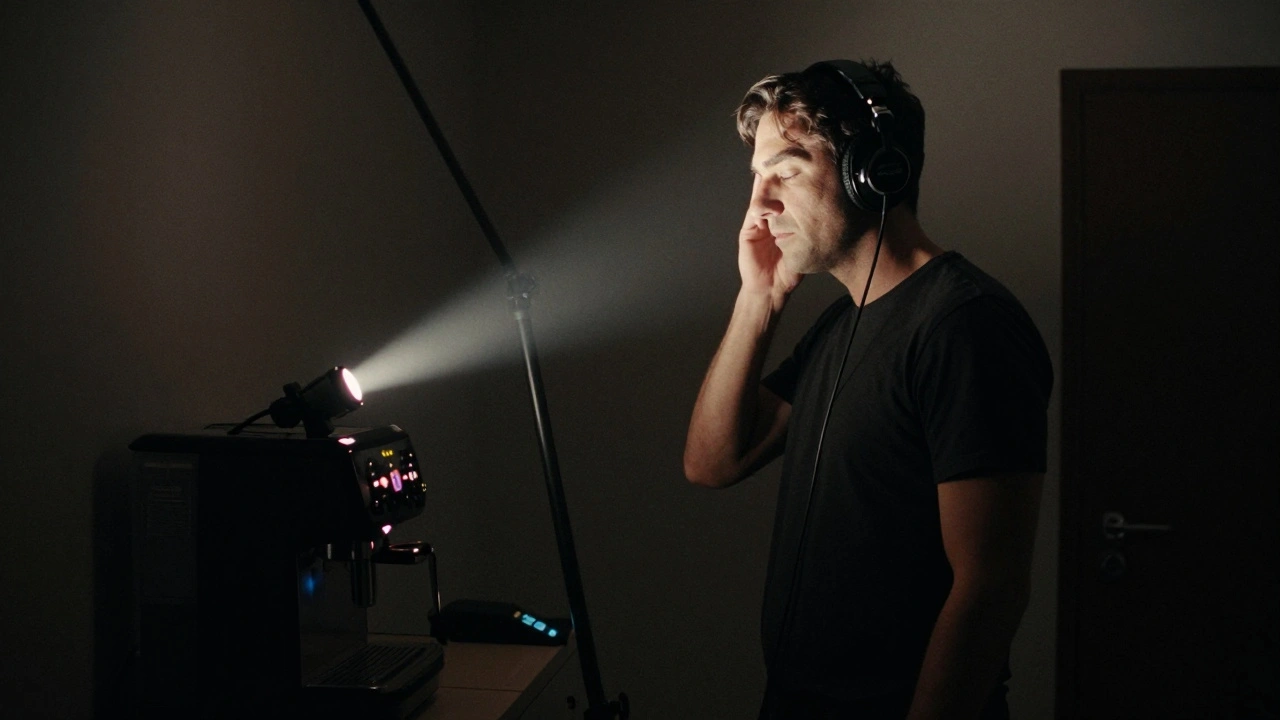
The Sound Person Is Your Secret Weapon
Most directors treat the sound person like a tech assistant. They’re not. They’re a creative partner.
A good sound operator doesn’t just hold the mic. They read the scene. They know when the actor is going to turn left, when they’ll raise their hand, when they’ll pause. They move the boom like a dancer - smooth, quiet, precise. They don’t wait for the director to call "sound roll" - they’re already listening.
They also know when to say "no." If the set is too loud, if the lights are buzzing, if the actor’s mic is loose - they should be empowered to call for a pause. Too often, crews rush to save time, and the audio pays the price.
Train your sound team. Give them time. Pay them well. And listen to them.
What to Do When Things Go Wrong
Even the best teams have bad takes. Here’s what to do:
- Record room tone - 30 seconds of silence with no one talking. This is your magic tool for fixing gaps in post.
- Record a "wild track" - the actor says the line again, without camera rolling. Use it to replace bad audio.
- Check your levels. If the peak hits -6dB or higher, you’re risking clipping. Keep it between -12dB and -18dB.
- Label every file clearly: "Scene 12A - Take 3 - Boom - John Doe". No one remembers "take 5" later.
And never, ever rely on post-production to fix bad dialogue. ADR (Automated Dialogue Replacement) is expensive, time-consuming, and often sounds unnatural. It’s a last resort - not a plan.
Quick Checklist for Clean Dialogue
- Boom mic within 12-18 inches of the mouth, angled down
- Furry windscreen on boom and lavalier
- Lavalier clipped under chin, taped down, cable routed along body
- Sound sweep before every take - 30 seconds of silence
- AC, lights, and phones turned off or moved
- Record room tone and wild tracks
- Audio levels between -12dB and -18dB
- File names are clear and consistent
Frequently Asked Questions
Can I use a shotgun mic instead of a boom?
A shotgun mic is the type of mic you mount on a boom pole - so yes, you’re using a boom mic. The term "shotgun mic" just describes the directional pattern. What matters is how you use it. A shotgun mic on a boom is standard. A shotgun mic on a camera is not - it picks up too much room noise and camera handling sounds.
Do I need a sound mixer if I’m on a low budget?
Yes. Even a simple mixer like the Zoom H6 or Sound Devices MixPre-3 lets you monitor levels, adjust gain, and record separate tracks. Without one, you’re stuck with auto-gain on your recorder - which means loud lines are clipped and quiet lines are buried. A $300 mixer saves you thousands in post.
What’s the best way to record dialogue with two actors?
Use two lavaliers - one on each actor - and a boom as backup. Never rely on just one mic for two people. If one turns away, you lose their line. Two lavaliers give you redundancy. You can also use a stereo boom if the actors are close, but that’s harder to control. Lavaliers are safer.
Can I fix bad audio in editing software?
You can reduce noise, but you can’t create missing frequencies. If someone’s voice is muffled because the mic was too far, no plugin will fix that. If there’s a loud hum from a light, it’s probably still there after noise reduction. The goal isn’t to fix audio - it’s to capture it right the first time.
Why do some films have weird-sounding dialogue?
Usually, it’s because the production didn’t prioritize sound. They used cheap mics, skipped sound sweeps, or let the camera’s built-in mic do the work. Even big studios do this when they’re rushed. The result? Dialogue that sounds like it was recorded in a bathroom. Good sound is invisible - bad sound is obvious.


Comments(7)