There is a specific moment in post-production where the director looks at you and says, "It feels right, but it’s not." That feeling usually comes down to one thing: the music isn't hitting the beat of the image. Cutting cues to picture is less about musical theory and more about rhythmic precision. It is the art of aligning audio events with visual transitions so seamlessly that the audience stops noticing the edit.
Most editors treat music as a background layer, something to fill silence. But in professional film scoring, the music drives the emotional pacing. If you miss a cut by even two frames, the sync drifts. If you land exactly on the frame, the scene breathes. This guide breaks down how to execute those cuts without losing the soul of the composition.
The Difference Between Syncing and Scoring
Many beginners confuse syncing music to video with actual film scoring. Syncing means placing a pre-recorded track onto a timeline so it matches the length of the clip. Scoring involves editing the music itself to fit the narrative arc. When you cut a cue, you are often changing the structure of the song or theme. You might extend a sustain note, chop off a final chord, or loop a motif to match a long dialogue sequence.
The goal is invisibility. The viewer should feel the emotion, not hear the edit point. If they can tell where the music starts or stops, you have failed. To achieve this, you need to understand the relationship between the visual rhythm and the musical tempo. A fast-paced action scene requires hard hits on every cut. A slow drama requires subtle swells that lead into the next shot rather than slamming against it.
| Aspect | Syncing (Basic) | Scoring (Advanced) |
|---|---|---|
| Primary Goal | Match duration | Enhance emotional impact |
| Edit Type | Trim start/end | Structural manipulation (loops, stings) |
| Audio Quality Risk | Low if trimmed carefully | High if phase issues arise |
| Required Skill | Timeline management | Musicality + Technical precision |
Understanding Frame-Accurate Precision
In film, time is measured in frames, not seconds. At 24 frames per second (fps), one second equals 24 frames. One frame is approximately 0.0416 seconds. This tiny unit is where your magic happens. If you are working in a standard Hollywood workflow, you are likely dealing with 24 fps or 25 fps (PAL). Always check your project settings before you start dragging clips around.
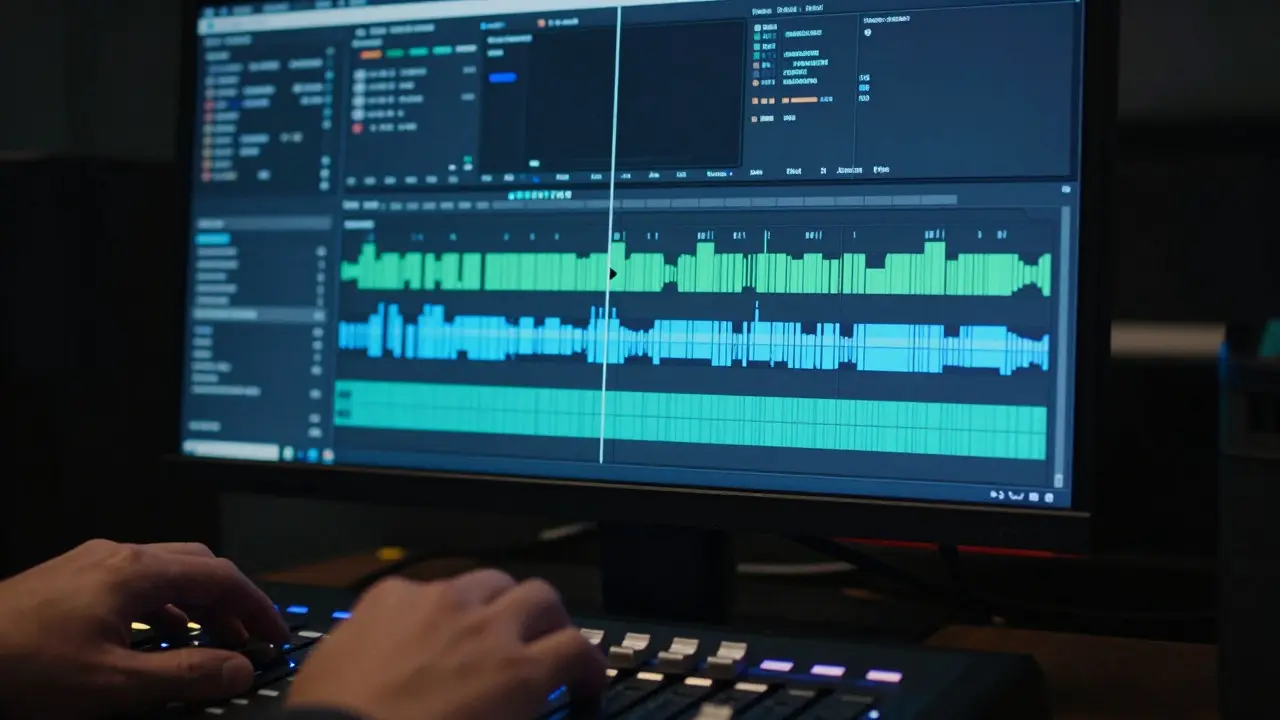
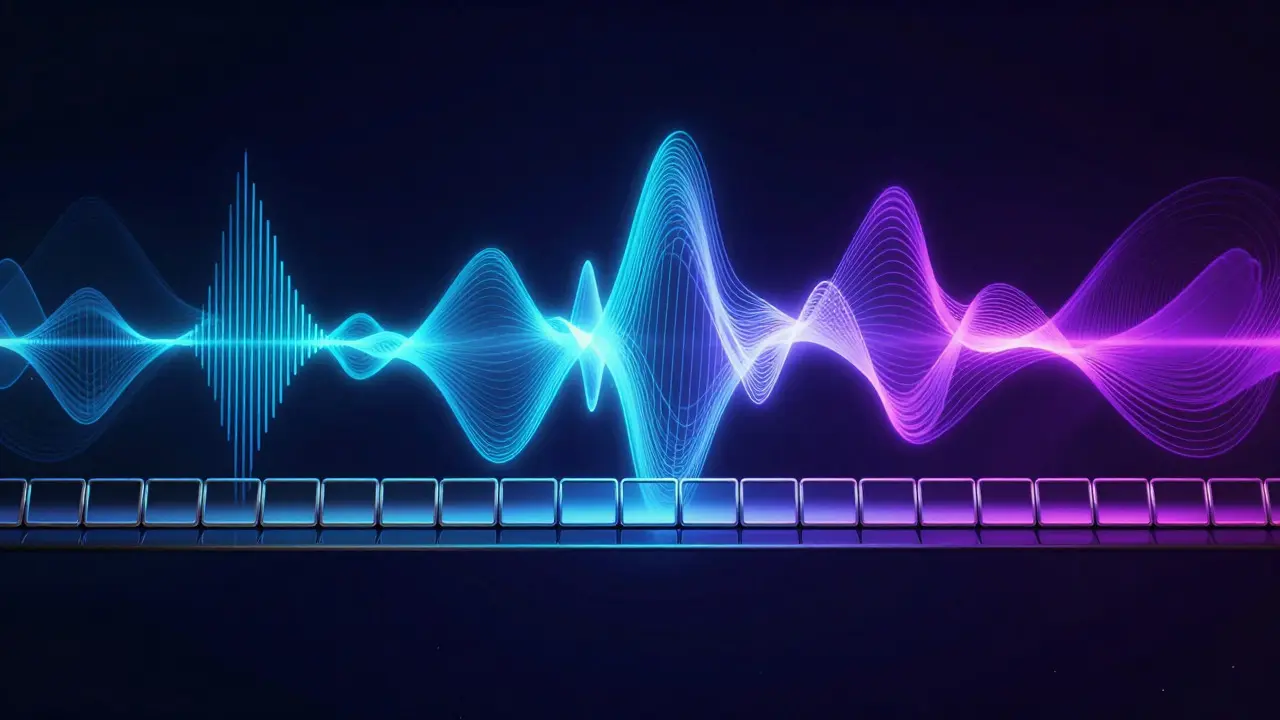
When you place a musical hit on a visual cut, you want the transient-the sharp attack of the sound-to align perfectly with the change in the image. In non-linear editing systems like Avid Pro Tools is a digital audio workstation widely used for film mixing and editing., you can zoom in to the frame level. Look at the waveform. Find the peak amplitude that corresponds to the drum hit or string stab. Place that peak exactly on the vertical line of the video cut.
If you are using a DAW like Logic Pro is a macOS-based music production software known for its integration with video editing., enable the video track view. Most modern DAWs allow you to import video files directly. This lets you see the pixels while you listen to the audio. It is far easier to judge timing when you can see the actor's eye twitch or the car door slam in real-time alongside the waveform.
Handling Tempo Changes and Time Stretching
Rarely does a film scene move at a constant speed. Directors cut scenes to create tension, slowing down the pace or speeding it up abruptly. Your music must adapt. This is where time-stretching algorithms come into play. However, be careful. Aggressive time-stretching can make instruments sound robotic or pitch-shifted.
For orchestral elements, use an algorithm designed for polyphonic material, such as Elastic Audio in Logic Pro or Varispeed in Pro Tools. These tools preserve the pitch while changing the speed. For monophonic lines like a solo violin, you have more flexibility. You can stretch them significantly without noticeable artifacts. Always audition the stretched audio at high volume. If the strings sound watery or the drums lose their snap, you have stretched too far.
An alternative approach is to re-edit the music manually. Instead of stretching a whole bar, you might cut out a measure entirely to shorten the phrase. Or, you might duplicate a short rhythmic cell to extend a section. Manual editing gives you more control over the musical phrasing, ensuring that the notes still land on natural beats within the key signature.
The Role of Temp Score in Final Edits
Almost every major film starts with a temp score. The editor places popular songs or stock library tracks over the footage to help the director visualize the mood. The problem? Once the director hears a great temp track, they fall in love with it. They stop hearing the original composition. This phenomenon is called "temp track syndrome."
Your job as the music editor is to bridge the gap between the temp score and the final score. You need to identify which elements of the temp track are essential to the director's vision. Is it the melody? The rhythm? The timbre? Communicate these elements to the composer. Then, when the final score arrives, you edit it to mimic the pacing of the temp track, but with the quality of the new composition.
This process requires diplomacy and technical skill. You are essentially reverse-engineering the emotional logic of a placeholder track and applying it to a new piece of music. It saves weeks of back-and-forth revisions because the director sees their desired pacing immediately.
Technical Workflow for Cutting Cues
Here is a practical step-by-step workflow for cutting a complex cue to picture:
- Lock the Picture: Ensure the video sequence is final. No more adding or removing shots. Music editing is futile if the picture changes.
- Identify Key Moments: Watch the scene without music. Mark the beginning, the climax, and the end. Note any hard cuts or dissolves.
- Import and Align: Bring the audio file into your NLE or DAV. Align the start of the music with the first relevant visual event.
- Zoom to Frame Level: Increase the zoom until you can see individual frames. Match the transients of the music to the video cuts.
- Adjust Lengths: Use time-stretching or manual cuts to adjust the duration of phrases. Keep the tempo consistent unless the scene demands a shift.
- Check Phase Coherence: If you are mixing multiple stems (drums, strings, brass), ensure they stay in phase. Misaligned stems cause comb filtering and muddy low ends.
- Export and Review: Export the edited cue as a high-quality WAV file. Play it back in the context of the full mix. Does it sit well with the dialogue and sound effects?
Pay special attention to the tails of the music. A sudden stop can feel jarring. Often, you will fade out the last few notes or let a sustained chord ring out slightly past the final frame. This provides a sense of closure. Conversely, a hard stop can be effective for shock value, but use it sparingly.
Common Pitfalls to Avoid
Even experienced editors make mistakes. Here are the most common ones and how to fix them:
- Ignoring Dialogue Clashes: If the music competes with the dialogue, the audience loses focus. Duck the music levels during speech or choose a sparser arrangement.
- Over-Editing Transitions: Too many crossfades or fades can make the music sound weak. Trust the dynamics of the composition.
- Wrong Sample Rate: Ensure your audio sample rate matches your video frame rate settings. Mismatches can cause pitch shifts or timing errors.
- Losing the Groove: Don't get so obsessed with frame-perfect alignment that you destroy the natural swing of the music. Sometimes, being off by one frame is better than being rigidly precise if it hurts the feel.
Remember, the music serves the story. If a perfect sync makes the scene feel mechanical, loosen it up. If a loose sync makes the scene feel draggy, tighten it. Your ears are the ultimate judge, but your eyes provide the map.
Tools of the Trade
You don't need expensive gear to do good music editing. However, having the right software helps. Adobe Premiere Pro is a video editing application that includes basic audio editing features. is sufficient for simple trims and fades. For more complex work, Dolby Atmos is an object-based audio format used for immersive cinema sound. compatible suites offer advanced panning and spatialization options. But for pure cutting and syncing, a solid DAW with video support is all you need.
Consider using plugins for time-stretching. Native tools are good, but dedicated plugins often offer better quality. Look for algorithms that prioritize pitch preservation. Test different settings on the same clip to find the sweet spot for your specific instrument type.
Frequently Asked Questions
What is the ideal frame rate for film music editing?
The standard frame rate for cinema is 24 fps. Television often uses 25 fps (PAL) or 30 fps (NTSC). Always match your audio project settings to the video project settings to avoid timing discrepancies.
How do I handle a scene where the music needs to start mid-bar?
Cut the audio file precisely at the start of the desired note. Use a fade-in of 1-2 frames to smooth the entry. If the note has a strong attack, you may not need a fade. Listen closely to ensure the entry doesn't sound abrupt.
Is it better to edit music in the DAW or the video editor?
Edit in the DAW. Video editors have limited audio processing capabilities. DAWS offer superior time-stretching, pitch correction, and spectral analysis tools. Export the final mixed cue from the DAW and bring it into the video editor for final placement.
What should I do if the music is too long for the scene?
First, try time-compression. If that sounds bad, look for structural cuts. Can you remove a repeated section? Can you end the phrase earlier? As a last resort, use a crossfade to blend the end of the music into the next scene's audio.
Does the key of the music matter for syncing?
Not for technical syncing, but yes for emotional impact. A major key might feel happy, while a minor key feels sad. Choose the key that supports the narrative tone of the scene. The technical alignment is independent of the musical key.