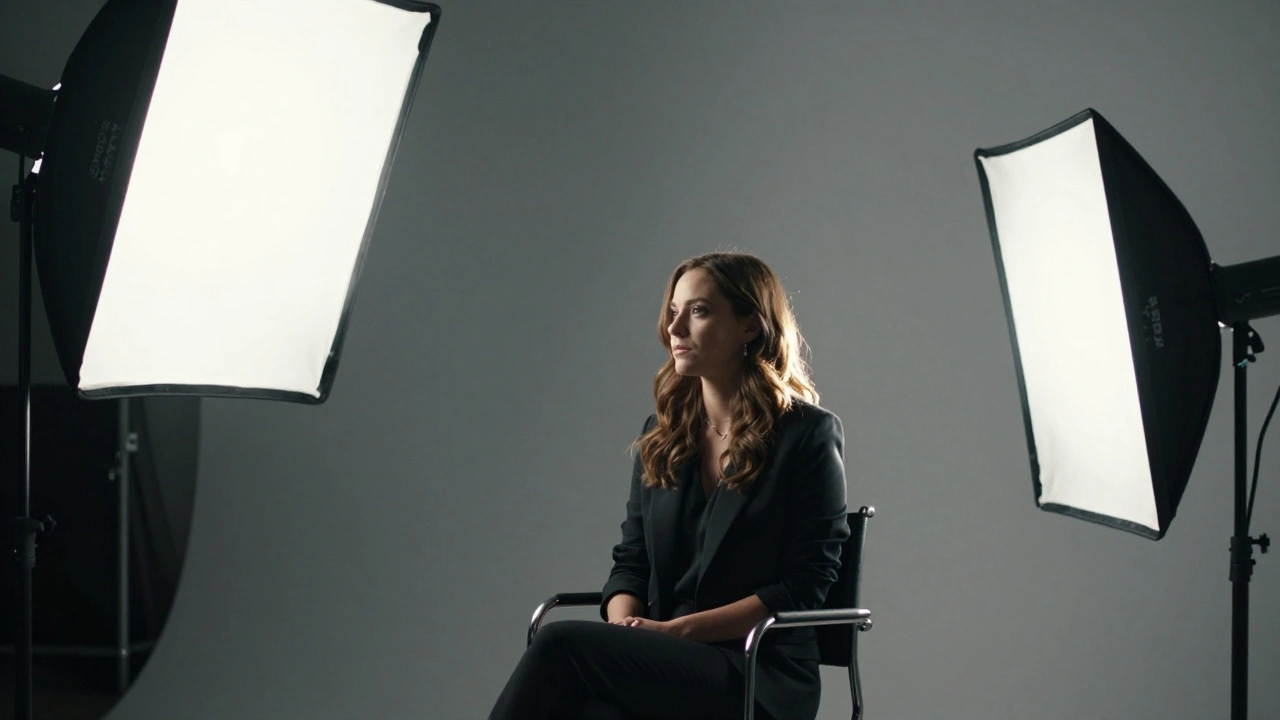
Walk into any professional film set, and you will see a specific pattern of lights. It is not random. Every shadow, every highlight, and every texture on the actor's face has been placed there with intent. This deliberate arrangement is known as Three-Point Lighting, a fundamental cinematography technique that uses three distinct light sources to illuminate a subject in a controlled manner. It is the bedrock of visual storytelling. Without it, your footage looks flat, amateurish, or confusing. With it, you gain control over mood, depth, and focus.
You do not need a Hollywood budget to use this method. You just need to understand how light behaves. Whether you are shooting an interview in a small office, a drama in your living room, or a product shot for YouTube, three-point lighting gives you the tools to shape reality. Let’s break down exactly how these three lights work together and why getting them right changes everything.
The Key Light: Establishing the Foundation
The first light you place is the Key Light, the primary source of illumination that defines the subject's appearance and sets the overall exposure. Think of this as the sun. If you were standing outside on a cloudy day, the sky would be your key light. It provides the main brightness that allows the camera sensor to capture detail.
In a studio setting, the key light is usually the brightest of the three. Its position determines the look of the scene. Placing it directly in front of the subject creates a flat, even look often used in news broadcasts where clarity is more important than drama. Moving it to the side introduces shadows. These shadows are crucial. They give the face dimension. Without shadows, a human face looks like a mask. We rely on shadows to perceive depth.
The angle matters too. A high angle can create a sense of power or authority. A low angle might make the subject seem vulnerable or ominous. When setting up your key light, ask yourself: What emotion am I trying to convey? Is this a happy, bright scene, or something darker and more mysterious? Your answer dictates the intensity and placement of the key light.
The Fill Light: Softening the Shadows
Once the key light is set, you will notice harsh shadows on the opposite side of the subject. This is where the Fill Light, a secondary light source used to reduce contrast by illuminating the shadow areas created by the key light. comes in. The fill light does not create new shadows; it lifts existing ones. It fills in the darks so that details remain visible without eliminating the sense of depth entirely.
The ratio between the key light and the fill light is called the lighting ratio. In a typical interview, you might want a 2:1 ratio. This means the key light is twice as bright as the fill light. This creates a natural, pleasing look that mimics outdoor daylight with open shade. If you increase the difference, say to 4:1 or 8:1, the image becomes higher contrast and more dramatic. Noir films often use extreme ratios to hide parts of the subject in darkness.
You do not always need a second physical light bulb for the fill. A reflector works just as well. A white foam board bounced near the subject reflects the key light back into the shadows. This is cheaper, easier to move, and produces softer light than a direct lamp. For beginners, mastering the reflector is often more valuable than buying another expensive LED panel.
The Backlight: Separating from the Background
If you only use key and fill lights, your subject might blend into the background. This is especially true if they are wearing clothes similar in color to the wall behind them. To fix this, you add the Backlight, also known as the rim light or hair light, positioned behind the subject to create a separating edge of light. This light hits the subject from behind, creating a thin line of brightness around their shoulders or head.
This separation adds a third dimension to a two-dimensional image. It tells the viewer clearly where the person ends and the room begins. It also adds a subtle sparkle to hair and fabric textures, making the image feel richer and more polished. In commercial photography, this rim light is essential for making products pop off the page.
The backlight should generally be dimmer than the key light but brighter than the fill. If it is too strong, it will blow out the highlights and distract from the face. If it is too weak, it serves no purpose. Aim for a subtle glow that enhances rather than dominates. Positioning is tricky here; you must ensure the light source itself does not appear in the frame, causing lens flare unless that is an intentional artistic choice.
Modifying Light Quality: Hard vs. Soft
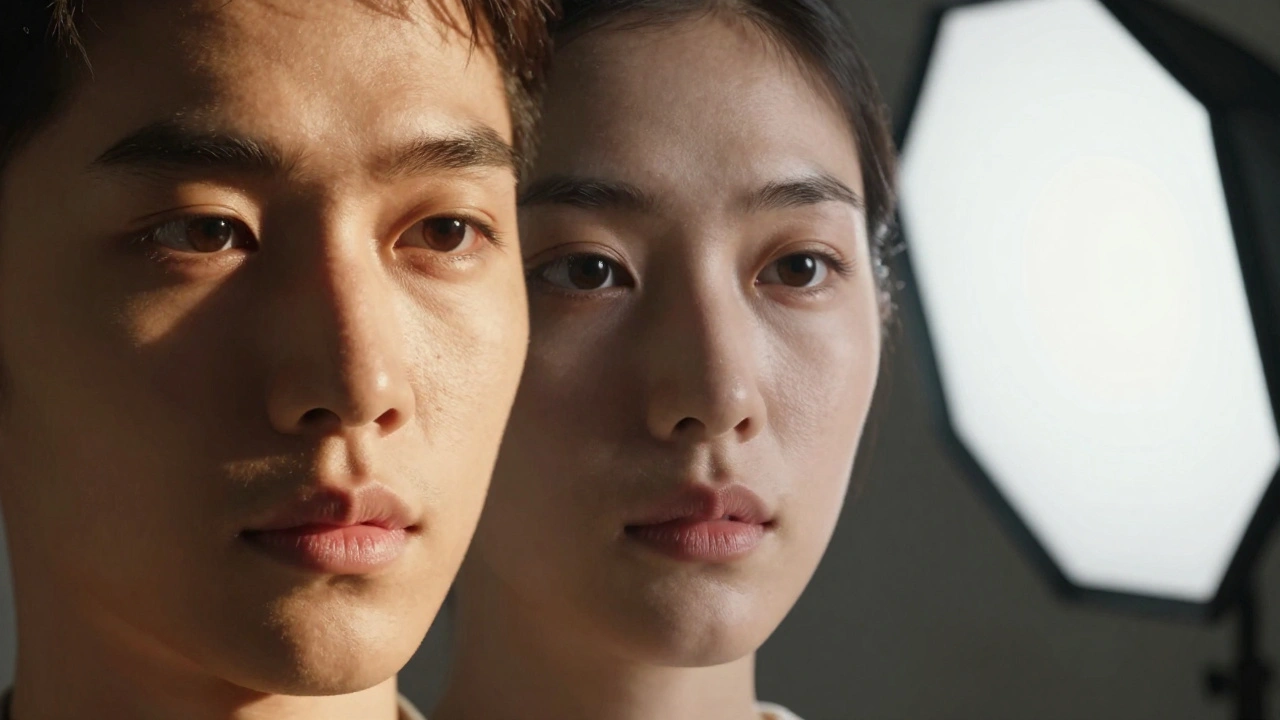
The type of light you use changes the effect dramatically. Hard Light, light that creates sharp, defined shadows and high contrast, typically coming from a small source relative to the subject. comes from a small source like a bare bulb or the sun at noon. It reveals skin texture, wrinkles, and imperfections. It feels stark, energetic, or aggressive. Soft Light, light that creates gradual transitions between light and shadow, produced by large sources or diffusion materials. wraps around the subject. It flatters faces and hides flaws. It feels calm, romantic, or safe.
To soften a hard light, you increase the apparent size of the source relative to the subject. You can do this by moving the light closer to the subject or placing a diffusion material in front of it. Diffusion, translucent materials such as silk, muslin, or gels that scatter light rays to reduce intensity and soften shadows. acts like a filter. It scatters the photons so they hit the subject from multiple angles simultaneously. A simple sheet of tracing paper or a specialized softbox can transform a harsh LED panel into a gentle window light.
Conversely, you can make a soft light harder by using a grid or snoot. These accessories restrict the spread of light, forcing it into a tighter beam. This increases the contrast and makes the shadows sharper. Understanding how to modify light quality is just as important as knowing where to place the lights.
Practical Setup for Interviews
Let’s apply this theory to a common scenario: a sit-down interview. You have one subject, a chair, and a plain wall. Here is a step-by-step approach to setting up three-point lighting efficiently.
- Position the Subject: Place the chair about six feet away from the background wall. This distance helps prevent shadows from falling on the wall and gives you space to maneuver lights.
- Set the Key Light: Place your main light to the side of the camera, at a 30-degree angle from the axis. Raise it slightly above eye level and tilt it down. This creates a flattering falloff across the face. Use a softbox for a professional look.
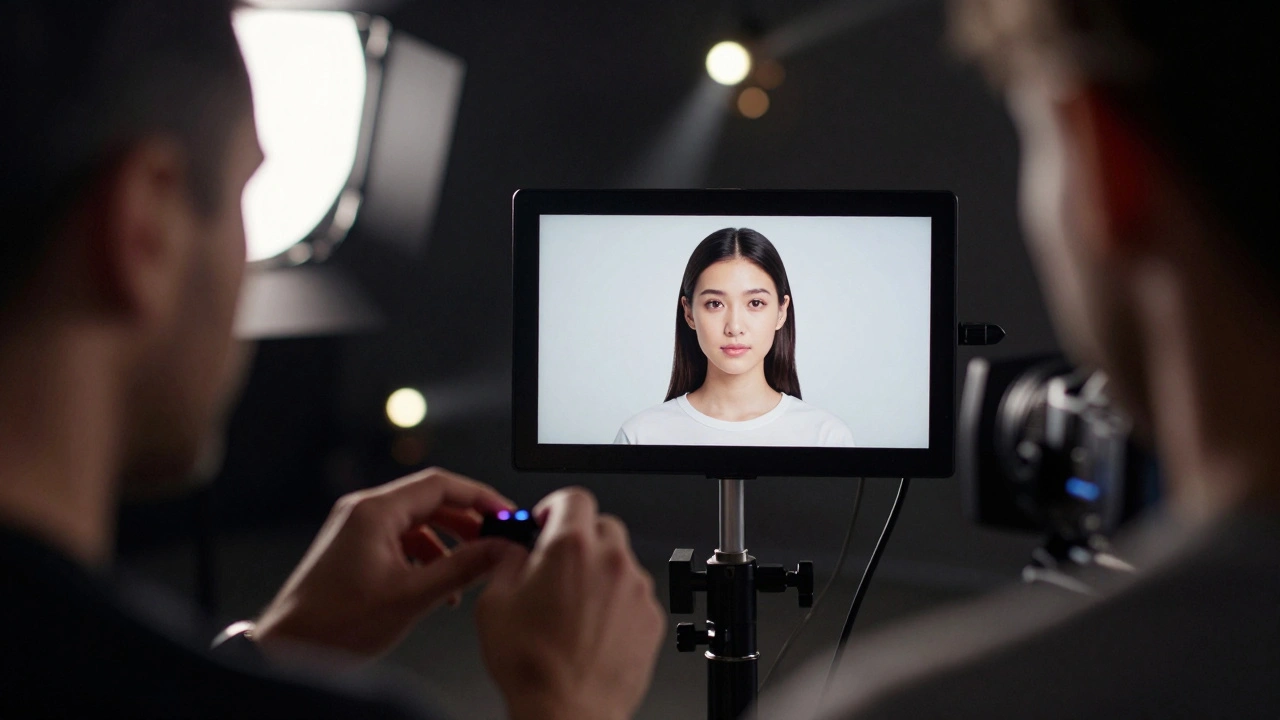
- Add the Fill: On the opposite side, place a reflector or a weaker light. Adjust its brightness until the shadow side of the face is visible but still darker than the lit side. Check your camera monitor to ensure eyes are not lost in shadow.
- Place the Backlight: Position a small, focused light behind and above the subject, aiming at the top of their head. Pull it back far enough to avoid spilling into the lens. Adjust until you see a clean rim of light separating the hair from the background.
- Balance Exposure: Look at the histogram on your camera. Ensure the highlights are not clipped (blown out) and the shadows retain some detail. Adjust the power of each light individually to achieve balance.
This setup takes less than ten minutes once you get the hang of it. It works for DSLRs, mirrorless cameras, and even high-end smartphone setups with external lighting rigs.
Common Mistakes to Avoid
Even experienced videographers make errors when rushing. Here are the most frequent pitfalls that ruin an otherwise good lighting setup.
- Flat Lighting: Placing the key light directly in front of the subject eliminates shadows and depth. Always offset the key light at least 30 degrees to create dimension.
- Overfilling: Making the fill light as bright as the key light removes all contrast. The image looks dull and lifeless. Remember, shadows are necessary for form.
- Lens Flare: Accidentally including the backlight source in the frame creates distracting streaks of light. Use flags or black cards to block stray light from hitting the lens.
- Ignoring Color Temperature: Mixing warm tungsten lights with cool daylight LEDs creates unnatural color casts on the skin. Ensure all lights match the same color temperature, typically 5600K for daylight balance or 3200K for tungsten.
- Harsh Reflections: Using glossy backgrounds or shiny clothing without controlling reflections can create hotspots. Matte surfaces and fabrics absorb light better, reducing unwanted glare.
Avoiding these mistakes requires attention to detail. Take time to check your setup from different angles. Walk around the subject. See what the camera sees. Small adjustments in position can make a huge difference in the final image.
| Light Type | Primary Function | Typical Intensity | Position Relative to Camera |
|---|---|---|---|
| Key Light | Main illumination, defines exposure | 100% (Reference) | 30-45 degrees to side, elevated |
| Fill Light | Reduces contrast, reveals shadow detail | 25-50% of Key | Opposite side of Key, near camera axis |
| Backlight | Separates subject from background | 75-100% of Key | Behind subject, aimed at head/shoulders |
Adapting to Different Environments
Three-point lighting is flexible. You can adapt it to almost any environment. In a window-lit room, the window becomes your key light. Use a reflector as the fill and a small LED stick as the backlight. In a dark studio, you have full control over intensity and direction. On location, you might need to bounce available light or use portable battery-powered LEDs.
The goal remains the same: control the light to tell your story. Do not be rigid about the rules. Sometimes breaking them creates a unique look. But you must know the rules before you can break them effectively. Practice with these three lights until you can set them up blindfolded. Then, start experimenting with color gels, movement, and unconventional placements.
Mastering three-point lighting transforms your footage from amateur recordings to professional productions. It gives you the language to speak visually. Every shadow, every highlight, and every glint in the eye becomes a tool for engagement. Start simple, stay consistent, and let the light guide your narrative.
What is the best order to set up three-point lighting?
Always start with the key light. It establishes the exposure and the basic look of the scene. Once the key is set, add the fill light to manage contrast. Finally, add the backlight to separate the subject from the background. This order ensures each light builds upon the previous one logically.
Can I use three-point lighting with just one light source?
Not strictly. Three-point lighting requires three distinct sources or modifiers. However, you can simulate the effect with one light and two reflectors. The light acts as the key, one reflector as the fill, and another as a bounce for the backlight. This is a great budget-friendly approach for beginners.
How do I avoid ugly shadows under the eyes?
Ugly under-eye shadows, often called "raccoon eyes," happen when the key light is too high or too angled downward. Lower the height of the key light so it is closer to eye level. Alternatively, increase the intensity of the fill light slightly to lift the shadows in that specific area.
Is three-point lighting suitable for cinematic movies?
Yes, but it is often modified. Cinematic lighting tends to be more motivated, meaning it looks like it comes from a natural source within the scene, such as a lamp or window. While the principle of key, fill, and backlight remains, the execution is subtler and less obvious than standard interview lighting.
What is the ideal distance for the key light from the subject?
The distance depends on the desired light quality. Closer distances produce softer light because the source appears larger relative to the subject. Farther distances produce harder light. For a standard portrait, placing the key light 3 to 6 feet away with a medium-sized softbox usually yields flattering results.