
Ever watch a movie scene where the rain looks so real you feel the cold, or a car paint job that gleams with such precision it stops you mid-sentence? That magic isn't just luck. It’s look development. This is the phase in visual effects where artists transform raw 3D geometry into believable, cinematic images. Without it, your digital characters look like plastic toys and your environments feel empty. Look development bridges the gap between technical modeling and final artistic vision.
For many people, this term sounds vague. Is it just painting textures? No. It involves a complex interplay of materials, shaders, and lighting. Each element plays a distinct role. If you get one wrong, the whole shot falls apart. In this guide, we break down how these three pillars work together to create photorealistic or stylized visuals for film.
What Exactly Is Look Development?
Look development is the process of defining the visual style, surface properties, and illumination of 3D assets to match a specific artistic direction. Think of it as the "dressing" phase for your 3D models. A bare mesh is just math. Once you apply look development, it becomes an object with weight, history, and texture. In high-end film production, this happens after modeling and animation but before final compositing.
The goal is consistency. Every frame must tell the same visual story. If a hero character’s suit looks matte in one shot and glossy in another, the audience notices. Look developers ensure that every asset behaves predictably under different conditions. They act as the bridge between the director’s mood boards and the technical capabilities of the render engine.
The Role of Materials in Visual Realism
Materials define what an object is made of. But in computer graphics, "material" is more than just color. It includes physical properties like roughness, metalness, subsurface scattering, and displacement. These attributes determine how light interacts with the surface.
- Roughness: Controls how blurry reflections are. A polished chrome bumper has low roughness; a rusty fence has high roughness.
- Metalness: Determines if a surface reflects light like a conductor (metal) or an insulator (plastic, wood).
- Subsurface Scattering (SSS): Simulates light passing through translucent objects like skin, wax, or milk. This is critical for realistic human skin.
- Displacement: Moves actual geometry pixels to create fine details like fabric weave or brick mortar without adding millions of polygons.
In film, material accuracy is non-negotiable. If you’re rendering a glass bottle, it needs to refract light correctly. If you’re simulating water, it needs caustics. Artists often use procedural nodes to generate these materials, allowing them to tweak parameters instantly without repainting maps. This flexibility is key when directors change their minds at the last minute.
Shaders: The Code Behind the Surface
If materials are the ingredients, shaders are the recipe. A shader is a small program that runs on the GPU to calculate how each pixel should appear. It takes inputs from lights, cameras, and material data to output the final color.
Modern film pipelines rely heavily on physically based rendering (PBR). PBR shaders are built on real-world physics laws. This means they behave consistently regardless of the lighting setup. You don’t need to hack a shader to make it look good in daylight versus night. The physics handles it.
| Shader Type | Best For | Key Attribute |
|---|---|---|
| PBR (Physically Based) | Photorealistic films | Energy conservation, consistent lighting response |
| Unreal Engine Material | Real-time cinematics | Node-based graph, fast iteration |
| Arnold Shader | High-end offline rendering | Volumetric support, advanced SSS |
| Cycles Shader | Open-source pipelines | Path tracing, free ecosystem |
Choosing the right shader system depends on your pipeline. Large studios often use proprietary tools or industry standards like Arnold or RenderMan. Indie filmmakers might lean toward Cycles in Blender due to its zero cost. Regardless of the tool, the principle remains the same: simulate light interaction accurately.

Lighting: Setting the Mood and Depth
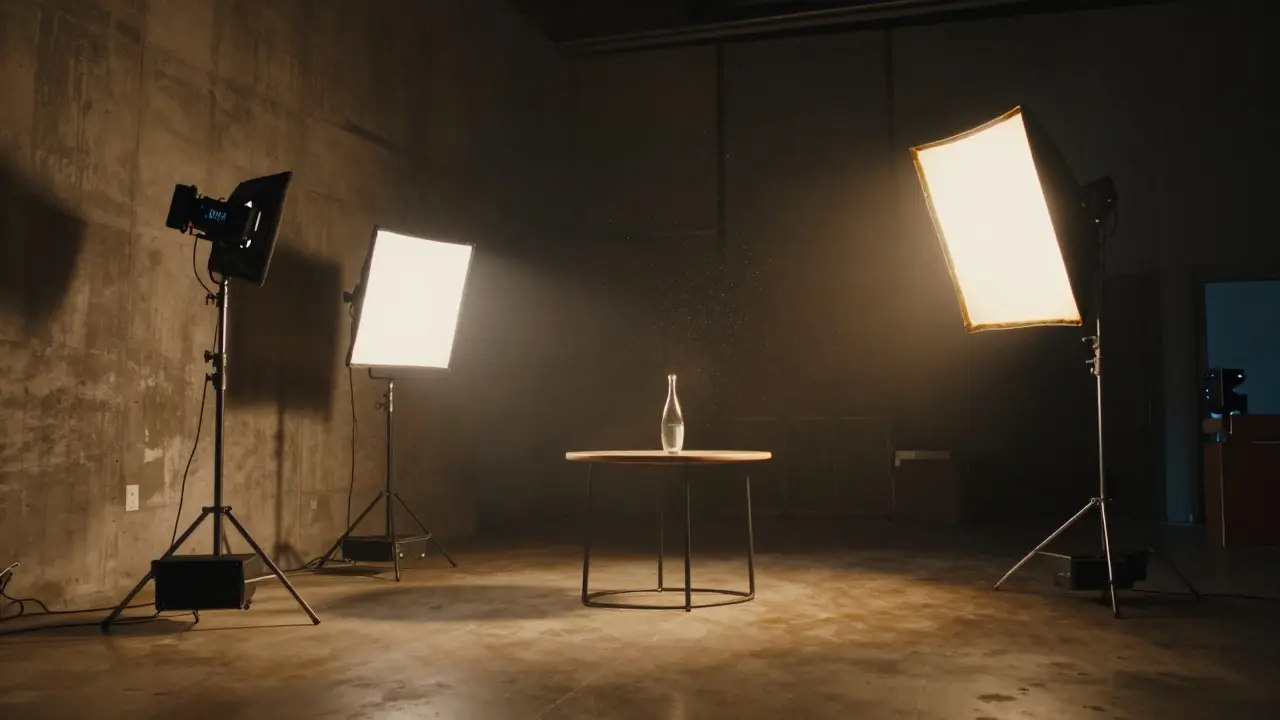
You can have the best materials and shaders in the world, but if your lighting is flat, the image will look dead. Lighting defines volume, mood, and focus. In look development, lighting isn't just about making things visible; it's about storytelling.
Artists use several types of lights to shape a scene:
- Key Light: The primary source that illuminates the subject. It casts the main shadows.
- Fill Light: Softens the shadows created by the key light. It reduces contrast.
- Back Light/Rim Light: Separates the subject from the background. It adds depth and highlights edges.
- Ambient Light: Simulates indirect light bouncing off walls and floors. It prevents pure black shadows.
In film, lighting often mimics natural sources like sunlight or practicals like lamps. However, look developers also use artificial techniques. They might add a subtle blue tint to shadows to suggest a moonlit night, or warm up highlights to evoke a sunset. These choices are subjective but must be consistent across all shots in a sequence.
The Workflow: From Concept to Final Frame
Look development doesn't happen in a vacuum. It follows a structured workflow that ensures efficiency and quality control. Here’s how a typical film pipeline handles this phase:
- Reference Gathering: Artists collect photos, video references, and mood boards. They study how real materials behave under specific lighting.
- Asset Setup: 3D models are prepared. UVs are unwrapped, and basic material slots are assigned.
- Material Creation: Artists build node graphs or paint maps. They test how surfaces react to light.
- Lighting Blocking: Basic lights are placed to establish the scene’s composition and shadow patterns.
- Iterative Rendering: Test renders are produced. Artists adjust parameters based on feedback from directors and supervisors.
- Final Polish: Fine-tuning of noise levels, color grading, and micro-details. This is where the "wow" factor comes in.
This iterative process is crucial. Directors rarely know exactly what they want until they see it. Look developers must be agile, ready to pivot from a gritty, desaturated look to a vibrant, high-contrast style within hours.
Common Pitfalls to Avoid
Even experienced teams stumble. Here are the most common mistakes in look development that compromise final quality:
- Over-Saturation: Pushing colors too far makes images look unnatural. Stick to realistic color palettes unless the style demands otherwise.
- Ignoring Scale: A texture that looks great on a close-up might look blurry on a wide shot. Always test at final resolution.
- Inconsistent Roughness: If a metal surface has varying roughness values without a reason, it looks dirty rather than worn. Be intentional.
- Lighting Clashes: Using two different color temperatures for key lights confuses the eye. Keep your lighting hierarchy clear.
Avoiding these pitfalls requires discipline. Use checklists. Compare your renders side-by-side with reference footage. And never stop asking: does this look like the real thing, or just like a computer graphic?
Tools of the Trade
The software you use matters less than your understanding of principles. However, certain tools dominate the industry. Houdini is favored for procedural generation and simulation. Maya remains the standard for modeling and animation integration. Nuke handles compositing, where look development decisions are finalized.
For rendering, Arnold and V-Ray are widely used. Both offer robust PBR implementations. Open-source options like Blender have gained traction among indie creators due to their powerful Cycles renderer and free license.
Regardless of the tool, the core skills remain transferable. Understanding how light bounces, how materials absorb energy, and how the human eye perceives depth is universal. Learn the theory, and any software becomes just another interface.
Frequently Asked Questions
What is the difference between texturing and look development?
Texturing focuses on creating 2D images (maps) that represent surface details like color and normal information. Look development is broader. It includes texturing but also involves setting up shaders, adjusting material properties, and designing the lighting environment to achieve a specific aesthetic.
Do I need to be a programmer to do look development?
Not necessarily. Most modern DCC tools use node-based interfaces that allow you to build shaders visually. However, knowing basic scripting (like Python or HScript) helps automate repetitive tasks and debug complex issues. It’s a plus, not a requirement.
How long does look development take for a single shot?
It varies wildly. A simple prop might take a few hours. A full character with complex hair and skin could take weeks. Factors include asset complexity, director feedback loops, and render time. In large productions, look development happens in parallel with other departments to save time.
What is the most important aspect of look development?
Consistency. Audiences subconsciously expect the world to behave logically. If a wet street reflects light differently in one shot than the next, it breaks immersion. Maintaining a unified look across all assets and shots is the highest priority.
Can I use AI tools for look development?
Yes, increasingly. AI tools can help generate textures, denoise renders faster, and even suggest lighting setups based on reference images. However, AI currently lacks the artistic intent and precise control needed for high-end film work. It’s best used as an assistant, not a replacement for skilled artists.





Comments(7)