Why HDR Changes Everything for VFX Artists
Five years ago, rendering a VFX shot meant worrying about whether the final image would look good on a standard dynamic range TV. Today, that’s not enough. HDR isn’t just a fancy upgrade-it’s the new baseline for theatrical releases, streaming platforms, and even home theaters. If your VFX shots don’t hold up in HDR, they’ll look flat, washed out, or worse-wrong.
High Dynamic Range means your shadows can be deeper than black, and your highlights can glow brighter than the sun. That’s not a visual effect-it’s reality. When you’re compositing a spaceship flying past a neon-lit city skyline, the reflections on its hull need to react to real light levels, not just bright pixels. If your render is limited to 100 nits of brightness, you’re not just missing detail-you’re lying to the audience.
What HDR Actually Means for Your Render Pipeline
HDR isn’t one setting. It’s a chain. Start with your scene lighting. If you’re using a traditional linear workflow, you’re already behind. Modern HDR rendering requires working in a perceptually uniform color space like ACEScg or Rec.2020. These aren’t just color profiles-they’re systems that mimic how human eyes see contrast and color across extreme brightness ranges.
Most VFX studios now use ACES (Academy Color Encoding System) as their backbone. Why? Because it handles everything from dim candlelight to a nuclear explosion in the same pipeline without clipping or crushing detail. Your render output should be in 16-bit EXR files, not 8-bit PNGs. You need the headroom. That 16-bit file gives you over 65,000 levels of brightness per channel. Without it, your smoke simulations, lens flares, and particle effects will band together in bright areas-something audiences notice even if they can’t name it.
Color Grading Isn’t Optional Anymore
Colorists used to fix lighting issues in post. Now, they’re the first line of defense. If your VFX team renders a fireball at 500 nits but the final HDR master expects 4,000 nits, the colorist can’t magically recover what isn’t there. You have to render with the target display in mind.
Most theatrical HDR masters today use Dolby Vision or HDR10+. These formats support up to 10,000 nits peak brightness. That doesn’t mean you need to render everything at 10,000 nits-it means you need to render with the full range available. A good rule of thumb: render your highlights 20-30% brighter than you think you need. That gives the colorist room to tone-map without losing the punch.
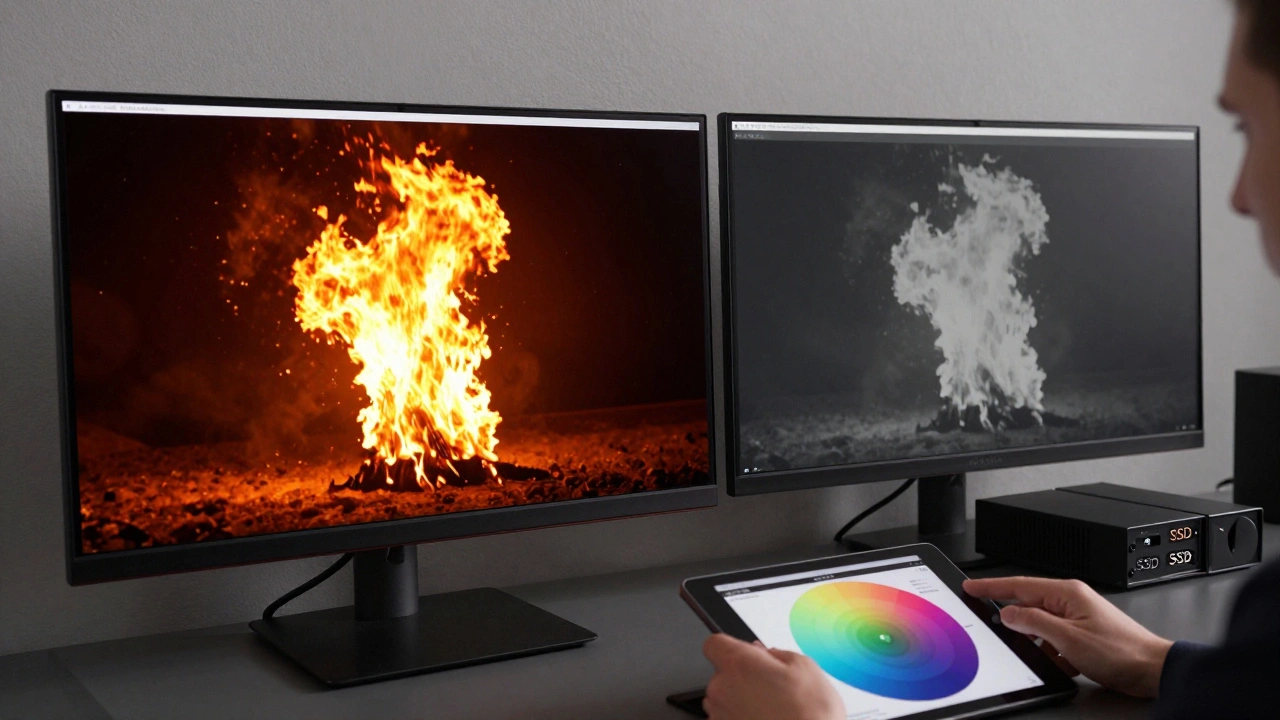
Test your renders on a calibrated HDR monitor. Not a TV. Not a phone. A professional display like a Dolby Vision-certified reference monitor. If you don’t have one, borrow time on one at a post house. What looks vibrant on your laptop screen will look dull in a theater.
Common VFX Mistakes in HDR
- Over-saturating colors-HDR doesn’t mean more neon. It means more accurate color. A red fireball should look like burning gas, not a cartoon. Use spectral data or real-world references.
- Ignoring bloom and glare-In HDR, bright lights naturally bleed. A practical light source in your scene? It should cast a subtle glow on nearby surfaces. Don’t fake it with a radial blur-use physically based lighting.
- Rendering shadows too light-HDR makes shadows deeper. If your character stands in a dark alley and you can still see their jacket texture, you’ve crushed the contrast. Let the darkness breathe.
- Using SDR LUTs on HDR footage-That LUT you used last year? It’s obsolete. SDR LUTs compress contrast. HDR needs expansion. Use ACES Output Transforms or custom HDR Look-Up Tables.
Hardware and Software You Need Today
You don’t need a $50,000 workstation to start rendering HDR, but you do need the right tools.
For rendering engines: Arnold, Redshift, and V-Ray all support HDR output and ACES workflows out of the box. Blender’s Cycles now handles ACEScg too-no plugins needed. Make sure your version is 4.0 or newer.
For monitors: Look for displays with 1,000+ nits peak brightness, 90%+ DCI-P3 coverage, and hardware calibration. The Dell UltraSharp UP3218K or the LG UltraFine 32EP950 are common in studios. Even a $1,200 OLED TV like the LG C3 can be calibrated for rough previews.
For storage: HDR files are big. A single 4K 16-bit EXR frame can be 60-100 MB. A 30-second VFX sequence at 24fps? That’s 50-80 GB. Use fast SSDs, not spinning drives. And back up everything. Losing a 12-hour render because your drive failed isn’t a mistake-it’s a career setback.
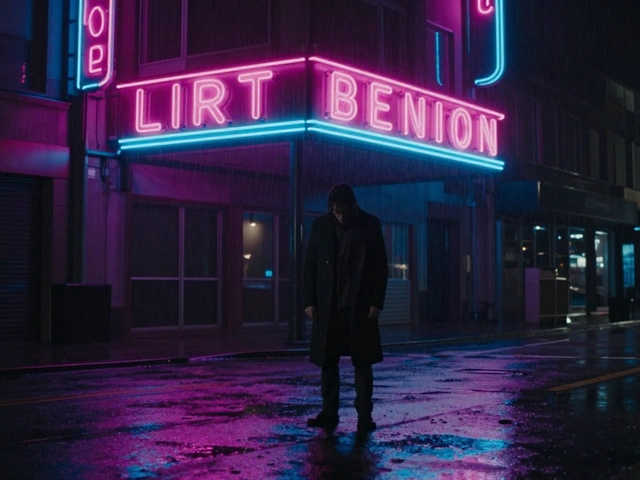
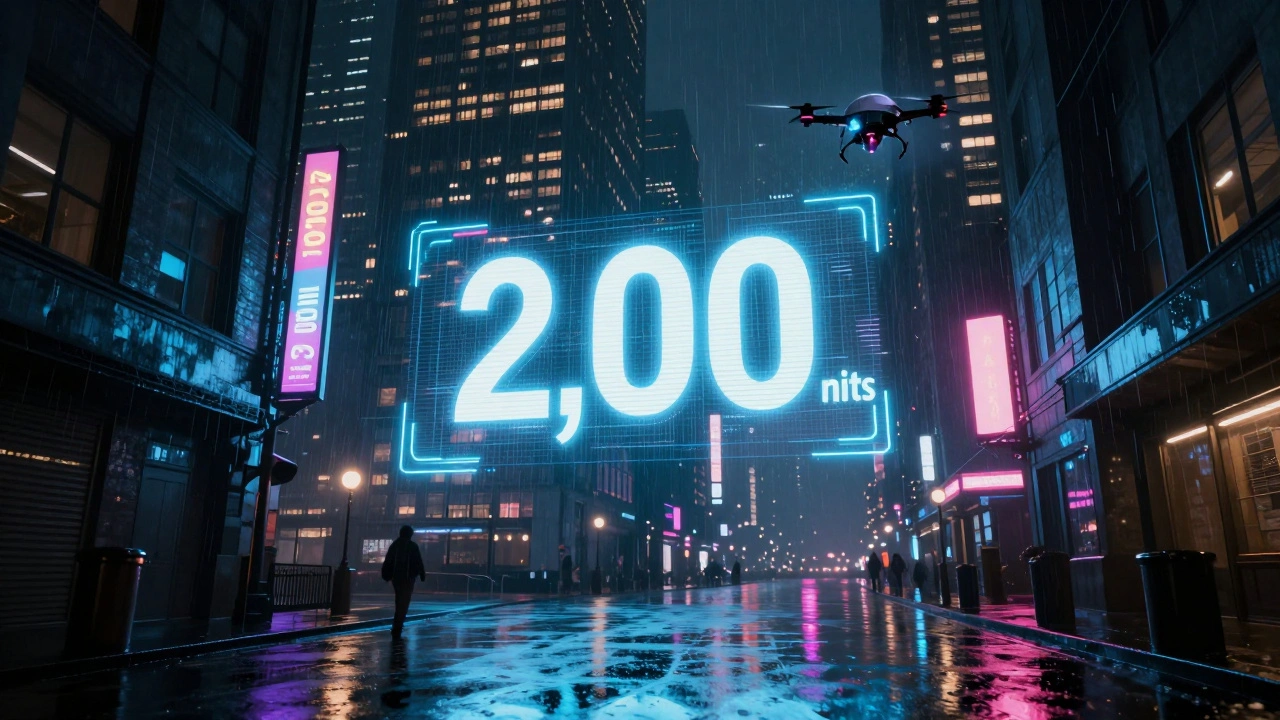
Real-World Example: A City at Night
Let’s say you’re rendering a shot from a sci-fi film: a rain-soaked city street at night, with holographic ads glowing above, neon signs reflecting in puddles, and a drone flying past a towering building. In SDR, you’d balance the brightness so nothing looks too bright or too dark.
In HDR, you do the opposite. The holograms should be blinding-close to 2,000 nits. The puddles should reflect those lights with near-perfect clarity. The building’s windows? Some are dark, others are lit with warm interior light at 150 nits. The rain streaks? They catch the light and glint like tiny mirrors.
If you render the holograms at 500 nits, they’ll look like cheap LEDs. If you render the shadows too bright, the scene feels artificial. The magic of HDR is in the contrast-the way your eye jumps from the brightest highlight to the deepest black and back again. That’s what makes it feel real.
Testing Your Work Before Delivery
Never assume your client’s theater has the right setup. Always deliver a Dolby Vision or HDR10+ master, but also deliver a fallback SDR version. But here’s the catch: the SDR version shouldn’t be a simple down-convert. It needs to be re-graded. Bright highlights that were 4,000 nits in HDR need to be remapped to 100 nits without losing shape. That’s not automatic-it’s art.
Use tools like DaVinci Resolve’s HDR tools to preview both versions side by side. Watch for color shifts. Do your blues turn green in SDR? Are your skin tones too warm? Fix it before delivery.
And always test on multiple devices. A shot that looks perfect on a high-end OLED might look muddy on a budget TV. If your work is going to stream on Netflix or Disney+, know their HDR specs. Netflix requires PQ (Perceptual Quantizer) EOTF and a minimum of 1,000 nits peak brightness. Get it wrong, and your VFX gets downgraded.
What’s Next for HDR and VFX
By 2027, most new film cameras will capture in 12-bit or 16-bit HDR natively. That means VFX artists will be working with source footage that’s richer than what we’re rendering today. The gap between capture and render will shrink.
AI-driven tone mapping is already being tested in studios. Tools like Runway ML and Adobe’s Sensei can now suggest HDR grading adjustments based on scene content. They’re not replacing artists-they’re helping them work faster.
But the core hasn’t changed. HDR isn’t about making things brighter. It’s about making things true. The more you respect the light in your scene-the way it behaves, how it interacts with surfaces, how it hits the camera-the more your VFX will disappear into the story. And that’s the whole point.
Do I need expensive hardware to render HDR for VFX?
No, you don’t need a $10,000 workstation, but you do need the right software settings and a monitor that can show HDR accurately. Most modern render engines like Arnold, Redshift, and Blender’s Cycles support HDR out of the box. For viewing, even a calibrated OLED TV can help you spot issues. The real cost is time-learning the workflow and testing your renders properly.
Can I render HDR in 8-bit files?
Technically, yes-but you shouldn’t. 8-bit files only have 256 levels of brightness per color channel. In HDR, where you need smooth gradients from near-black to over 1,000 nits, that causes banding. You’ll see stripes in skies, smoke, and reflections. Always use 16-bit EXR files for VFX renders. It’s the industry standard for a reason.
What’s the difference between HDR10 and Dolby Vision?
HDR10 is a static format-it uses one set of brightness and color settings for the entire movie. Dolby Vision is dynamic-it adjusts those settings scene by scene, sometimes frame by frame. That means Dolby Vision can preserve more detail in both bright and dark areas. Most theatrical releases use Dolby Vision. Streaming services often support both. Always deliver both if possible.
Why do my VFX shots look flat after export?
You probably rendered in SDR color space and then tried to force it into HDR. HDR isn’t a filter-it’s a workflow. You need to set up your scene lighting, color management, and output in HDR from the start. If you’re using an SDR LUT or a default render preset, you’re starting with the wrong foundation. Switch to ACEScg or Rec.2020 and rebuild your lighting setup.
Should I grade my VFX shots before or after compositing?
Grade after compositing. You need to see the full shot-background, characters, effects, lighting-all together-before making color decisions. Grading too early means you’ll have to re-render everything when you add a new explosion or change the sky. Wait until the composite is locked, then apply your HDR grade. Use a non-destructive workflow so you can tweak later.