There is a specific texture that separates a "clean" digital image from one that feels alive. It’s not just noise; it’s the organic chaos of silver halide crystals interacting with light. For decades, this was the default reality of cinema. Today, while we shoot on high-resolution sensors like those in the Alexa Mini LF or RED V-Raptor, many directors still crave that tactile, imperfect look. The challenge isn't just adding a layer of static; it's about understanding how grain behaves physically and blending it so seamlessly that the audience forgets they are looking at pixels.
This guide breaks down the technical and artistic process of emulating film grain in digital workflows. We will look at why pure digital sharpness can feel sterile, how to choose the right grain structure for your story, and the specific techniques used by colorists and VFX artists to integrate celluloid aesthetics into modern digital masters.
Why Digital Images Need Grain
Digital sensors capture light with mathematical precision. Every pixel records exactly what hits it. This results in images that are incredibly clean, detailed, and often, clinically sharp. While this is great for documentaries or medical imaging, it can feel emotionally distant in narrative filmmaking. Film grain acts as a unifying element. It hides compression artifacts, softens harsh edges, and adds a sense of depth that flat digital files lack.
Think of grain as the brushstrokes of a painting. Without them, a digital image can look like a photograph of a model rather than a lived-in world. When you add grain, you are essentially telling the viewer's brain that this image has passed through a physical medium. This psychological effect is crucial for immersion. If your scene is set in a gritty, realistic environment, a perfectly smooth digital face can break the suspension of disbelief. Grain bridges the gap between the artificial clarity of the sensor and the organic imperfection of human memory.
Understanding Grain Structure: Size, Shape, and Motion
Not all grain is created equal. To emulate film accurately, you need to understand the three core attributes of grain: size, shape, and motion.
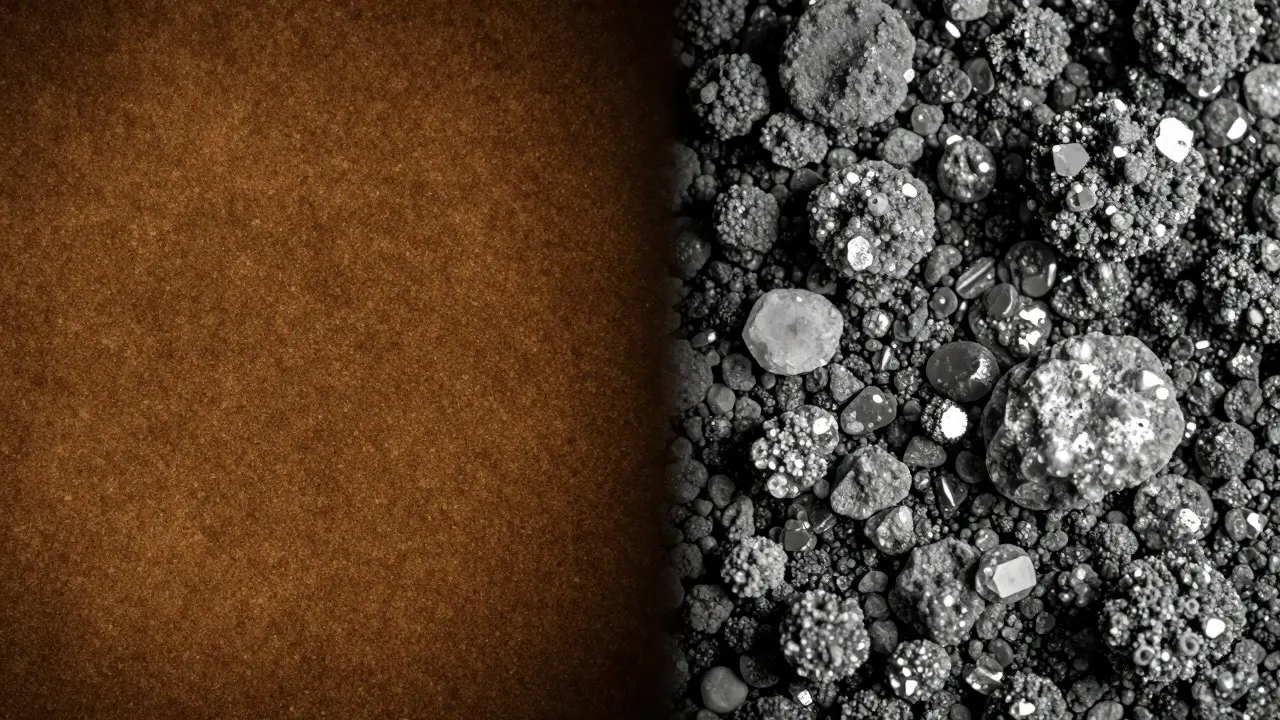
- Size: This refers to the diameter of individual grain particles. Fine-grain stocks like Kodak Vision3 500T have smaller particles, resulting in a smoother image suitable for bright scenes or close-ups. Coarse-grain stocks, such as high-speed black-and-white films, have larger particles that create a rougher, more textured look. In digital emulation, you adjust the scale of the noise pattern to match this physical characteristic.
- Shape: Real film grain is not uniform circles. It consists of irregular, crystalline structures that cluster together. Cheap digital noise filters often use random white dots, which look artificial. High-end emulation tools analyze the spectral properties of actual scanned film frames to replicate these irregular clusters. This ensures the grain doesn't look like TV static but like physical material.
- Motion: This is the most critical aspect for moving images. Film grain flickers. Because the film moves through the projector gate, the grain pattern shifts slightly frame-to-frame. In digital post-production, if you apply a static grain overlay, it looks frozen and fake. You must animate the grain seed value so that the pattern changes subtly with every frame, mimicking the mechanical movement of the film strip.
The Technical Workflow: From Scan to Composite
Emulating grain is rarely a one-click solution. It requires a layered approach within your compositing software, whether that is Nuke, After Effects, or DaVinci Resolve. Here is a standard professional workflow:
- Reference Acquisition: Start by shooting test footage on actual film stock if possible, or obtain high-quality scans of different film stocks. These serve as your ground truth. You need to know what 250D looks like compared to 5219.
- Base Noise Generation: Use a procedural noise generator in your compositor. Avoid simple "random noise" nodes. Look for fractal or cellular noise patterns that mimic crystal growth. Set the base frequency to match the desired grain size.
- Luminance vs. Chrominance Separation: Real film grain affects color and brightness differently. Luminance grain (brightness variation) is usually more visible and coarse. Chrominance grain (color noise) is finer and helps blend skin tones. Separate these channels. Apply stronger luminance noise and weaker, higher-frequency chrominance noise.
- Masking and Blending: Grain should be strongest in mid-tones and shadows, and weakest in deep blacks and blown highlights. Create a mask based on the luma channel of your footage. Multiply the grain layer by this mask so it fades out naturally where there is no detail to hide.
- Animation and Seeding: Link the noise seed to the frame number. A common technique is to change the seed every 24 frames (one second at 24fps) or even every single frame for a more aggressive flicker. Test this carefully. Too much flicker causes eye strain; too little looks static.
Choosing the Right Stock Simulation
The choice of grain profile depends entirely on the narrative tone. Are you shooting a sleek sci-fi thriller or a nostalgic period drama? The grain should support the story, not distract from it.
| Stock Type | Grain Characteristic | Ideal Use Case | Blending Tip |
|---|---|---|---|
| Kodak Vision3 250D | Fine, subtle, low contrast | Bright daylight exteriors, romantic dramas | Keep opacity low (10-15%). Focus on chrominance noise. |
| Kodak Vision3 500T | Medium, balanced, warm tones | General purpose, night interiors, character pieces | Standard reference. Adjust size to match camera resolution. |
| Ilford HP5 Plus | Coarse, high contrast, monochrome | Noir styles, documentary grit, high-contrast scenes | Apply only to desaturated areas. Increase luminance noise significantly. |
| CineStill 800T | Heavy, distinct halation, red glow | Indie aesthetics, neon-lit urban scenes | Add a separate halation layer before applying grain. Boost red channel noise. |
Note that digital cameras vary in their native "grain." A 4K shot from a large-sensor camera needs less added grain than an 8K shot, simply because the higher resolution reveals more microscopic detail that lacks texture. Always normalize your grain intensity based on the final delivery resolution. If you are delivering in 4K, your grain scale should be roughly half the size of what you would use for a 2K master.
Common Pitfalls and How to Avoid Them
Even experienced artists make mistakes when emulating grain. Here are the most common issues and how to fix them:
- The "TV Static" Look: This happens when the grain is too uniform and high-frequency. Fix: Lower the frequency and increase the clustering of the noise pattern. Real grain clumps; static does not.
- Static Grain in Moving Shots: If the background moves but the grain stays still, the illusion breaks. Fix: Ensure your noise seed is animated. Even better, link the grain offset to the camera movement data if available, so the grain shifts slightly as the camera pans.
- Over-Saturation in Shadows: Digital shadows are often crushed to black, hiding grain. But if you lift the shadows during color grading, the grain becomes visible in areas where it shouldn't be. Fix: Re-evaluate your grain mask after the final grade. The mask should be dynamic, adjusting to the final luminance levels.
- Ignoring Sensor Defects: Sometimes, the "digital look" comes from banding or moiré, not just sharpness. Don't try to fix banding with grain. Fix the banding first using dithering or de-noising, then apply grain as a final aesthetic layer.
Integration with VFX and Compositing
If your project involves visual effects, grain integration becomes even more complex. VFX elements are often rendered in pristine, clean states. If you apply grain to the entire composite at the end, the VFX might look inconsistent with the live-action plates if the lighting or depth differs.
The best practice is to apply grain to the live-action plate first, then render VFX elements with matching grain parameters. Alternatively, composite the VFX onto the clean plate, grade the entire shot, and then apply a unified grain pass. However, be careful with depth. Grain should appear denser in the foreground and sparser in the background to match atmospheric perspective. Using depth maps to modulate grain intensity adds a layer of realism that flat overlays miss.
Remember, grain is not just a filter; it's a language. It tells the audience how to perceive the image. Use it intentionally. Whether you are aiming for the crisp, cold look of a modern thriller or the warm, fuzzy nostalgia of a classic drama, the key is consistency. Once you establish your grain profile, stick to it across all shots to maintain visual continuity.





Comments(10)