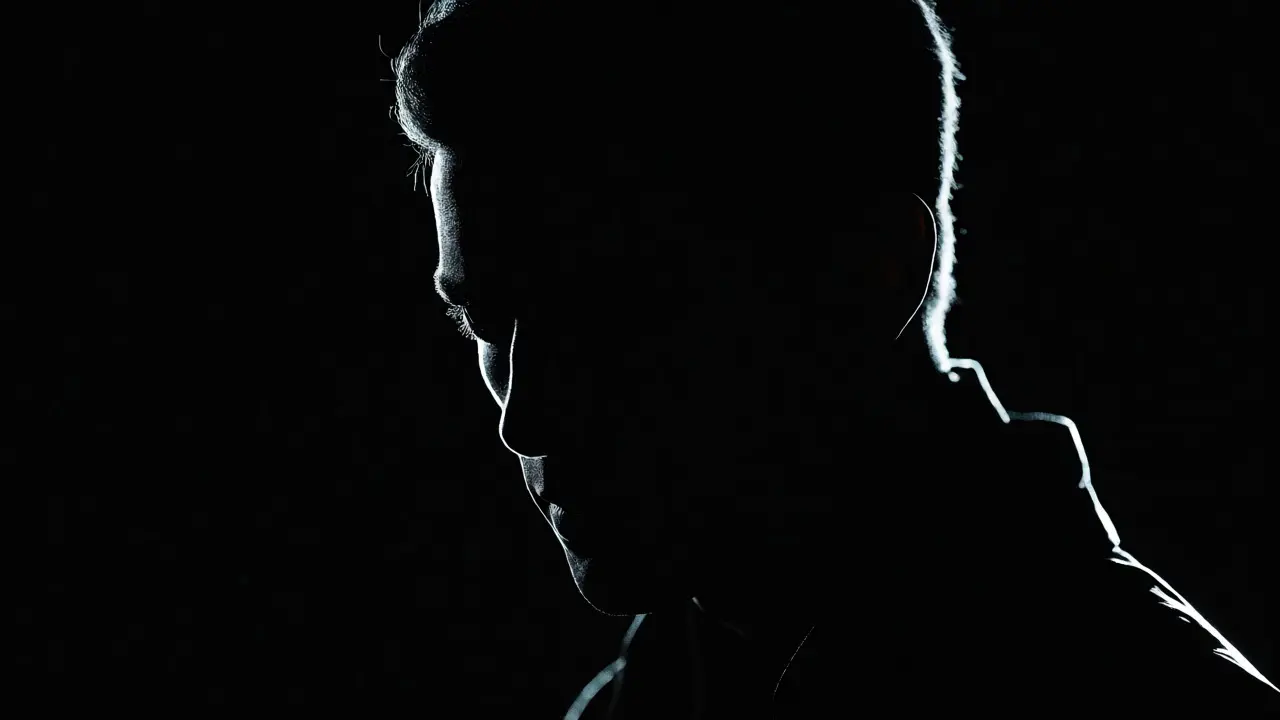
You know that feeling when a character steps out of the shadows, their outline glowing with a sharp, white rim against a pitch-black background? It’s not just cool; it’s one of the most powerful tools in a cinematographer's arsenal. This technique, known as edge lighting or rim lighting, combined with the dramatic use of silhouettes, transforms flat images into three-dimensional stories. If you’ve ever wondered how films like *Blade Runner* or *The Godfather* create such intense mood and depth, this is where the magic happens.
Why Edge Lighting Changes Everything
Most beginners light a subject from the front. It’s safe. It shows everything. But it also flattens the face and separates the subject from the background poorly. Edge lighting solves this by placing the light source behind or to the side of your subject, aimed at their back. The goal isn’t to illuminate the face directly but to catch the contours-the hair, the shoulders, the jawline-creating a bright line that pops the subject off the screen.
Think of it like outlining a drawing. Without that outline, colors bleed together. In video, without edge lighting, a person in a dark room might merge into the wall behind them. By adding a strong backlight, you create separation. This is crucial for visual hierarchy, which is simply the order in which viewers notice things on screen. Your eye naturally goes to the brightest part of the frame. If the edge of your actor glows, we look at them first, even if their face is in shadow.
This technique isn't just about aesthetics; it's about clarity. When you separate your subject from the background, you reduce visual clutter. You tell the audience exactly who matters in the scene without needing dialogue to explain it. It’s a silent cue that says, "Look here."
Mastering the Silhouette
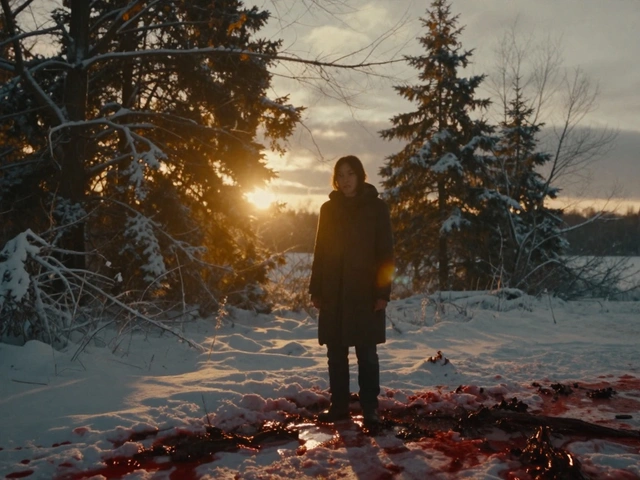
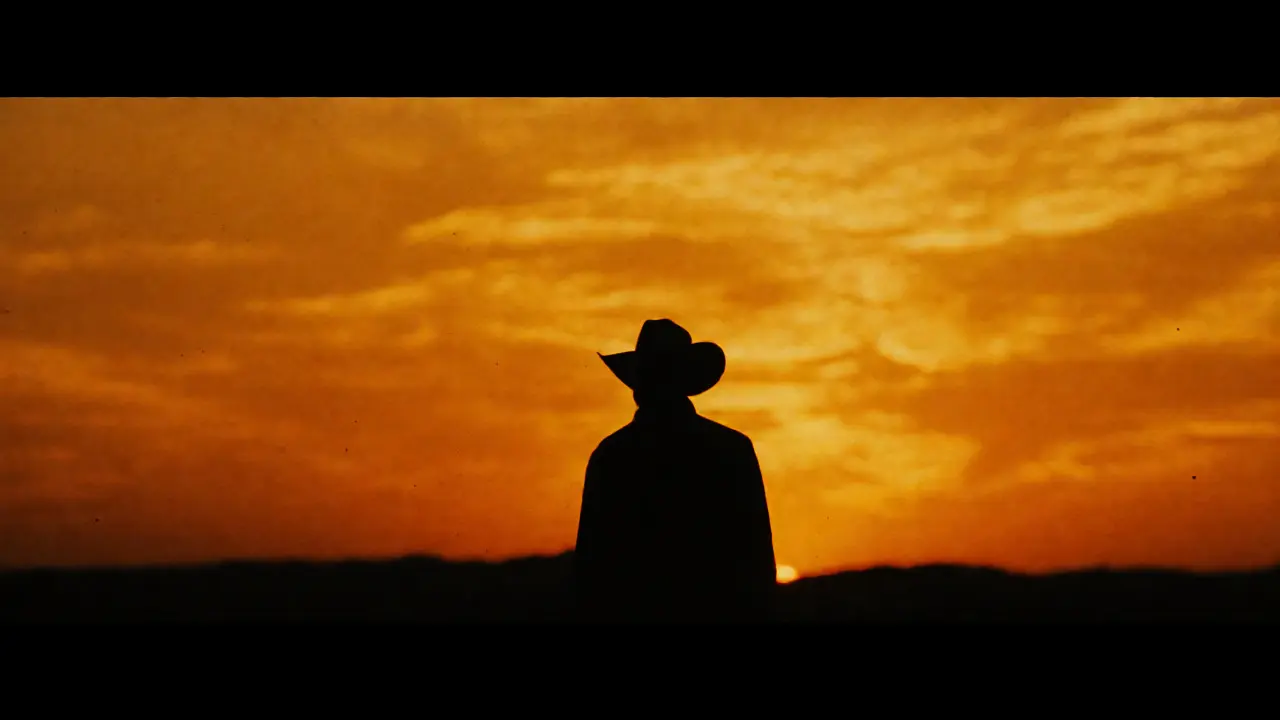
If edge lighting highlights the form, silhouettes erase it. A silhouette occurs when the subject is completely unlit while the background remains bright. The result is a high-contrast image where only the shape is visible. This removes facial expressions, forcing the viewer to interpret emotion through body language and posture.
Silhouettes are inherently mysterious. They hide details. Is the character smiling or scowling? We don’t know. This ambiguity invites the audience to project their own feelings onto the scene. In horror, this builds tension because what we can’t see is often scarier than what we can. In romance, it creates intimacy by focusing on the gesture-a hand reaching out, two figures leaning in-rather than the specific features of the actors.
To nail a clean silhouette, you need extreme contrast. Your camera must expose for the bright background, letting the subject fall into pure black. If there’s any detail left in the subject’s face, it’s not a true silhouette; it’s underexposure. To achieve this, you often need a very bright background source, like a window, a practical lamp, or a dedicated backlight aimed at the wall behind the actor.
Tools of the Trade: Sources and Modifiers
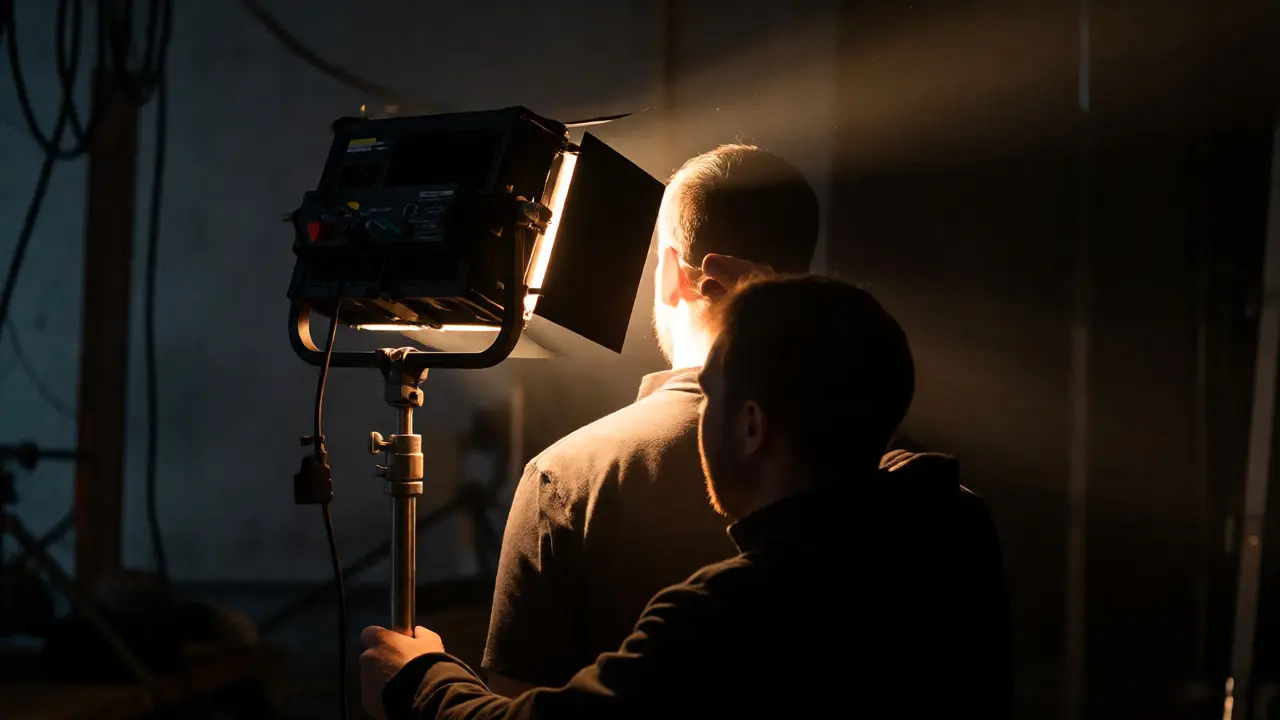
You don’t need a Hollywood budget to get these effects. Small, focused lights work best for edge lighting because they allow precision. You want to hit the edge of the subject without spilling too much light onto the lens, which causes haze and reduces contrast.
| Light Source | Best For | Control Level | Heat Output | Cost Estimate |
|---|---|---|---|---|
| LED Panel | Soft, broad rim light; consistent color temperature | High (Dimmable) | Low | $100 - $500 |
| Tungsten Fresnel | Hard, cinematic specular highlights; classic film look | Medium (Requires dimmer) | High | $200 - $800 |
| Practical Lamp | Naturalistic motivation; easy setup for small spaces | Low (Fixed brightness) | Variable | $20 - $100 |
| Spotlight / Snoot | Precise edge control; minimizing spill | Very High | Medium/High | $50 - $300 |
Notice the difference between an LED panel and a Tungsten Fresnel. LEDs are convenient and cool-running, making them great for long shoots in tight spaces. However, many cinematographers prefer tungsten for its continuous spectrum and the way it renders skin tones, even in partial shadow. If you’re shooting digital, ensure your white balance matches the source. Mixed lighting-warm tungsten edges against cool daylight backgrounds-is a staple of modern stylized cinema.
Step-by-Step: Setting Up the Shot
Setting up an edge-lit shot is about subtraction as much as addition. Here is a practical workflow to get started:
- Block the Subject: Decide where your actor stands relative to the background. Distance matters. If they stand too close to the wall, the light will bounce back and wash out the silhouette. Give them at least 3-6 feet of clearance.
- Set the Background: Light your background first. If you want a silhouette, make sure the background is significantly brighter than your exposure meter suggests for the subject. Use gels or flags to keep the background even unless you want texture.
- Place the Edge Light: Position your key backlight behind and slightly to the side of the subject. Aim it at their back, specifically targeting the shoulder and head. Use a barn door or flag to block light from hitting the camera lens directly. Lens flare is beautiful, but unwanted glare kills contrast.
- Expose for Highlights: Set your camera exposure based on the brightest part of the frame (the background or the edge highlight). Check your histogram. Ensure the blacks are truly black. If the subject’s shirt shows texture, lower the exposure or increase the background brightness.
- Add Fill (Optional): If you want a semi-silhouette where some facial features are visible, add a very weak fill light from the front. Keep it at least 4 stops darker than the edge light. This preserves the mood while adding just enough information.
Common Pitfalls and How to Fix Them
The biggest mistake beginners make is over-lighting the face. If you try to show the eyes and the edge simultaneously, you lose the drama. Pick one. Do you want mystery (silhouette) or definition (rim light)? Trying to do both often results in a muddy, flat image.
Another issue is lens flare. Because the light source is near the axis of the lens, stray light enters easily. Always use a matte box or a deep hood. If you’re using a prime lens, check for internal reflections. Sometimes, moving the light just a few degrees higher or lower eliminates the flare without losing the effect.
Finally, watch your focus. Silhouettes rely entirely on shape. If your focus misses the edge of the hair or shoulder, the graphic impact disappears. Sharp focus on the contour is non-negotiable.
Case Studies in Style
Let’s look at how masters use these techniques. In No Country for Old Men, Roger Deakins used stark backlighting to isolate characters in vast landscapes. The edges of Josh Brolin’s hat and coat cut sharply against the Texas sky, emphasizing his isolation and vulnerability.
In Mad Max: Fury Road, John Seale used aggressive edge lighting during night scenes to guide the eye through chaotic action sequences. Even in fast cuts, the viewer could instantly identify the heroes because their outlines were illuminated against the fiery explosions behind them.
These examples show that edge lighting isn’t just for moody dramas. It’s a functional tool for clarity in complex compositions. Whether you’re shooting a thriller or a commercial, the principle remains: light defines form.
FAQ
What is the difference between backlighting and edge lighting?
Backlighting is a general term for any light placed behind the subject. Edge lighting (or rim lighting) is a specific type of backlighting where the light is positioned to graze the subject's outline, creating a bright line along the edges rather than illuminating the entire back broadly. Edge lighting is more precise and used specifically to separate the subject from the background.
How do I shoot a perfect silhouette?
To shoot a perfect silhouette, expose your camera for the bright background, ensuring the subject receives little to no direct light. Place your subject between the camera and a strong light source. Use a narrow aperture or neutral density filters if necessary to darken the foreground. Ensure the background is evenly lit to avoid distracting hotspots that compete with the subject's shape.
Does edge lighting work well in low-budget productions?
Yes, edge lighting is highly effective on low budgets. You can achieve professional results with inexpensive LED tubes, clamp lights, or even sunlight streaming through a window. The key is positioning and blocking stray light, which costs nothing. A single cheap spotlight can dramatically improve production value by separating subjects from messy backgrounds.
Why does my edge light cause lens flare?
Lens flare occurs when light from the edge source enters the camera lens directly or reflects internally. To fix this, use a matte box or lens hood to shield the lens. Adjust the angle of the light so it hits the subject but stays outside the lens's field of view. Flags or black cards placed between the light and the lens can also block stray rays.
Can I use colored gels for edge lighting?
Absolutely. Colored gels are a popular way to stylize edge lighting. Blue or teal edges often convey coldness, technology, or night, while orange or red edges suggest warmth, danger, or sunset. Mixing warm key lights with cool edge lights creates a complementary color scheme that adds depth and visual interest to the frame.