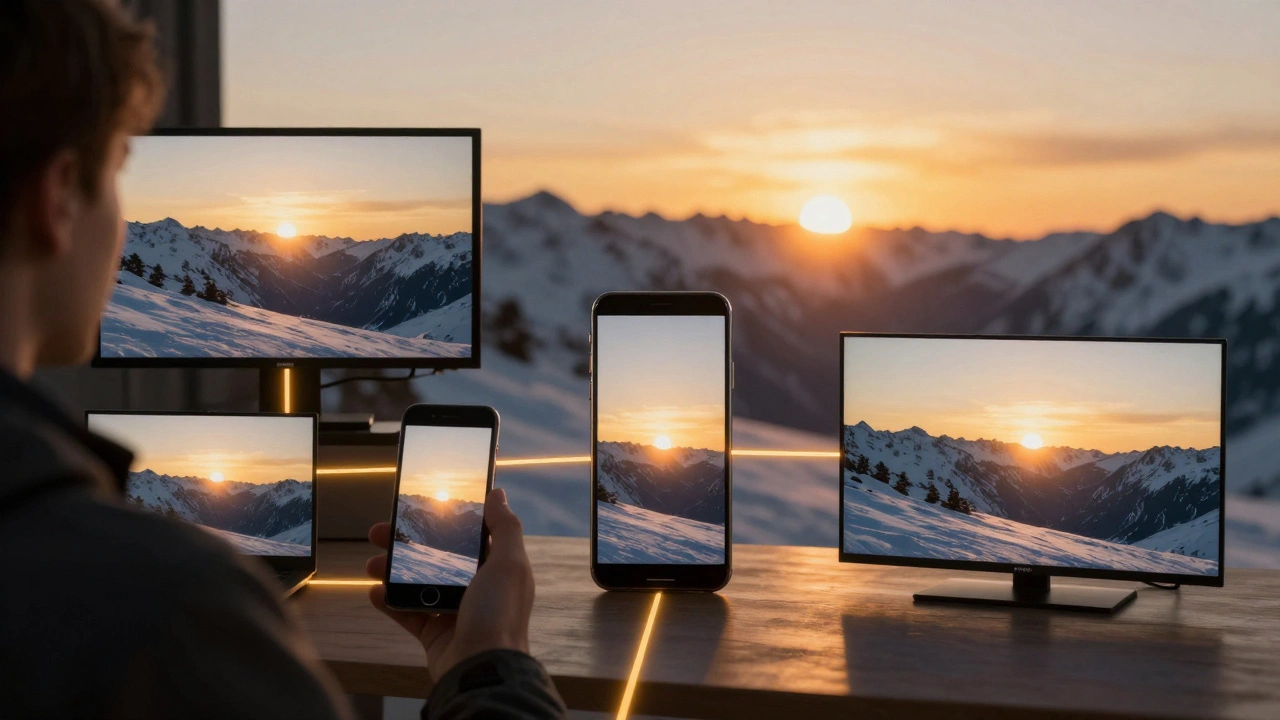
When you watch a film on a streaming service, in a theater, or on your phone, the colors you see aren’t random. They’re the result of a carefully controlled system called color management. Without it, a scene shot in New Mexico might look too red on a screen in Tokyo, or a sunset might turn orange on one device and purple on another. That’s where ACES comes in - a system built to make sure every frame looks exactly as the filmmaker intended, no matter where or how it’s viewed.
What is ACES, Really?
ACES stands for Academy Color Encoding System. It was developed by the Academy of Motion Picture Arts and Sciences in 2014, and since then, it’s become the industry standard for high-end film and television production. Think of it as a universal language for color - one that lets cameras, editing software, color grading tools, and display devices all speak the same dialect.
Before ACES, every camera had its own color profile. Red cameras looked different from ARRI cameras, which looked different from Sony. Colorists had to manually match them frame by frame, often losing detail in highlights and shadows. ACES fixes that by converting everything into a single, massive color space called ACES2065-1. This space holds more color information than any camera or screen can display - so nothing gets lost, even if the final output is meant for a phone screen.
Why ACES Instead of Other Color Systems?
You might have heard of Log profiles like S-Log, C-Log, or V-Log. These are camera-specific gamma curves designed to capture more dynamic range. But they’re not interchangeable. A clip shot in S-Log2 won’t match a clip shot in C-Log3 without manual tweaking. ACES removes that problem entirely.
With ACES, you don’t need to worry about the camera brand. You just apply an Input Device Transform (IDT) - a pre-made file that translates your camera’s native data into the ACES color space. For example, if you shot with a RED Komodo, you’d use the IDT for RED V-RAPTOR. If you used an ARRI Alexa Mini LF, you’d use the ARRI IDT. These are freely available from the Academy’s website and built into most professional editing tools like DaVinci Resolve, Adobe Premiere Pro, and Avid Media Composer.
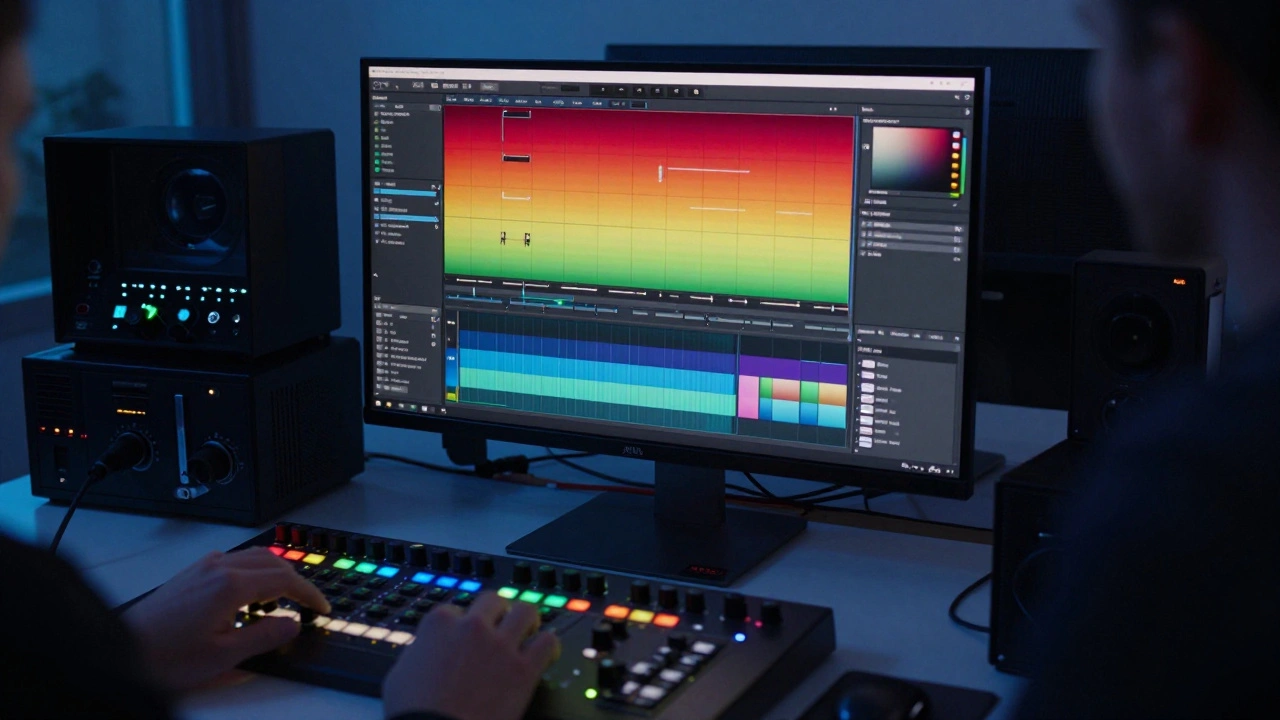
Once everything’s in ACES, you grade in ACEScc or ACEScct - these are logarithmic encoding formats designed to give colorists smooth, predictable control over shadows, midtones, and highlights. Even if you’re grading on a budget monitor, ACES gives you a consistent starting point.
How an ACES Workflow Actually Works
Here’s how a typical ACES workflow unfolds on a real production:
- Shoot: You record footage in your camera’s native format - RAW, ProRes, or even H.264. It doesn’t matter.
- Import: You load the footage into your editing software. The software automatically applies the correct IDT based on the camera model and codec.
- Grade: You do your color correction in ACEScc or ACEScct. The system preserves all the dynamic range, even if your monitor can’t show it yet.
- Export: You choose your final output - say, HDR10 for Netflix, or DCI-P3 for theatrical release. ACES handles the conversion automatically using Output Device Transforms (ODTs).
That’s it. No manual color matching. No guesswork. Even if you mix footage from three different cameras - say, a Sony FX6, a Canon C70, and a Blackmagic URSA Mini Pro - ACES makes them look like they were shot on the same rig.
ACES and HDR: The Perfect Pair
High Dynamic Range (HDR) is now standard on Netflix, Apple TV+, and Disney+. But HDR is unforgiving. If your shadows are crushed or highlights blown out, you’ll see banding, clipping, or color shifts on HDR displays.
ACES was built with HDR in mind. Its wide gamut and 16-bit floating-point precision can handle the extreme brightness levels of HDR - up to 10,000 nits - without losing detail. When you export to HDR10 or Dolby Vision, ACES uses an ODT calibrated for that specific target. You don’t have to re-grade for HDR. You just pick the right ODT and let the system do the math.
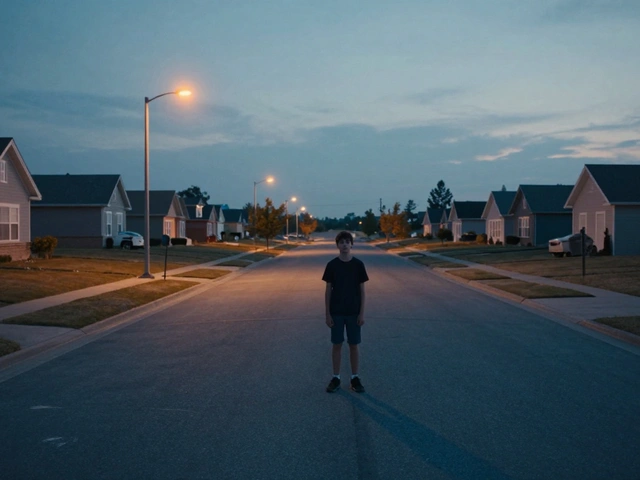
On a recent indie film shot in Alaska, the DP used a Sony FX3 and a DJI Ronin 4D. The lighting changed from midday sun to twilight in a single scene. With ACES, the colorist graded the whole sequence once, then exported it to both SDR and HDR versions - with no rework. The HDR version retained detail in the snow highlights and the deep shadows of the pine trees. Without ACES, that would’ve taken two full days of manual fixes.
Common Myths About ACES
There are a few misunderstandings that still linger:
- "ACES is only for big-budget films." False. Even low-budget projects benefit. You can use ACES with free tools like DaVinci Resolve Studio (which includes ACES support) or even the free version of Resolve with some manual setup.
- "It’s too complicated for beginners." It’s simpler than it looks. If you’re using Resolve, you just turn on ACES in the project settings and select your camera’s IDT. The software does the rest.
- "I’ll lose quality if I convert to ACES." Actually, you gain quality. ACES preserves more data than any other system. Even if you’re shooting in 8-bit, ACES gives you more room to recover details in post.
When Not to Use ACES
ACES isn’t magic. It’s overkill for some workflows:
- If you’re shooting a quick social media video with a smartphone and exporting straight to Instagram, you don’t need ACES. Use your phone’s built-in color profile.
- If you’re working with legacy footage shot in Log and never plan to re-grade, sticking with the original Log profile might be faster.
- If your entire team isn’t on board - editors, colorists, clients - switching to ACES can create confusion. Make sure everyone understands the pipeline before you start.
For most narrative films, documentaries, commercials, or anything meant for broadcast or streaming, ACES is the smart choice. It saves time, reduces errors, and future-proofs your work.
Setting Up ACES in DaVinci Resolve
If you’re using DaVinci Resolve (the most common tool for indie filmmakers), here’s how to enable ACES:
- Open your project and go to Project Settings > Color Management.
- Set the Color Science to ACES 1.3.
- Set the Input Color Space to Automatic - Resolve will detect your camera and apply the right IDT.
- Set the Timeline Color Space to ACEScc.
- For output, choose the correct Output Color Space - for example, Rec.709 for YouTube, DCI-P3 for theaters, or Rec.2020-PQ for HDR.
That’s it. Your footage is now in ACES. You can grade with confidence, knowing that your colors will translate accurately across devices.
ACES and the Future of Filmmaking
More studios are adopting ACES because it solves a real problem: inconsistency. A film shot in 2024 might be re-released in 2035 on a new 12K OLED screen. If it was graded in ACES, it’ll look perfect. If it was graded in a camera-specific Log profile, it might look washed out or oversaturated.
Even Apple and Netflix now require ACES for their highest-tier content. The Academy of Motion Picture Arts and Sciences is pushing it as the long-term standard - and it’s already used on over 80% of major studio films and 60% of high-end TV shows.
As cameras get better and displays get brighter, color management will only become more critical. ACES isn’t just a tool - it’s the foundation of modern digital filmmaking. Whether you’re shooting on a $5,000 camera or a $100,000 rig, if you care about how your film looks, you need ACES.
Do I need special hardware to use ACES?
No. ACES works on any computer that can run modern editing software like DaVinci Resolve, Adobe Premiere Pro, or Avid Media Composer. You don’t need a high-end GPU or color-accurate monitor to start - though having one helps with grading. The system runs in software, so your hardware just needs to be powerful enough to handle your footage resolution.
Can I use ACES with my iPhone footage?
Yes, but it’s not always practical. iPhones record in H.264 or HEVC, which are compressed formats. ACES works best with high-bit-depth files like ProRes or RAW. You can apply an IDT to iPhone footage in Resolve, but you won’t gain much dynamic range. It’s fine for consistency in multi-camera projects, but not for recovering lost detail.
Is ACES the same as HDR?
No. ACES is a color management system that handles how color data is stored and transformed. HDR is a display standard that shows brighter highlights and deeper blacks. ACES makes it easier to create HDR content, but you can use ACES for SDR projects too. Many films use ACES to grade for both SDR and HDR from the same timeline.
What if my client doesn’t understand ACES?
You don’t need to explain the technical details. Just show them the results. Deliver two versions - one for streaming, one for theater - and point out how the colors stay consistent. Most clients care about the final look, not the pipeline. ACES just makes your job easier and your results more reliable.
Does ACES slow down my editing workflow?
It adds one step - applying the IDT - but that’s automatic in most software. Once set up, ACES actually speeds up grading because you’re working with consistent color data. No more matching shots from different cameras. No more color shifts after export. The time saved in post usually outweighs the initial setup.
If you’re serious about color accuracy - whether you’re editing your first short film or your fifth feature - ACES isn’t optional anymore. It’s the standard. And the sooner you adopt it, the smoother your post-production will be.


Comments(7)