Most people think shooting a painting is just pointing a camera at a wall. If you’ve tried it, you know the truth: the canvas looks flat, the texture disappears, and the colors feel lifeless on screen compared to what your eyes see in the gallery. The gap between physical art and digital capture is where most productions fail. This guide breaks down how to light, frame, and expose static artworks so they retain their depth, texture, and soul.
Understanding the Physics of Light on Canvas
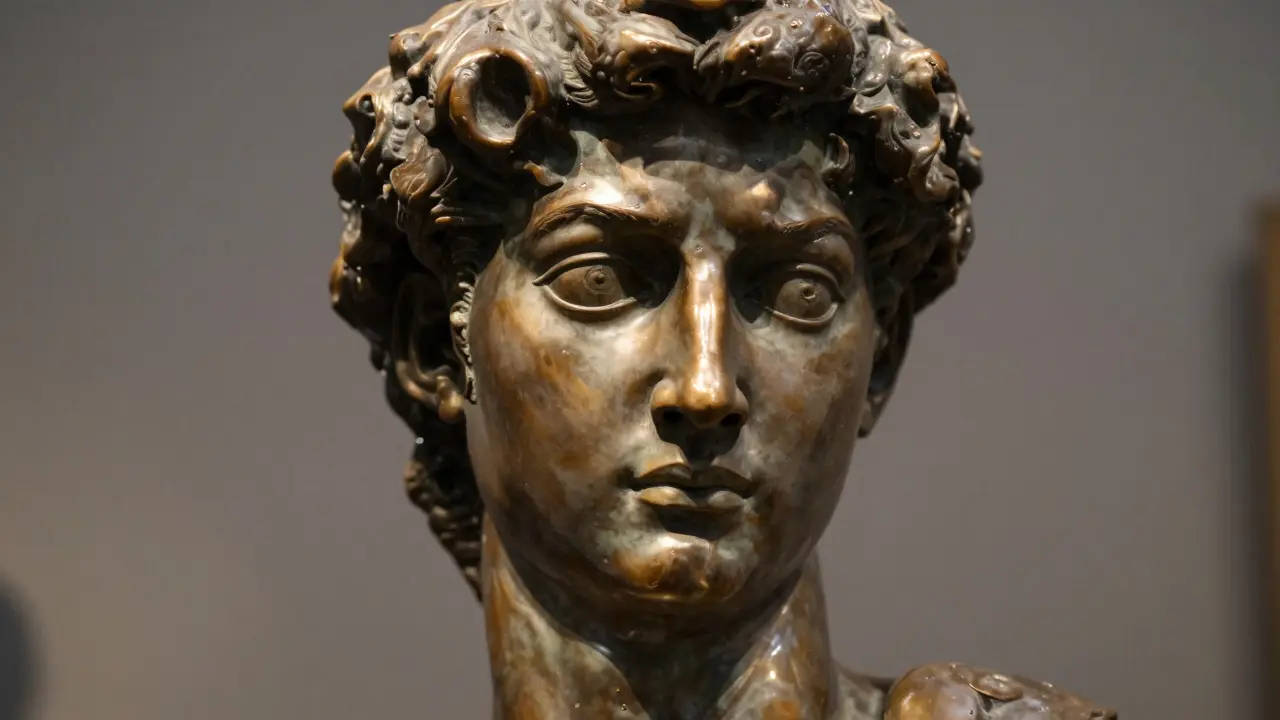
To capture Cinematography that honors an artist’s work, you first need to understand how light interacts with different surfaces. A matte oil painting absorbs light differently than a glossy acrylic or a polished bronze statue. When light hits a rough surface, it scatters in many directions (diffuse reflection). When it hits a smooth surface, it bounces back in a specific angle (specular reflection).
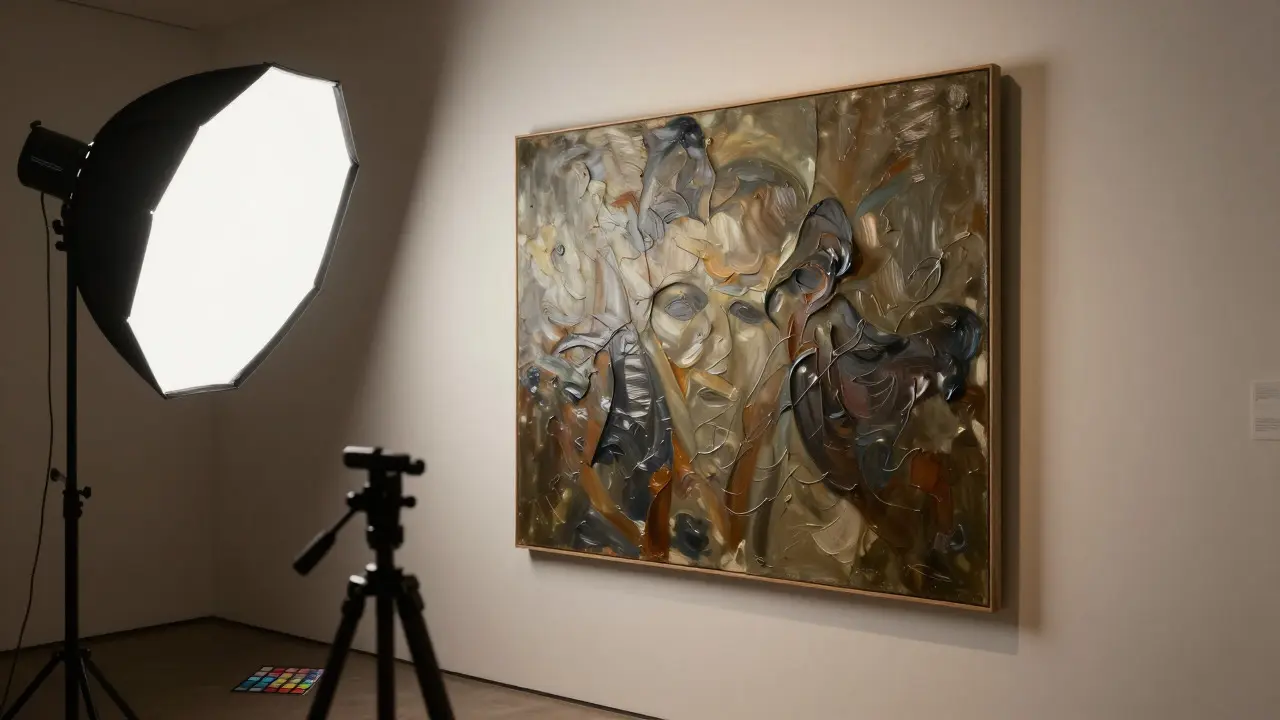
If you light a painting straight from the front, you flatten the image. You lose the impasto-the thick layers of paint that create physical ridges. To reveal this texture, you need raking light. This means placing your light source at a low angle, almost parallel to the canvas. As the light grazes the surface, the peaks of the paint catch the light while the valleys fall into shadow. This contrast creates the illusion of three-dimensionality on a two-dimensional plane.
- Raking Light: Place lights 15-30 degrees off the vertical axis. Adjust until you see the texture pop without creating harsh shadows across the whole piece.
- Diffusion: Always use softboxes or scrims. Hard light creates hot spots that blow out highlights in reflective varnish.
- Color Temperature: Match your white balance to the gallery lighting or use gels to ensure skin tones and pigment colors remain accurate.
Camera Settings for Maximum Detail
Once the lighting is set, your camera settings determine whether you capture the fine brushstrokes or just a blurry approximation. For art-dense films, resolution is king, but dynamic range is queen. You want to preserve detail in both the darkest shadows of the background and the brightest highlights of the artwork.
Use a high-resolution sensor if possible. A full-frame camera offers better noise performance in low-light gallery environments, which are often dimly lit to protect the art. However, medium format cameras provide even higher pixel density, which is crucial when cropping into details later in post-production. Keep your aperture narrow (f/8 to f/16) to maximize depth of field. This ensures that every corner of the painting is sharp, not just the center.
| Setting | Recommended Value | Reason |
|---|---|---|
| Aperture | f/8 - f/16 | Ensures edge-to-edge sharpness across the entire canvas. |
| Shutter Speed | 1/50s or slower | Allows more light in; use a tripod to avoid motion blur. |
| ISO | Native Base ISO (e.g., 400 or 800) | Minimizes digital noise, preserving color fidelity. |
| White Balance | Custom Kelvin (match scene) | Prevents color casts that distort the artist's intended palette. |
Framing and Composition Techniques
How you frame the art tells the story. Do not always shoot the entire piece head-on. Vary your perspective to keep the viewer engaged. Start wide to show the context-where the art hangs, the surrounding architecture, the atmosphere of the space. Then, move in for tight close-ups of specific textures, signatures, or details that might be missed by the naked eye in a busy gallery.
Consider the rule of thirds, but don’t be afraid to break it. If the subject within the painting is off-center, mirror that composition in your shot. Use negative space around the artwork to give the viewer room to breathe. In film, empty space can represent silence or contemplation. If you are filming a series of works, maintain consistent framing distances to create a rhythmic visual flow. This consistency helps the audience focus on the changes in the art itself rather than being distracted by shifting camera angles.
Moving Around Static Objects
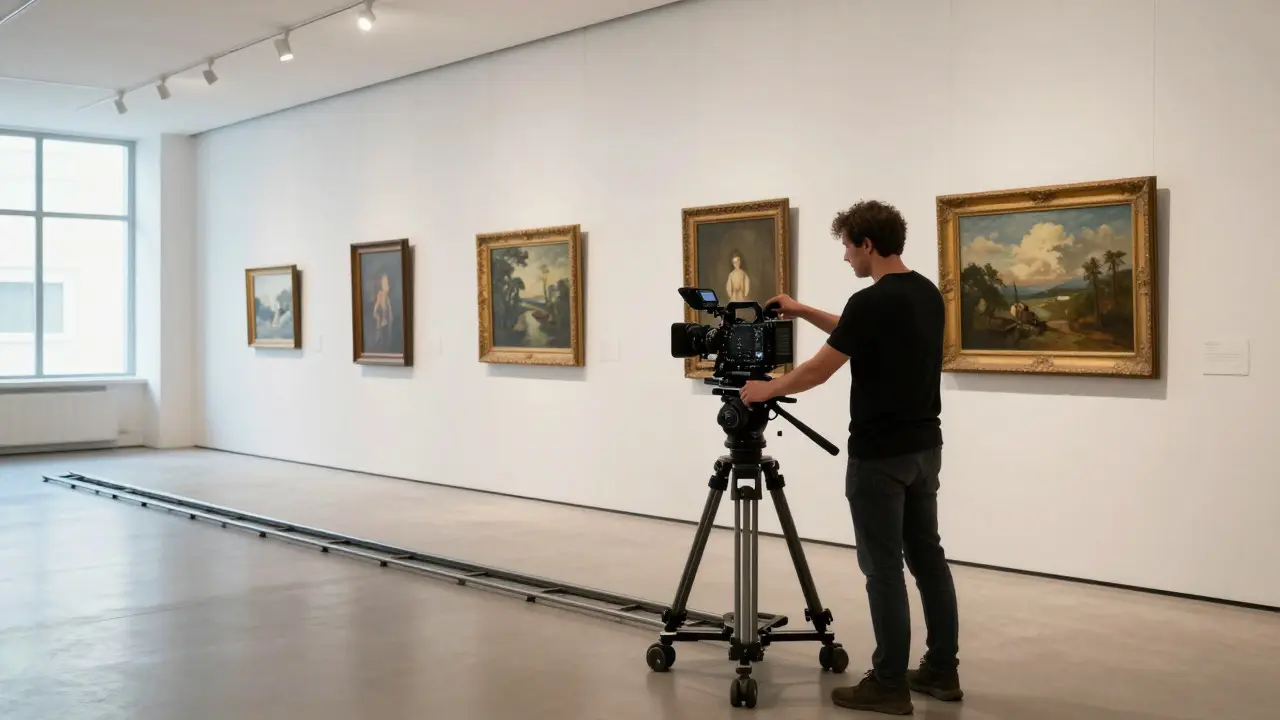
A common mistake is thinking that because the subject is still, the camera must be still too. In fact, subtle camera movement can bring static art to life. Use a slider or a gimbal to create slow, smooth pans or tilts. A gentle dolly-in toward a specific detail draws the viewer’s eye exactly where you want it to go. Avoid jerky movements; the motion should feel like a deep breath-slow, deliberate, and calm.
When transitioning between different artworks, use match cuts. If one painting ends with a red circle, cut to the next painting where a red element appears in the same position. This technique links disparate pieces visually and thematically. It turns a sequence of static shots into a cohesive narrative journey through the collection.
Post-Production Color Grading
Lighting and exposure get you 90% of the way there, but color grading finishes the job. In post-production, you need to correct any remaining color inaccuracies. Use a reference chart, like a X-Rite ColorChecker, placed next to the artwork during filming. This gives you a precise target for matching colors in software like DaVinci Resolve or Adobe Premiere Pro.
Be careful with saturation boosts. While making colors pop can look good in commercials, it often distorts the subtle nuances of fine art. An artist who mixes a specific shade of grey wants that exact grey, not a vibrant blue-grey. Preserve the integrity of the original work. Only adjust contrast and brightness to enhance the mood, not to change the content. The goal is translation, not transformation.
Common Pitfalls to Avoid
Even experienced cinematographers make mistakes when working with art. Here are the most frequent errors and how to fix them:
- Reflections: Glass cases cause glare. Use polarizing filters on your lens to cut reflections, but remember this reduces light by about 1 stop. Plan your exposure accordingly.
- Overexposure: Highlights clip easily on white canvases. Check your histogram. Aim to keep highlights just below the peak to retain detail in bright areas.
- Inconsistent White Balance: Galleries often have mixed lighting sources (LEDs, halogens, natural light). Lock your white balance manually. Do not let the camera auto-adjust between shots.
- Lens Distortion: Wide-angle lenses bend straight lines. Use prime lenses or rectilinear zooms to keep architectural elements and frames straight.
Practical Workflow Checklist
Before you roll, run through this quick checklist to ensure technical perfection:
- Scout the location and note power outlets and potential obstructions.
- Set up lighting and test raking angles for texture.
- Mount the camera on a sturdy tripod or slider.
- Place a color checker card next to the art for reference.
- Focus manually using magnification on the monitor.
- Record a test clip and check for moiré patterns (common in detailed textures).
- Finalize white balance and exposure settings.
- Begin recording with sufficient pre-roll and post-roll time.
Frequently Asked Questions
What is the best lens for filming paintings?
A standard prime lens (50mm or 85mm) is ideal for close-ups as it minimizes distortion. For wider shots that include the environment, a rectilinear zoom lens (24-70mm) allows flexibility while keeping lines straight. Avoid ultra-wide angles unless you are intentionally distorting the perspective for artistic effect.
How do I remove reflections from glass-covered art?
Use a circular polarizer filter attached to your lens. Rotate the filter until the glare disappears. Note that this will darken the image, so you may need to increase your ISO or open your aperture slightly to compensate for the lost light.
Should I use HDR when filming art?
Generally, no. Single-shot Log profiles (like S-Log, C-Log, or V-Log) offer enough dynamic range to handle the contrast between dark galleries and bright canvases. HDR requires multiple exposures, which is difficult to sync perfectly on a moving camera and can introduce ghosting artifacts.
What is the ideal distance between the camera and the painting?
There is no single rule, but for close-up detail shots, stay close enough to fill the frame with the texture. For full shots, step back until the artwork occupies about 60-70% of the frame height, leaving space for context. Ensure the camera is perpendicular to the canvas to avoid keystone distortion.
How important is audio when filming silent art?
Very important. Even if the art is silent, ambient sound adds depth. Record room tone (the natural hum of the gallery) for editing. If there are visitors, consider using a lavalier mic on a curator or artist speaking about the work. Their voice provides context and human connection to the static images.