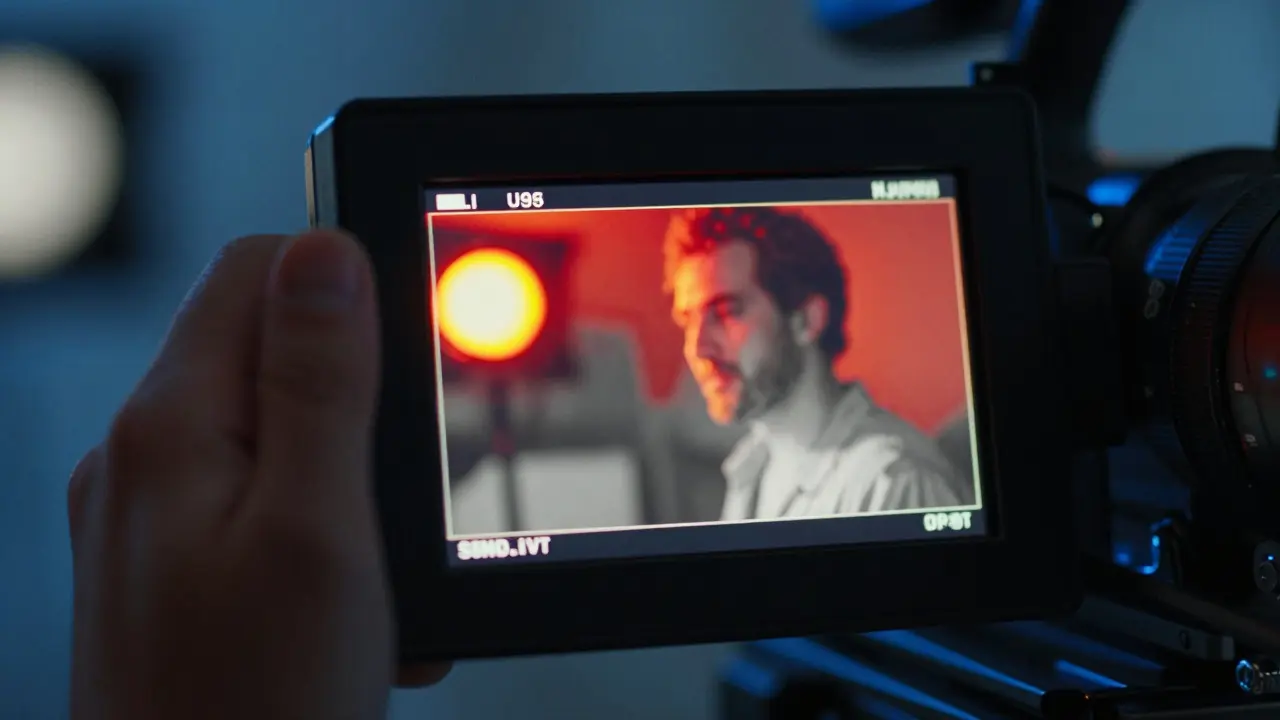
Walking onto a set with a camera that looks great in the viewfinder but fails in post-production is a nightmare every DP has faced. The human eye is surprisingly bad at judging precise exposure levels, especially when dealing with high dynamic range scenes or complex lighting setups. This is where technical monitoring tools stop being optional gadgets and become essential survival gear.
Exposure tools like false color, waveforms, and zebra patterns bridge the gap between what you see and what the sensor actually records. They provide objective data points that remove guesswork from your workflow. Whether you are shooting on a Sony FX series, a RED Komodo, or an ARRI Alexa, understanding how to read these displays ensures your footage remains clean, editable, and true to your creative intent.
Why Standard Monitors Lie to You
Your camera’s built-in LCD screen is designed for framing and focus, not accurate color science or exposure verification. These screens often have limited brightness, poor contrast ratios, and uncalibrated color profiles. In bright daylight, the screen might wash out highlights, making them look fine when they are actually clipped. Conversely, in low light, shadows might appear crushed even if the sensor captured detail.
This discrepancy leads to a common pitfall: trusting the visual approximation rather than the data. A scene that looks balanced on the back of the camera can reveal severe highlight clipping or shadow noise when viewed on a calibrated reference monitor in the grading suite. To avoid this, cinematographers rely on three primary real-time indicators that translate raw signal data into understandable visual cues.
False Color: The Precision Tool for Critical Highlights
False color is a display mode that replaces standard video signals with specific colors based on luminance values. It is the most aggressive and precise tool in your kit, primarily used to ensure that no information is lost in the brightest parts of the image.
Here is how it typically works across major camera systems:
- Below 100% IRE (Legal Video Level): The image appears in normal grayscale or slightly desaturated colors.
- At 100% IRE: The image turns a distinct yellow or orange. This indicates the signal is hitting the maximum legal broadcast level.
- Above 100% IRE: The image shifts to red. This means the pixels are clipping; any detail beyond this point is gone forever.
- Beyond Extreme Clipping: Some cameras turn the image white or magenta to indicate severe overexposure.
The goal is not necessarily to keep everything below 100%, especially when shooting Log or RAW formats which capture data well above standard video levels. However, using false color helps you identify exactly where the ceiling is. If you are shooting a sunset, you might allow the sun itself to clip into red, knowing that halos are acceptable. But if a character’s face turns yellow, you know you need to adjust your lighting or exposure immediately. It is a binary check: either the highlight is safe, or it isn’t.
Waveform Monitor: Reading the Data Stream
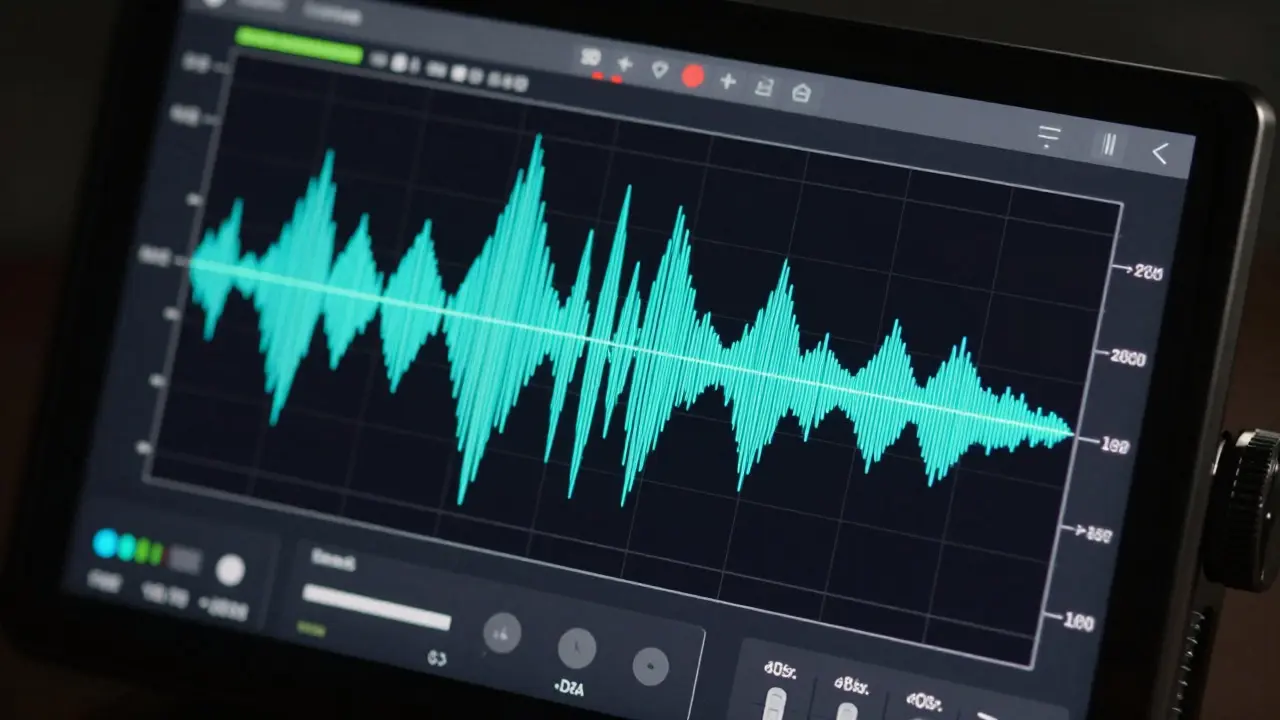
If false color is a warning light, the waveform monitor is the dashboard. It displays the luminance values of every pixel in the frame as a graph. The vertical axis represents brightness (from black at the bottom to white at the top), and the horizontal axis represents the position of the image from left to right.
Reading a waveform takes practice. At first, it looks like a messy scribble. But once you get the hang of it, it tells you everything about the tonal distribution of your shot.
- Identify the Peaks: Look at the top of the graph. If the trace touches or exceeds the top line, you have clipped highlights.
- Check the Floor: Look at the bottom. If the trace hits zero, your blacks are crushed. In digital cinema, you usually want to leave a little room here to avoid banding in dark areas.
- Observe the Spread: A healthy image has a wide spread of data. If all the data is bunched up in the middle, your image lacks contrast. If it is stretched thin, you have high contrast.
For example, if you are shooting a dialogue scene with two actors, you want their skin tones to sit comfortably in the mid-range, roughly between 40% and 70% IRE. Using the waveform, you can verify that neither actor is falling into the shadows or blowing out. It allows you to balance exposure between subjects without relying on gut feeling.
Zebra Stripes: Quick Visual Cues for On-Set Speed
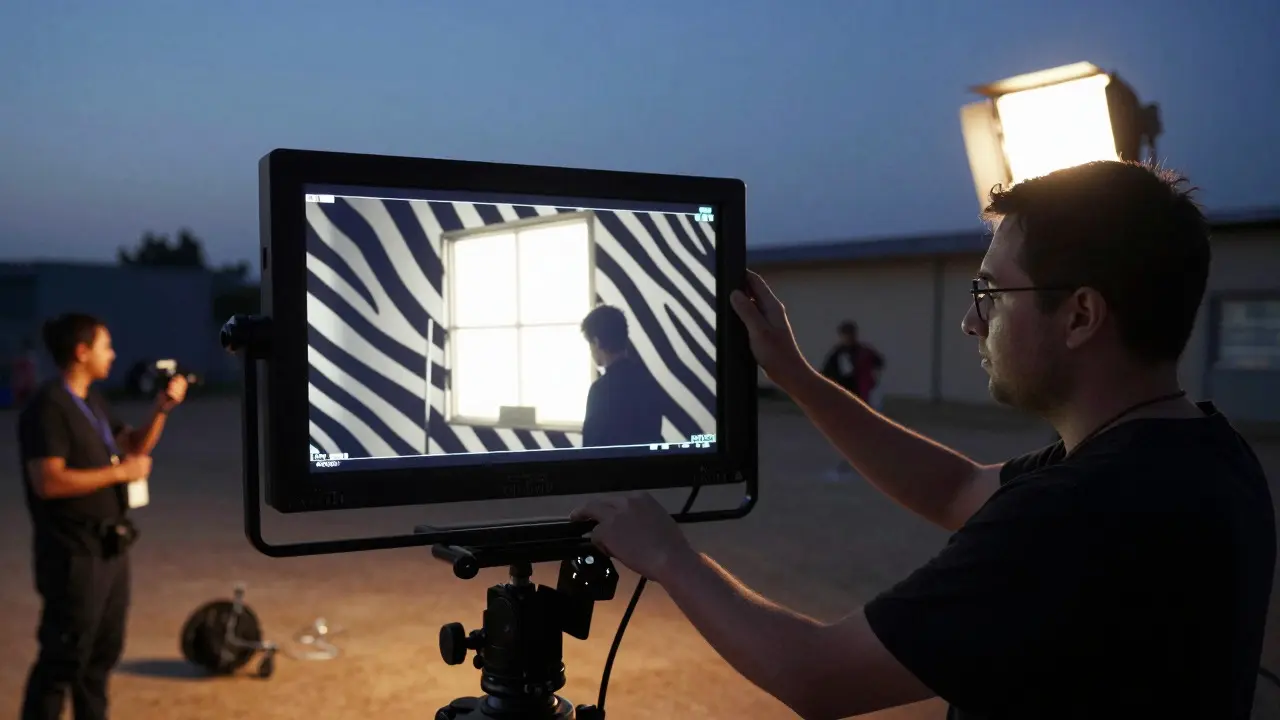
Zebra patterns overlay diagonal stripes on the image wherever the luminance exceeds a certain threshold. Think of them as a simplified version of false color, designed for quick checks while moving around the set.
You can usually set the zebra threshold to different levels, such as 90%, 95%, or 100%. When the stripes appear, it means those specific areas are approaching or exceeding that brightness level.
Why use zebra instead of false color? Speed. False color changes the entire image palette, which can be disorienting if you are trying to compose a shot quickly. Zebra only marks the problem areas, leaving the rest of the image visible so you can still frame and focus. It is perfect for checking if a window is too bright or if a specular highlight on a forehead is about to clip.
Most modern cameras allow you to toggle these tools on and off instantly. A typical workflow involves turning on zebra for general setup, switching to false color for critical highlight checks, and then referencing the waveform for overall tonal balance before rolling.
Choosing the Right Tool for the Job
Each tool serves a distinct purpose. Using the wrong one can lead to inefficiency or missed details. Here is a breakdown of when to use each:
| Tool | Primary Use Case | Level of Detail | Best For |
|---|---|---|---|
| False Color | Critical highlight protection | High (Binary Pass/Fail) | Sunsets, bright windows, LED panels |
| Waveform Monitor | Tonal distribution analysis | Very High (Granular Data) | Dialogue scenes, balancing multiple subjects |
| Zebra Stripes | Quick exposure alerts | Medium (Threshold-based) | Moving shots, fast-paced setups |
In practice, you will often use a combination. For instance, during a complex night exterior, you might use zebra to ensure streetlights aren’t blowing out, then switch to the waveform to make sure the background isn’t completely black, and finally use false color to double-check the moon or distant signs.
Common Pitfalls and How to Avoid Them
Even experienced operators make mistakes with these tools. Here are a few common traps:
- Ignoring Sensor Limits: Different sensors handle overexposure differently. A Sony sensor might clip harshly, while a RED sensor might retain some highlight roll-off. Always test your specific camera body’s limits before the shoot day.
- Calibration Drift: External monitors can drift out of calibration over time. If your waveform looks correct on a monitor that hasn’t been calibrated in six months, your data might be skewed. Regularly calibrate your reference monitor using a colorimeter.
- Over-Reliance on One Tool: Don’t just trust the waveform. Sometimes a spike in the graph could be a single pixel artifact. Cross-reference with false color or zebra to confirm the issue is widespread.
- Forgetting About HDR: If you are shooting for HDR delivery, your exposure targets change. You might intentionally expose brighter to capture more highlight detail, relying on the grading stage to map the tone. Know your pipeline before setting your exposure targets.
Integrating Tools into Your Workflow
Technology should serve the story, not distract from it. The best approach is to internalize these tools until they become second nature. Start by practicing in controlled environments. Set up a simple scene with a light source and a gray card. Check the readings. Then, introduce complexity. Add a window. Add a reflective surface. See how the tools react.
On set, assign a specific person to monitor the data if you are working with a large crew. Often, the DIT (Digital Imaging Technician) handles the waveform and false color checks, allowing the DP to focus on composition and performance. Communication is key. If the DIT sees a highlight clipping, they should communicate it clearly and immediately.
Ultimately, these tools give you confidence. When you know your exposure is technically sound, you can relax and focus on the artistic elements of filmmaking. You stop worrying about whether the sky is too bright and start thinking about how the light feels. That shift in mindset is what separates good footage from great footage.
What is the ideal exposure level for skin tones?
Generally, skin tones should sit between 40% and 60% IRE on a waveform monitor. This ensures enough detail in the shadows and highlights while maintaining natural color reproduction. However, this can vary slightly depending on the specific camera model and color science.
Can I use these tools on any camera?
Most professional cinema cameras include built-in options for false color, zebra, and waveform. However, the accuracy and placement of these overlays can vary. Some cameras require external monitors for the best display quality, while others have excellent built-in UIs. Always check your camera manual for specific settings.
Which tool is better for beginners: Zebra or False Color?
Zebra is generally easier for beginners because it provides a clear visual cue without altering the entire image palette. It simply highlights areas that are too bright. False color requires more interpretation, as you need to understand what the different colors signify regarding signal levels.
Do I need a calibrated monitor to use these tools?
While the data itself is accurate regardless of the monitor, the visual representation can be misleading if the monitor is poorly calibrated. A washed-out monitor might make clipped highlights look fine. For critical work, a calibrated reference monitor is recommended to ensure the visual feedback matches the actual data.
How does Log encoding affect exposure tools?
Log encoding compresses the dynamic range, meaning the image looks flat and underexposed on a standard monitor. When using exposure tools with Log, you must account for the extra headroom. Highlights may appear safe on a standard scale but could still be clipping in the extended Log range. Always verify against your camera’s specific Log gamma curve.