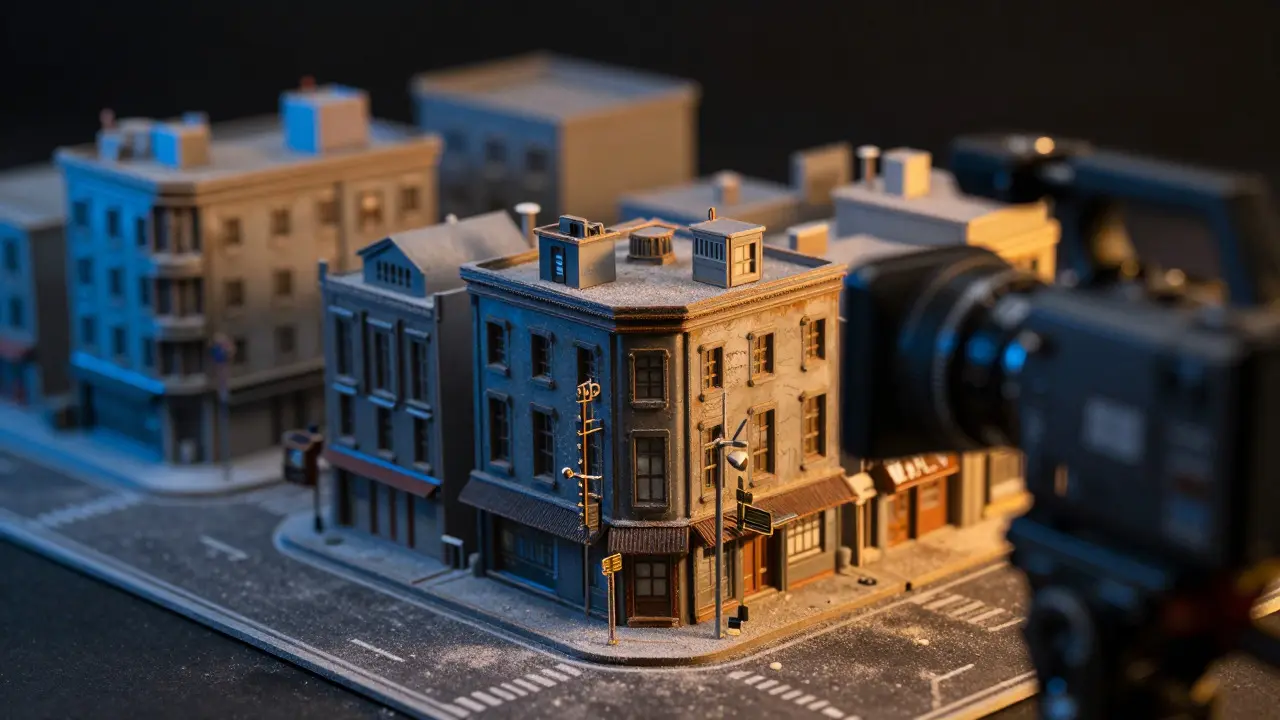
There is a specific weight to a camera moving through a miniature city that no amount of polygonal geometry can fully replicate. When you combine physical scale models with high-end digital compositing, you get a level of tactile realism that audiences feel in their bones before they consciously realize it. This hybrid approach isn't just a nostalgic trick; it is a strategic tool used by top-tier visual effects supervisors to solve lighting, texture, and physics problems that are computationally expensive or visually flat when done purely digitally.
In this guide, we break down exactly how modern filmmakers blend practical miniatures with digital post-production. We will look at the technical workflows, the cost-benefit analysis, and the specific scenarios where a 1:24 scale model beats a full CG asset every time.
Why Hybrid Techniques Still Dominate High-End Production
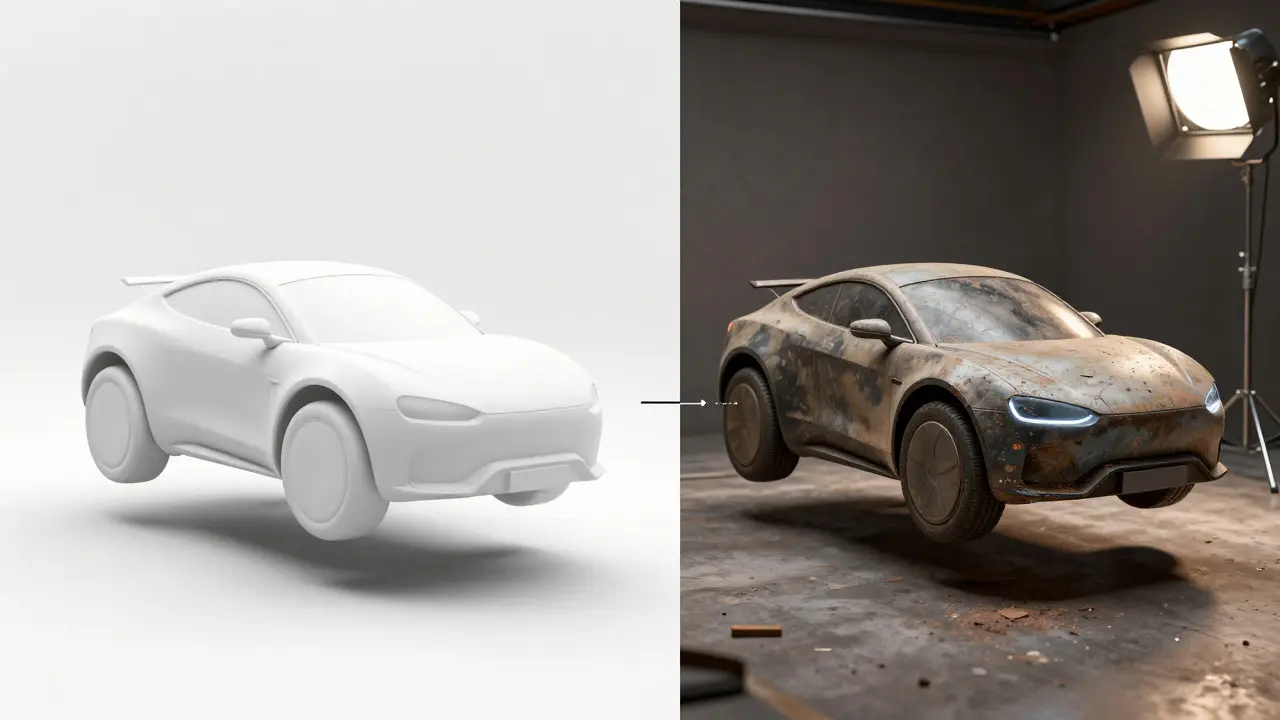
You might think that with the rise of real-time rendering engines like Unreal Engine, physical sets are obsolete. But the data from major productions tells a different story. The core issue with pure CGI is "surface noise." Computers are too perfect. They lack the microscopic imperfections of weathered metal, scratched paint, and dust accumulation that occur naturally over time. A practical miniature provides these textures for free. You don't need to simulate years of wear and tear in Houdini if the prop department just aged the model physically using sandpaper and chemical baths.
Furthermore, light interaction is fundamentally different. When a real light source hits a physical object, it creates complex caustics, subsurface scattering, and specular highlights that are incredibly difficult to calculate accurately in a render farm. By shooting a practical model under controlled studio lighting, the VFX team captures authentic optical data. This reduces the time spent on lighting passes in Nuke or After Effects by up to 30% in many cases. The camera does the heavy lifting for the artist later.
The Workflow: From Scale Model to Final Composite
Creating a hybrid shot is not just about building a model and filming it. It requires a tightly integrated pipeline between the art department, the cinematography unit, and the VFX vendor. Here is how the process typically flows on a mid-to-high budget feature film:
- Pre-Visualization (Previz): The director and VFX supervisor agree on which shots require physical assets. Usually, these are wide establishing shots or complex tracking shots where the camera moves through tight spaces.
- Model Construction: Industrial designers build the miniatures. These are often made from foam core, balsa wood, and 3D-printed resin parts. Crucially, they must be built to exact scale, typically 1:12, 1:24, or 1:48, depending on the desired depth of field.
- On-Set Photography: The camera shoots the model. To make the miniature look full-scale, cinematographers use a shallow depth of field (wide aperture). This blurs the background and foreground, hiding the fact that the objects are small. High-speed cameras are often used to capture motion blur that matches the speed of the intended action.
- VFX Integration: In post-production, artists track the camera movement. They then composite the live-action plate with digital elements. This might involve adding smoke, fire, or debris via particle systems, or extending the horizon line with a digital matte painting.
- Final Compositing: The final grade ensures the color temperature and contrast match the surrounding live-action footage. Grain is added to unify the digital and analog elements.
Key Scenarios Where Physical Models Outperform Pure CGI
Not every shot needs a physical model. However, there are three specific categories where the hybrid approach yields the highest return on investment.
1. Complex Lighting Environments
If a scene involves multiple dynamic light sources-like explosions, neon signs, or flickering candles-shooting a physical model allows the lights to interact realistically. Simulating global illumination in real-time during a shoot is impossible, but capturing it on set is straightforward. For example, in the recent re-release of classic sci-fi films, studios often reshoot key sequences using updated miniatures to take advantage of modern sensor technology while retaining the original practical aesthetic.
2. Destruction and Debris
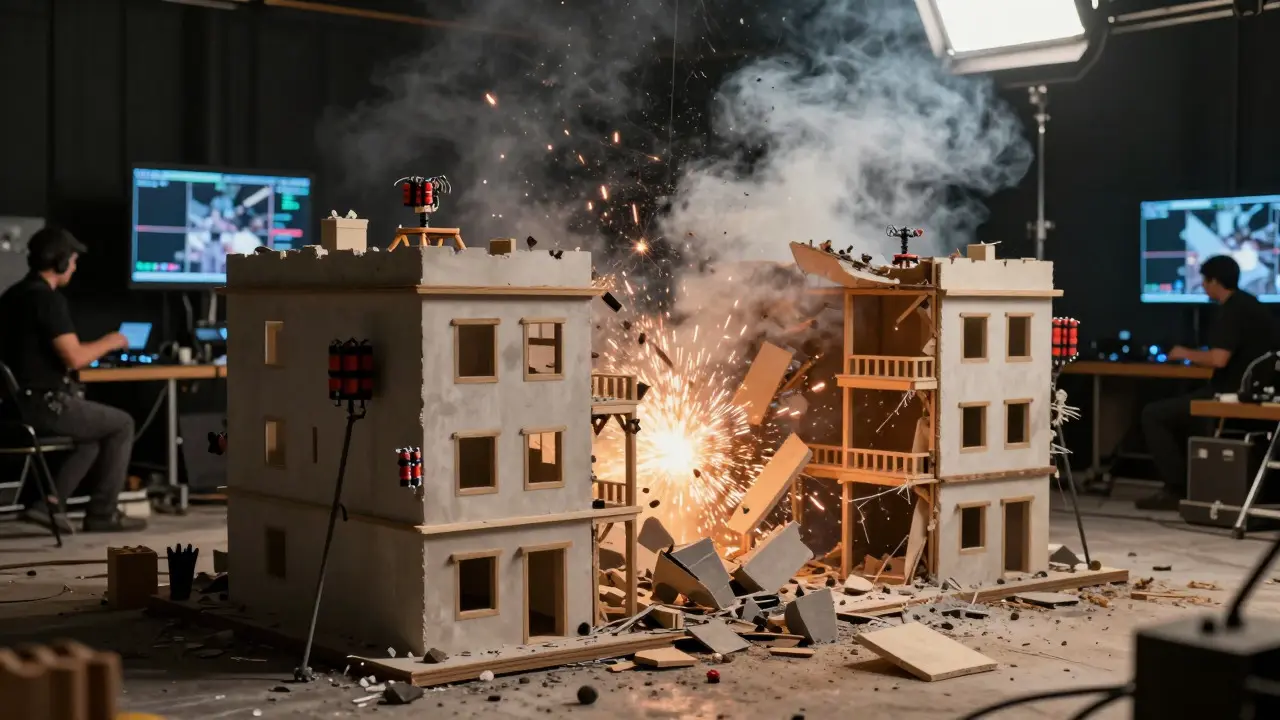
Simulating the collapse of a large structure is one of the most computationally intensive tasks in VFX. Every brick, shard of glass, and beam of wood requires rigid-body dynamics simulation. If you have a physical model, you can rig it with explosives or mechanical rigs to achieve a realistic collapse. The VFX team only needs to clean up the edges and add secondary digital debris for the far background. This hybrid method was famously used in the destruction of the Death Star trench run in the original Star Wars, and it remains a viable technique today for lower-budget productions seeking high impact.
3. Camera Tracking Through Tight Spaces
When a camera needs to weave through narrow corridors or dense foliage, digital occlusion becomes a nightmare. Objects in the way block the view, requiring extensive rotoscoping. With a physical miniature, the camera physically moves around the obstacles. The parallax effect is natural and accurate, saving hundreds of hours of cleanup work in the compositor.
Cost-Benefit Analysis: When to Build vs. When to Render
The decision to use a practical miniature comes down to a simple equation: Cost of Building + Cost of Shooting vs. Cost of Modeling + Cost of Rendering + Cost of Compositing.
| Factor | Practical Miniature + VFX | Full CG Asset |
|---|---|---|
| Initial Setup Time | High (2-6 weeks for construction) | Medium (Modeling and texturing) |
| Lighting Complexity | Low (Captured on set) | High (Requires extensive HDRI/simulation) |
| Render Farm Costs | Minimal (Only for extensions/effects) | High (Full frame renders required) |
| Texture Authenticity | Extremely High (Physical aging) | Variable (Depends on artist skill) |
| Best Use Case | Wide shots, destruction, complex lighting | Close-ups, abstract environments, impossible physics |
For a single hero shot, the cost of building a detailed 1:24 model might be $50,000-$100,000. However, if that same asset needs to appear in 15 different shots with varying angles and lighting, the amortized cost drops significantly. Conversely, if you only need one static wide shot, a digital matte painting might be cheaper and faster. The rule of thumb: if the camera moves through the environment or if lighting is dynamic, go practical. If the camera is locked off and the environment is static, go digital.
Technical Challenges and Pitfalls to Avoid
Even with a great plan, hybrid techniques can fail if you ignore the physics of scale. The biggest pitfall is the Squint Test. When you shrink an object, its proportions change relative to the lens. A 1:24 model of a car looks correct at 24mm focal length, but if you switch to a 50mm lens without adjusting the distance, the perspective will look "flat" or unnatural.
Another common error is ignoring wind. At full scale, wind affects flags, hair, and leaves. At miniature scale, air resistance behaves differently. You often need to use fans or air jets to create convincing motion. If the flag on your miniature model hangs limp while the digital clouds move briskly, the illusion breaks instantly.
Finally, don't forget the horizon line. A miniature model has a finite size. If the camera pans too far, it will see the edge of the model. VFX artists must extend the background digitally. To make this seamless, ensure the lighting on the physical model matches the digital extension perfectly. Mismatched shadows are the number one giveaway of a bad composite.
Case Study: The Evolution of the 'Miniature' in Modern Blockbusters
Consider the production of Dune: Part Two (2024). While much of the desert landscape was created digitally, the interior of the Arrakeen palace and certain vehicle exteriors relied heavily on practical sets and scaled-down props. The VFX team used these physical references to anchor the digital environments. The result was a cohesive visual language where the audience couldn't distinguish between the sand dunes (digital) and the spice harvesters (physical/practical hybrids).
This approach contrasts with earlier films like The Matrix, which pioneered green screen but struggled with the "uncanny valley" of purely digital backgrounds. By grounding the digital world in physical reality, modern filmmakers reduce the cognitive load on the viewer. The brain accepts the image more easily because it recognizes the physical cues of light and shadow.
Frequently Asked Questions
What scale is best for miniature photography?
The most common scales are 1:12, 1:24, and 1:48. 1:24 is the sweet spot for many filmmakers because it offers enough detail for close-ups while remaining manageable in size for transport and storage. 1:48 is used for very wide establishing shots where fine detail is less critical.
How do I hide the fact that a model is small?
Use a shallow depth of field. By keeping the aperture wide (low f-stop), you blur the background and foreground. This mimics the look of a full-scale object photographed with a telephoto lens. Additionally, ensure your lighting is consistent and avoid sharp reflections that might reveal the small size of the materials.
Is it cheaper to build a miniature or render it in CG?
It depends on usage. If the asset appears in many shots with dynamic lighting, a practical model is usually cheaper because it saves on render times and compositing complexity. If it is a single static shot, CG is likely faster and cheaper due to the lack of physical construction costs.
What software is used to integrate miniatures into VFX?
Standard industry tools include Nuke for compositing, Maya or Houdini for creating any necessary digital extensions, and After Effects for simpler projects. Camera tracking is often done in PFTrack or Boujou to align the digital elements with the physical camera movement.
Can I use 3D printing for miniatures?
Yes, 3D printing is widely used for complex geometries like vehicles or architectural details. However, printed parts often look too smooth. You must post-process them with sanding, painting, and weathering to remove the layer lines and add realistic texture. Resin printers are preferred over FDM for finer detail.





Comments(9)