
You’ve spent weeks rendering a dragon. The scales catch the light perfectly, the physics simulation is buttery smooth, and the model looks like it could breathe fire right out of your monitor. But the second you drop it into the live-action plate, something feels off. It looks pasted on. The edges glow with a weird halo, or worse, the dragon’s belly is bright white while the actor standing next to it is in deep shadow. This isn’t an artistic choice; it’s a failure of compositing. In visual effects, making elements exist in the same physical space as real-world footage is less about adding cool things and more about removing the digital smell.
The gap between a raw render and a finished shot lives in two specific skills: spatial integration and color matching. If you get these wrong, no amount of detail in the 3D model will save the shot. You don’t need to be a colorist with twenty years of experience to make this work, but you do need to understand how light interacts with surfaces and how cameras perceive that interaction. Let’s break down exactly how to blend CG elements into live plates so convincingly that the audience forgets they’re looking at pixels generated by a computer.
Understanding the Physics of Light Interaction
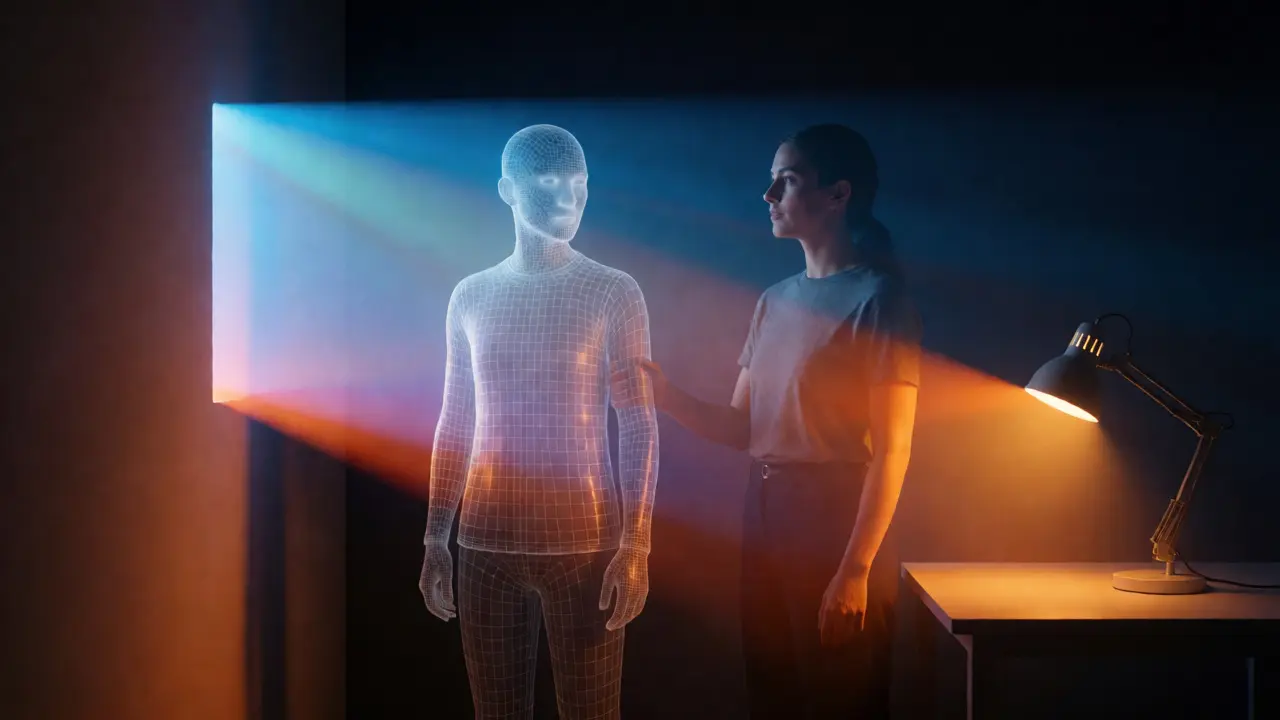
Before you touch a single node in your compositing software, you have to ask yourself: where does the light come from? In the real world, light doesn’t just hit an object and stop. It bounces. When a green screen actor stands in front of a blue wall, some of that blue light bounces off the wall and hits the actor’s cheek. This is called spill, and it’s the number one reason matte keys look fake. If you key out the background but leave the spill on the subject, they look like they’re floating in a void rather than standing in a room.
To fix this, you need to analyze the scene’s lighting environment. Look for specular highlights on reflective surfaces in the plate-windows, car hoods, wet pavement. These are your clues. If the sun is coming from the upper left, your CG element must have its primary highlight in the upper left. But it’s not just about direction; it’s about intensity. A common mistake is making the CG element too bright because you want it to stand out. In reality, if the live-action actor is underexposed by half a stop, your CG monster needs to be underexposed by half a stop too. Otherwise, it looks like it has its own internal flashlight.
This leads us to the concept of global illumination (GI). While often handled in the 3D render stage, compositors frequently need to simulate GI passes manually. If a red rug is next to a white wall, the bottom of the wall should pick up a reddish tint. If your CG character is standing near a bright window, the side facing the window should be brighter and cooler in temperature than the side in shadow. Ignoring these subtle bounces creates a "flat" look that screams CGI.
The Art of Color Matching
Once the geometry is integrated, you have to match the color. This is where many beginners panic because they think they need to match exact RGB values. You don’t. You need to match perceptual appearance. Human eyes are terrible at judging absolute brightness but excellent at judging relative contrast and hue shifts.
Start by analyzing the black points and white points of your plate. Every camera has a dynamic range limit. If your plate was shot on a ARRI Alexa, the blacks might roll off softly, and the highlights might clip gently. If your CG render has hard, digital blacks and clipped whites, it will never sit right. Use a curves tool to compress the CG element’s dynamic range to match the plate. Often, lifting the shadows slightly and pulling down the highlights helps mimic the lens characteristics of the original camera.
Hue matching is trickier. Lighting conditions change constantly. A cloudy day casts a blue-gray tint over everything. If your plate has a slight cyan cast in the shadows, your CG element must inherit that cast. Don’t just add a color balance adjustment; think about why the color is there. Is it white balance error? Is it a practical light source like a neon sign? Replicate the source, not just the result. For example, if there’s a warm tungsten lamp in the scene, the side of the CG object facing the lamp should shift toward orange/yellow, while the opposite side remains neutral or cool.
| Issue | Cause | Fix |
|---|---|---|
| Element looks "too clean" | Lack of noise/grain | Add grain matching ISO and shutter angle |
| Edges glow unnaturally | Incorrect premultiplication | Check alpha channel straight vs. premultiplied |
| Color mismatch in shadows | Gamma curve difference | Match linear vs. log workflows carefully |
| Reflections don't match | Missing HDRI data | Use projection mapping or manual paintovers |
Managing Alpha Channels and Edges
The boundary between your CG element and the background is the most sensitive part of the image. This is controlled by the alpha channel. A crisp, binary edge (100% opaque or 100% transparent) rarely exists in nature unless you’re cutting paper with scissors. Real objects have soft transitions due to motion blur, depth of field, and anti-aliasing.
If your CG element has sharp edges but the background has motion blur, the composite fails immediately. You must apply motion blur to the CG element that matches the shutter speed of the camera. Similarly, consider depth of field. If the background is slightly out of focus, the edges of your foreground element should also have a tiny bit of defocus blur. This is often overlooked because it seems counterintuitive-you want the character sharp-but the transition zone matters.
Another critical aspect is premultiplication. Most compositing software assumes your RGB channels are multiplied by the alpha channel. If you import a file incorrectly, you’ll see dark halos around the edges. Always verify your alpha interpretation. In tools like Nuke or After Effects, check whether your render pass is straight or premultiplied. Getting this wrong causes colors to darken incorrectly when composited over backgrounds.
Integrating Texture and Noise
Digital renders are suspiciously perfect. They lack the imperfections of film sensors and analog lenses. To integrate them, you need to degrade them intentionally. Start with grain. Every camera sensor produces noise, especially in low-light situations. Your CG element likely has zero noise. Add grain to the CG layer before merging it with the plate. Match the grain size and luminance distribution. If the plate has chroma noise (color speckles), add a small amount to the CG element too. This unifies the texture of the entire frame.
Next, consider lens artifacts. Real lenses distort images. Wide-angle lenses stretch the edges of the frame; telephoto lenses compress them. If your plate exhibits barrel distortion, your CG element needs the same distortion applied via a grid warp or lens distortion node. Additionally, chromatic aberration-the purple/green fringing on high-contrast edges-is common in older or cheaper lenses. Adding subtle CA to the CG element helps it blend into the optical character of the shot.
Don’t forget about dirt and wear. A pristine spaceship flying through a dirty atmosphere shouldn’t look brand new. Add surface grime, scratches, or atmospheric haze. Haze is particularly important for depth cues. Objects further away appear lower in contrast and bluer. If your CG element is behind other objects, reduce its contrast and shift its hue toward the background’s atmospheric color. This technique, known as aerial perspective, sells distance instantly.
Workflow Best Practices for Compositors
A good workflow saves you hours of re-rendering. Work non-destructively whenever possible. Keep your adjustments in separate nodes or layers so you can tweak exposure without breaking the color grade. Use reference frames. Pull stills from the plate and place them next to your viewport. Compare histograms. If the plate’s histogram peaks in the mid-tones, but your CG element peaks in the highlights, you know you have an exposure mismatch.
Collaborate early with the lighting team. Ask for additional passes beyond beauty and diffuse. Request specular, reflection, refraction, and ambient occlusion passes. Having these allows you to adjust individual components in comp without going back to 3D. For instance, if the reflections are too strong, you can dial down the reflection pass opacity instead of asking for a full re-render.
Finally, trust your eyes but verify with scopes. Waveform monitors show luminance levels. Vector scopes show hue saturation. Use them to ensure your CG element falls within the legal broadcast range if required, but more importantly, use them to match the energy of the plate. If the plate is low-energy (soft lighting), your CG element shouldn’t have high-energy spikes in the waveform.
Why does my CG element look like a sticker?
This usually happens due to incorrect edge treatment and lack of environmental interaction. Ensure you have added motion blur and depth-of-field blur to the edges to match the plate. Also, check for color spill from the background onto your element and vice versa. Finally, verify that your lighting direction and intensity match the live-action footage.
How do I match grain between CG and live action?
Analyze the grain structure of the plate using a magnified view. Note the grain size and whether it is luma-based or chroma-based. Apply a grain generator to your CG layer before compositing. Adjust the amplitude and spread until the noise patterns visually merge. Some artists prefer to add grain after merging to unify the entire shot, but doing it beforehand allows for different grain types on different elements.
What is the difference between straight and premultiplied alpha?
In premultiplied alpha, the RGB values are already multiplied by the alpha value. This means transparent areas have black RGB values. In straight alpha, the RGB values remain intact regardless of transparency. Using the wrong type causes dark halos (if premultiplied is treated as straight) or bright halos (if straight is treated as premultiplied). Always check your render settings and compositor input interpretation.
Do I need to match the lens distortion of the plate?
Yes, especially if the plate has visible distortion. If the background bends lines (barrel or pincushion distortion), your CG element must bend similarly. Failing to do so makes the element look flat against a curved background. Use a lens distortion node or grid warp to apply the same mathematical distortion profile to your CG layer.
How can I improve integration without re-rendering?
Request AOVs (Arbitrary Output Variables) such as specular, reflection, and ambient occlusion. These allow you to adjust specific lighting components in the compositor. You can also use projection mapping to project parts of the plate onto the CG element for better reflection matching, or manually paint over areas where lighting logic fails.





Comments(9)