You’ve spent weeks perfecting a character’s walk cycle. The timing is snappy, the weight feels real, and the pose-to-pose breakdown looks like it belongs in a museum. Then you drop it into the scene, and something feels off. The camera is too close. The background distracts from the action. The pacing drags. You just wasted forty hours of labor because you didn’t check the context first. This is where Animatics and Layout save your project from becoming a graveyard of beautiful but unusable shots.
Think of these two stages as the blueprint and the rough draft of your film’s visual language. Before any pixel gets rendered or any final keyframe is polished, animatics and layout determine how the audience sees the story. If you skip them, you’re essentially editing a movie while shooting it-expensive, chaotic, and prone to reshoots that kill your budget. Let’s break down exactly how these steps work, why they matter more than most junior artists think, and how to use them to keep your production on track.
The Foundation: What Is Layout in Animation?
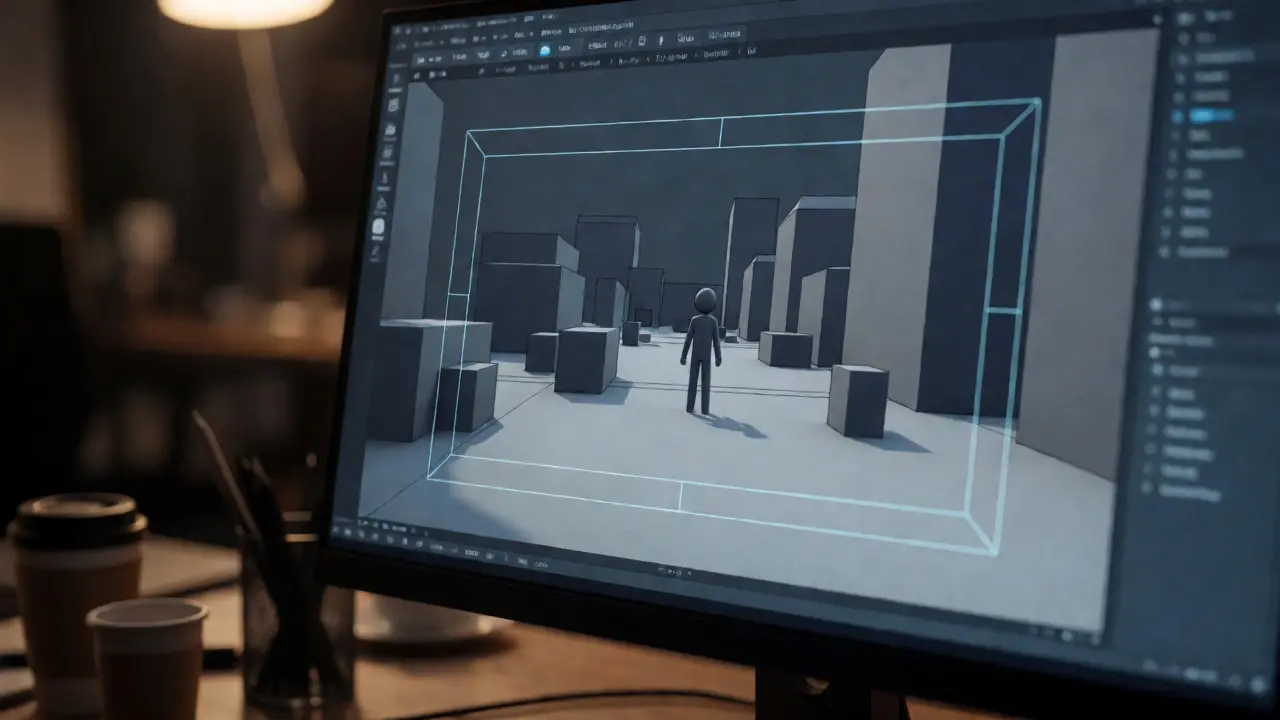
Layout is the stage where the 2D storyboard drawings are translated into a 3D space (or a structured 2D plane for traditional animation). It defines the camera angle, lens choice, composition, and the spatial relationship between characters and their environment. In modern pipelines, this often happens inside software like Maya, Blender, or specialized tools like Toon Boom Harmony.
Why does this matter? Because a sketch on paper doesn’t tell you if a character fits through a doorway when the camera is tilted 15 degrees. Layout answers that question. It establishes the "blocking" of the scene. Artists create low-resolution models or simple geometric shapes to represent buildings, props, and characters. They move the virtual camera around until the framing matches the director’s vision. This step ensures that every asset built later actually fits within the frame and interacts correctly with lighting and depth.
| Feature | Layout Stage | Final Animation |
|---|---|---|
| Detail Level | Low-poly proxies, gray shading | High-res textures, full shading |
| Camera Control | Defined angles, focal length, movement paths | Locked or minor adjustments only |
| Purpose | Composition, scale, staging | Performance, emotion, polish |
| Cost per Frame | Low ($10-$50 range) | High ($500-$5,000+ range) |
If you get the layout wrong, you can’t fix it in post-production without expensive re-rendering. A character might be occluded by a foreground prop that wasn’t there in the storyboard. Or the horizon line might cut awkwardly across a face. Layout catches these issues when they cost minutes to fix, not days.
Bringing Stories to Life: The Role of Animatics
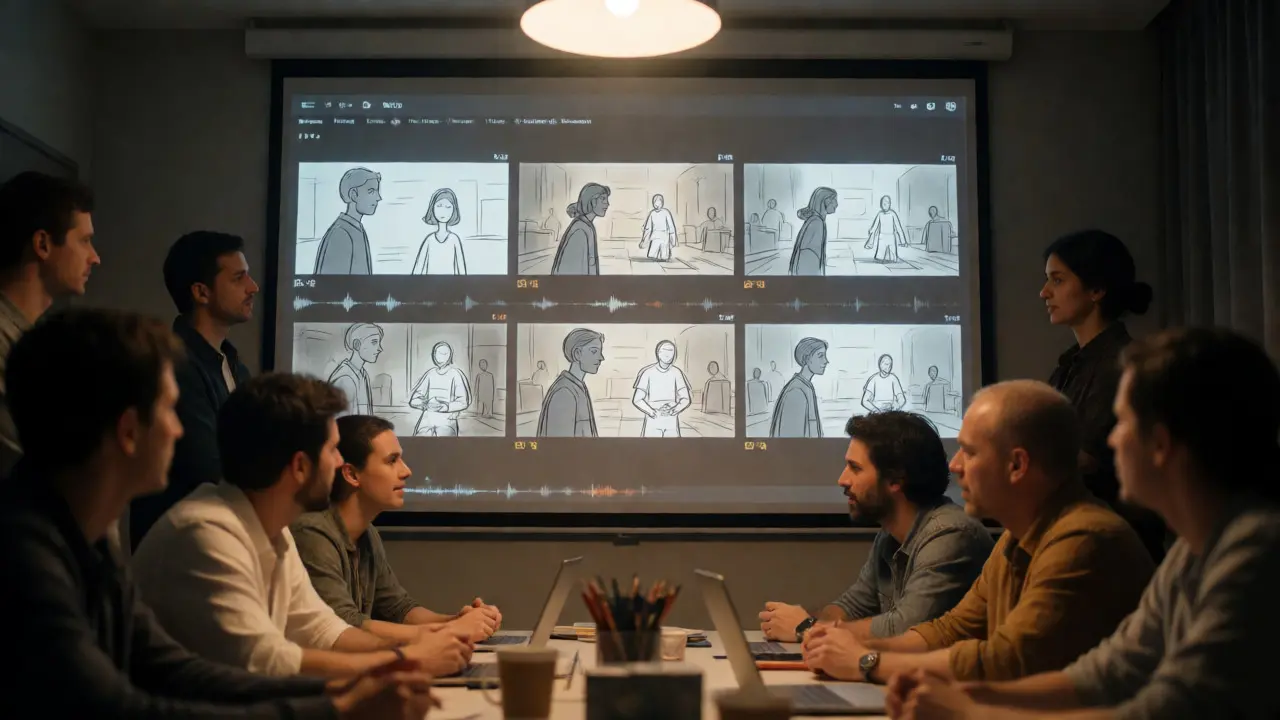
Once layout sets the stage, Animatics take over the rhythm. An animatic is essentially an animated storyboard. It takes the panel images from the storyboard and the camera moves defined in layout, then adds temporary audio (scratch dialogue, sound effects, music) and basic motion to simulate the flow of the scene. It’s not about making things look pretty; it’s about testing the edit.
Directors use animatics to answer critical questions: Does this joke land? Is this chase scene too long? Do we need a reaction shot here? Because animatics are cheap to produce, you can iterate quickly. You can cut a ten-second segment out of a three-minute sequence in seconds. Compare that to deleting a fully animated sequence, which might involve removing hundreds of frames of complex rigging and simulation data.
In many studios, the animatic process involves "beat boards." These are simplified versions of the storyboard panels that focus purely on timing and spacing. For example, if a character throws a punch, the animatic won’t show the muscle deformation. It will show a stick figure moving from point A to point B at the correct speed, synced to the sound effect of the impact. This allows editors and directors to feel the pacing before committing resources to detailed art.
The Workflow Pipeline: From Storyboard to Screen
Understanding where these steps fit helps you prioritize tasks. Here’s the typical order of operations in a professional Animation Pipeline:
- Script & Storyboarding: Writers and artists create the narrative and draw static panels.
- Pre-Visualization (Previz): Often combined with layout, this uses 3D blocks to test camera angles and blocking in a virtual environment.
- Layout: Artists build the scene geometry, set up cameras, and define the exact framing for each shot.
- Animatic: Editors assemble the layout renders or storyboard panels with audio to create a timed sequence.
- Review & Iterate: The team watches the animatic, notes changes, and updates the layout or storyboard accordingly.
- Animation: Only after the animatic is approved do animators begin creating the actual character performances.
This linear structure isn’t rigid. In agile productions, you might loop back from animatic to layout multiple times. But skipping ahead-starting animation before the animatic is locked-is a common rookie mistake that leads to wasted effort.
Tools of the Trade
What software do professionals use for these stages? While preferences vary by studio size, certain tools dominate the industry.
- Storyboard Pro: The standard for digital storyboarding. It allows artists to add basic motion and sound directly to panels, bridging the gap between static art and animatics.
- Maya: Widely used for layout in 3D animation. Its viewport tools allow for quick camera setups and proxy modeling.
- Blender: Increasingly popular for indie projects due to its free cost and powerful Grease Pencil tool, which lets artists draw 2D elements in a 3D space during layout.
- Adobe Premiere Pro / Avid Media Composer: Used for assembling animatics. These non-linear editors handle the synchronization of audio and visual assets efficiently.
- CineSync: A collaboration tool that allows remote teams to review animatics and layout passes in real-time, leaving timestamped notes.
For smaller teams, the distinction between tools blurs. You might do layout and animatic assembly entirely in Blender or Toon Boom. The key is maintaining clear separation between the "stage" (layout) and the "timing" (animatic), even if they happen in the same application.
Common Pitfalls and How to Avoid Them
Even experienced teams stumble here. Here are the most frequent errors and how to dodge them.
Ignoring Audio Early On. Some teams wait until animation is done to add sound. Big mistake. Sound drives timing. If you don’t have scratch dialogue in your animatic, your pacing will likely be wrong. Use placeholder voices or temp tracks from other movies. The rhythm of speech dictates how long a shot should last.
Over-Detailing Layout. Layout artists sometimes spend too much time modeling background props that will never be seen clearly. Remember, layout is about silhouette and mass, not texture. If a tree is in the background, a green cylinder is fine. Save the high-poly modeling for the asset team later.
Failing to Test Camera Movement. Static layouts are easy. Moving cameras are hard. Always animate your camera in the layout phase. If the camera pans, does the parallax look right? Does the character stay in frame? Check this now, not during final render.
Skipping the Review Loop. Watching an animatic alone is different from watching it with a team. Get feedback early. You might think a scene is funny, but five colleagues might find it confusing. Catching confusion at the animatic stage costs nothing. Catching it after animation requires re-keyframing.
Case Study: Applying This to Your Project
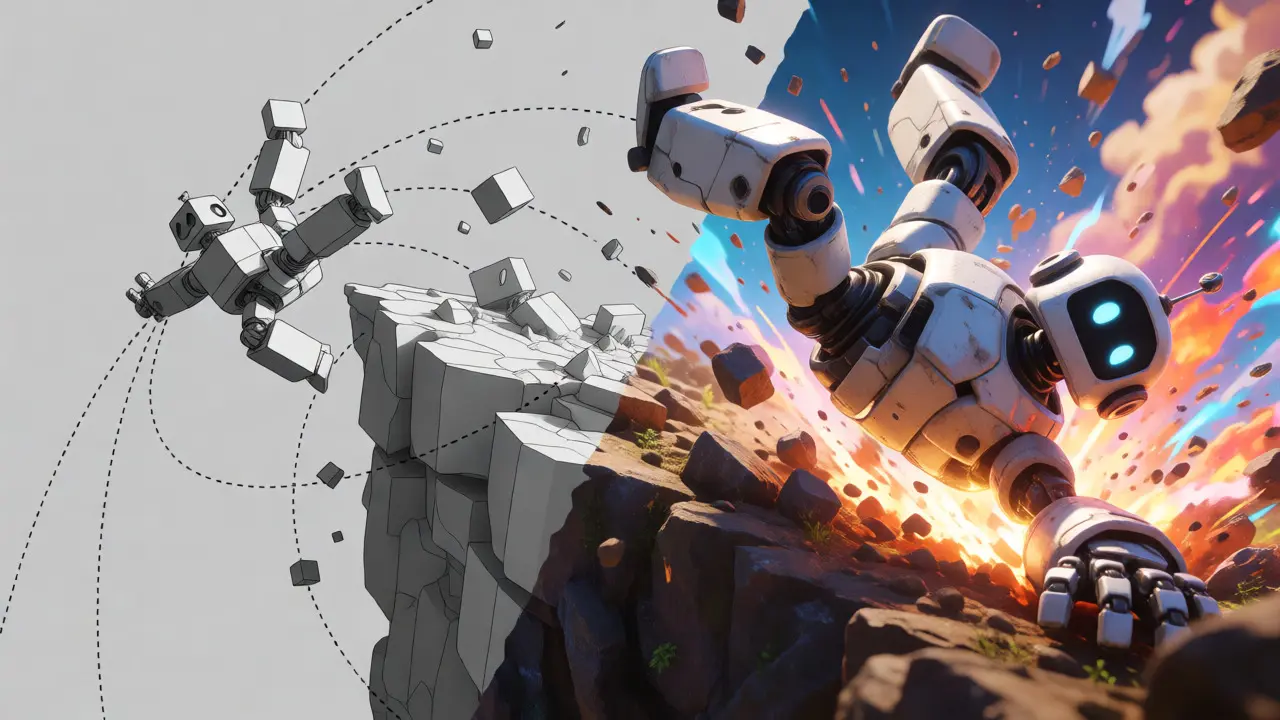
Imagine you’re working on a short film featuring a robot falling off a cliff. In the storyboard, it’s one panel: Robot falls, lands. Easy. But when you move to layout, you realize the fall needs three distinct camera angles to convey height and danger. One wide shot to establish the cliff, one medium shot tracking the fall, and one close-up of the landing impact.
You build the layout in Maya using simple cubes for the terrain. You set up three cameras. You export these views and import them into Premiere. You add a wind sound effect and a scream. You time it: Wide shot lasts 2 seconds, Medium shot 3 seconds, Close-up 1 second. Total duration: 6 seconds.
You watch the animatic. It feels rushed. The fall doesn’t feel scary enough. You go back to layout and extend the medium shot to 4 seconds, adding a slight slow-motion curve to the camera. You update the animatic. Now it feels dramatic. Only then do you send the instructions to the animator. This iterative loop saved you from animating a boring fall and having to redo it.
Why This Matters for Indie Creators
You might think this process is only for Disney or Pixar budgets. Wrong. For independent creators, animatics and layout are survival tools. When you’re wearing all the hats-writer, director, animator-you cannot afford to waste time on shots that don’t work. By locking down your animatic, you create a checklist for your animation work. You know exactly what needs to be drawn or rigged for each second of footage. It turns a vague creative endeavor into a manageable production schedule.
Moreover, animatics help with funding and pitching. Investors and collaborators understand visuals better than scripts. Showing them a dynamic animatic with sound proves you have a viable product. It shows professionalism and reduces perceived risk.
Conclusion: Lock It Down
Animatics and layout aren’t just bureaucratic steps; they are the safety net of your creative vision. They ensure that when you finally hit the render button, you’re producing a coherent, well-paced, and visually sound film. Don’t rush them. Spend the extra day tweaking your camera angles. Record the scratch audio. Watch the animatic ten times. Your future self, buried under deadlines and rendering queues, will thank you.
What is the difference between previz and layout?
While often used interchangeably, previz (previsualization) is a broader term usually referring to the initial exploration of camera angles and blocking, often using very crude 3D blocks. Layout is a more refined stage where specific camera parameters, lens choices, and scene proportions are finalized for production. Previz explores possibilities; layout locks them in.
How long should an animatic take to make?
It depends on the complexity. For a simple 2D project, a single artist might produce 10-15 seconds of animatic per day. For complex 3D scenes requiring layout setup, it might take longer. However, the goal is speed. If you’re spending more time polishing the animatic visuals than refining the timing, you’re doing it wrong.
Can I skip layout for 2D animation?
You can, but it’s risky. Even in 2D, you need to establish backgrounds and character placement relative to the frame. Skipping layout often leads to characters being drawn too large or small, or backgrounds not matching the perspective. A lightweight layout pass, even just rough sketches of backgrounds, prevents major continuity errors.
Do animatics include sound effects?
Yes, absolutely. Scratch audio, including dialogue, music, and key sound effects, is crucial. Timing in animation is heavily influenced by audio cues. Without sound, you cannot accurately judge the pacing of comedic beats or dramatic pauses.
What resolution should layout renders be?
Keep it low. 720p or even 480p is usually sufficient for reviewing composition and timing. High resolutions increase file sizes and render times unnecessarily during the iteration phase. You only need high-res renders for final presentation or detailed lighting checks.